"Blah" to "BAM" cheap furniture makeovers...YOU CAN DO IT!!!

This past week I have been working on my kitchen (I told you the "small" projects wouldn't squash the urge!) I still have a few little trim details to hunt down and then I will try to do a feature next week. I had to construct three different types of open shelving and I rewired an 80 year old Westinghouse fan...AND IT WORKS!!! I'll share all that as well!

This week I want to share a few little projects that YOU can do! Do you have a piece of furniture (or two or ten) that is just "blah?" A cheap little shelving unit you picked up at the big box store and put together with the little allen wrench that came with the screws. Maybe a few ancient bedside tables you inherited from your mom. A particle board table that has seen it's better days.

I know I have harped on this before, but seriously it bares repeating! If you are just starting out, are on a tight budget, feel the need to keep furniture given to you by family, or just want to change things up a bit, you NEED to be able to do simple makeovers!

Before you toss a piece of furniture to the curb, think about "updating" it a tad. Even the cheapest, most basic piece can be saved with just a tiny bit of time and effort! As I have said time and again, the worst that can happen is you still hate it and it still only brings $1 at your next garage sale. 

I find pieces like this all the time at my apartments. I drag them home, clean them up with ammonia (stinky but gets the old gunk off!) and then give them a little facelift!

This was one haul out of one unit....

The little bedside tables are the old orange maple...ugly as sin but super sturdy and solid wood! The little coffee table is one of those inexpensive "fake" wood things that comes with the little allen wrench tool for the bolts! And the spindle shelf had particle board shelving. All in all, pretty dated stuff!

This little shelf came out of another unit...

It was missing a drawer and it had a few loose bolts, but whatever...still salvageable!

I find these things in my apartments, but you can find them at thrift stores and garage sales for next to nothing! 

All I did to the little shelf with reeded drawers was give it a little KSTP treatment (Kilz, sand, tack cloth and paint!

Perfect for added storage in a bathroom, kitchen or kid's room!

I decided to do something a little fancier on the coffee table and bedside tables. I striped the tops with the acetone/lacquer thinner mixture, added a little java gel stain, then sealed them with spray on poly (if stripping and staining is beyond your skill level, just paint the tops!)

The bases are simple KSTP treatment. New hardware on the bedside tables and these pieces are perfect for updating any space! 

The spindle corner shelf got a simple KSTP treatment! 

I don't have a "before" picture of the little chalkboard shelf. Basically it was a stained wood frame with an ugly picture of a teddy bear! Ewwwww. Gave the frame a chalkpaint and distress treatment (spray paint would work too!) and I painted the board backing with chalkboard paint. Super simple "upcycle!"

Years ago I scrapbooked all the boys athletic pictures. A chore considering they both played football and baseball their entire childhood! (I strongly suggest you do this every year rather than try to find time to do all 15 years at once!)

The square frames were a perfect fit for a 12x12 piece of scrapbook paper and would be perfect for someone who wanted an easy way to display their kid's sports pictures. I applied the scrapbook paper onto the foam backing with a spritz of spray adhesive, used a glue stick to attach pictures and KSTP the frames. This would be the perfect way to "scrapbook" photos...then you can take them out of the frame and just slip them into an album when it is time to change out the pictures next year!

Before you paint a piece, make sure all the "bolts and joints" are tight and the piece is sturdy. If tightening a screw or bolt doesn't solve the wobbles, take time to GLUE AND CLAMP whatever ails the piece. No sense in making it pretty if it is going to collapse the first time one of the kids leans on it! 

All these projects have one thing in common. Spray paint. Seriously...a little primer, a little sanding and a little spray paint...and you have changed the entire look! 

I have shared many of these simple little makeovers in the past! A few dressers here, here here and here. Several coffee tables here, here and here and Lord knows how many frame makeovers (herehere, and here!)

Challenge yourself. Pick out ONE piece of furniture or a frame in your house you really don't like. Go to Lowes and pick up a can of Kilz, a little sandpaper, a package of tack cloth and a can of your favorite color spray paint (total under $15) and give it a go! YOU CAN DO IT! 

I promise!

The most AMAZING steak EVER!

This is the perfect time of the year to cook the most AMAZING steak ever! A little too cold to grill, but after years of doing it "wrong" I have found the RIGHT way to cook the perfect steak...

Head over to my "Cooking 101" page and check out this recipe

Trust me, you will never fire up your grill for steaks again!

Christmas home tour....

I noticed many bloggers featured their Holiday Home Tours earlier this month. I've been a bit slow getting around to it for a number of reasons.

First, the dog ate my card reader. Seriously. She ate it. And I read somewhere that you should never hook your digital camera directly to your computer because it could get "infected" with any bugs or viruses that might be lurking in your computer. So I always use a card reader to get my pictures. 

Second, I have been "playing" with the camera. I am notorious for taking "not so hot" photographs. Primarily because I was afraid to use anything but the "auto" setting which makes it difficult to get decent interior photos. Last week I decided to step outside my comfort zone (reasons explained here) and start playing with the camera settings in the manual mode. SHOCK! I was able to take some half way decent interior shots without blowing out the room and subjects with a flash! In the past I had to wait until the light was "just right" in a room or move pieces around or live with cruddy "flash" photos. 

I still honestly have no idea what I am doing "setting wise." But I feel better about turning dials and experimenting. At some point I will take a photography class and actually learn how to use a DSLR camera! Funny thing...I am not a newbie. I have had a digital camera for ten years...I just never used the manual settings and I was terribly limited in the quality of photos I could take.

So today I am going to share a few holiday shots of my house. I still have to be careful about when I take the pictures because I have a lot of windows and the sun can cast some pretty harsh shadows during the day! And they still aren't the best photos...but they are a tad better....

Welcome....

I always try to do a little something during the season around the front. I stick a little lighted Christmas tree in one of the flower pots and then a few wreaths and garland here and there. It is tough to see my Santa and pine forest in the arch window but he is well lit at night!

The living room...

...the BIG feature of course is always the tree! 

I made several Christmas pillows this year...you can see the post here!

Decorating can be as simple as sticking a few sprigs of berries or floral in vases or urns!

I absolutely LOVE the look of garland and ribbon down a bannister, but several years ago I decided I had to make holiday decorating a little easier on myself so I made 6 identical wreaths and tie them to the bannister! Simple but pretty!

For both Thanksgiving and Christmas I buy the little "candle wreaths" and tie festive ribbon on them and hang them on the doors throughout the downstairs. It is an inexpensive way to dress up the doors and I don't feel guilty about buying "fad" colors or styles because they are pretty cheap.

I have a thing for skinny Santas...I don't think it is intentional, but it just seems that all my Santas are a bit on the thin side...

This year I took the gold shades off the dining room chandelier...I like the "brightness" of the lights.The fixture really is simple to decorate. I just wrap a little plain garland around the fixture then stick a few sprigs of red and white berries here and there...a few crystal doo-dads from last years clearance...pretty! 

When my oldest daughter was a baby, my grandmother made her this Raggedy Andy and Ann. With my girls "grown" I really had no way to display them so a few years ago I made little pilgrim outfits for Thanksgiving and Santa outfits for Christmas. Now they get to hang out during the entire Holiday season!

The den during the day...

...and at night! Very cozy especially when it is cold enough for a fire!

Several years ago I decided to dress up the windows in the den...again, wreaths and festive ribbon! Simple.

Another skinny Santa by the fireplace...

I keep the holiday decorating in the kitchen to a minimum. Mainly because I have limited counter space and I don't want to clutter up what space I have. In the last few years I started adding little simple elements to the top of the cabinets...like Lord/Sir ? (Still no name!) 

Just a few little touches here and there can make a difference. I found a Christmasy apron at Hancock's Fabric this year. Holiday salt and pepper shakers, a penguin soap dispenser (you can't see it!), leftover ornaments in glass bowls and serving pieces, wreaths, my Southern Living cookbooks, and again, a few sprigs of holiday floral stuck here and there! Just a few things I think are pretty and festive.

Not much changes from year to year. As I have said before, I stick with the traditional and add just a few little elements here and there every year. But honestly, little changes. My basic rule is if I haven't displayed it or used it in the last two years, it gets donated...and I try not to spend too much time and money on the "fads." One thing about holiday decorating...if you stick with traditional, you probably won't go wrong. "Fads" are good in moderation as long as you don't bust your decorating budget. 

I don't mind hanging a few inexpensive peacock blue and neon green wreaths, but let's be honest...when it comes to Christmas, Santas and snowmen, green garland and pine trees and red, gold or silver colors, will probably never go out of "style!"

Have a VERY merry Christmas!


MY beef bourguignon....just as good and easier!

Over a year ago, I posted "my spin" on Julia Child's classic beef bourguignon recipe. I didn't post the actual recipe because you can pretty much Google it and find it...I just did a little "tutorial" on how I "tweeked" the original recipe. 

Today I thought I would post my actual recipe, along with my commentary of what I do and why I do it. Julia's version is to die for...and just once in your life, you really should tackle it! But it is not an easy recipe to throw together for busy mom's.

My version is more of a glorified "pot roast" recipe, retaining most of her key elements and in my opinion just as yummy. It has become a family favorite! 

Ingredients:

2 1/2 - 3 lb. pot/chuck roast

6-8 ounces of bacon

2-3 cups of mushrooms

1-2 cups of chopped Carrots

8-10 Pearl onions or regular chopped onion

Garlic

Olive Oil (regular cooking oil will work)

2 cans of beef broth/consomme

1 tablespoon tomato paste

2-3 cups red wine

Flour

Spices: salt, pepper, rosemary, bay leaf...or whatever YOU like!


Remember, I am a "pinch of this, toss of that" kinda cook. So follow along and feel free to "pinch and toss" to your own tastes! Or even eliminate anything you don't care for!

Bacon....10 or so slices, sliced into chunks. I use thick cut...just a preference!

Fry the bacon in a large skillet. When it is fairly done, add....

2-3 tablespoons of olive oil (or plain cooking oil) and 2-3 tablespoons of butter

1-2 cups of chopped carrots

2-3 cups of sliced mushrooms

8-10 peeled pearl onions, cut in half...or 1/2 regular onion, chopped.

2-3 gloves of chopped garlic or 3-4 tablespoons of chopped garlic from the jar (my go to!)

Sautee all this until everything seems kind of "tender." 

Remove all the veggies and bacon with a slotted spoon, draining the oil back into the skilled, and put them in your "roast pan."

Leave the "oil" in the skillet. Add a tad if you need to!

Cut the 2 1/2-3 lb chuck roast into 1" cubes (if you are a venison eater....gag...this would be a great use for venison roasts) Pat it with a paper towel to dry it off.

In a bowl, mix about 5-6 tablespoons of flour with about 1 teaspoon of both salt and pepper. Coat all the chunks of roast with the flour. Brown all sides of the roast cubes in the oil.

Place all the browned roast cubes, bacon and veggies in a dutch oven...or cast iron pot...or large casserole dish...whatever you have that you cook pot roast in! 

Now, this is how I get ALL the flavor out of the pan and make it easier to clean it up. I pour 1 can of beef broth/consumme (Campbell's is fine!) (or use 1 cup of water) in the pan drippings, bring it to a rapid boil, scrapping the sides and bottom. After everything is off the bottom and sides, pour this little mixture over the meat and veggies!

In a large bowl, mix the other can of beef broth/consumme and heaping tablespoon of tomato paste (you can freeze left over tomato paste so you don't waste a whole can!) Throw in whatever spices you might like...salt, pepper, rosemary, thyme, parsley, bay leaf...whatever YOU like!

I am a salt freak! But I would advise going low on the salt for the time being...there is a lot of salt in the consumme...and soooo much flavor in all the ingredients!

Pour about 1/2 bottle of RED wine into the broth mixture...maybe 2-3 cups. The actual alcohol will "cook out" as this dish cooks so you are NOT serving your family alcohol...just the wine flavor! I buy the cheapest bottle of red wine I can find at the grocery store! 

Pour the broth/wine mixture over the roast and veggies. Top with just enough water to barely cover everything, if needed. Cover and bake for about 4-5 hours in a 325 degree oven. You can "peek" once, just to give it a quick stir and check the liquid...otherwise, leave it be!

I serve this with mash potatoes (YUM!) or noodles or rice...whatever you want! 

If you compare this to Julia's, it is indeed different...but the flavor is just as good in my book! And soooo much easier to prepare! 

Again, this would be a great recipe for venison or any other "game" meat, like elk. I think it would even be good with pork, but have never tried it. 

I would think you could cook this in a crockpot. I haven't but plan to in the future. Let me know if you try it and how it turns out! 

Again, JUST ONCE you should try the Julia recipe...if for no other reason than to say you have done it...but when you are scratching your head wondering what the heck a "lardon" is or where to buy it, don't call me...I still don't have a clue!


Universal Ballerina Mist....

When I check on my flea booths I like to mill around and see if there are any goodies I want for ME! I try not to do this often because I do have a hard-fast rule...if I bring something in, I have to take something out. 

Every once in awhile I stumble on something I just have to have!

I featured my Grandmother's Universal Ballerina dishes here and hereThey are not "valuable" dishes, but ones I treasure because it was my paternal grandmother's. She was not a big "china" person and only had a few pieces of this style. I have added a few pieces here and there over the years.

I love the mist color and the platinum banding and the simple styling. Unlike my maternal great-grandmother and grandmother's very ornate and expensive china (also featured) it is very simple...kind of "mid century-ish" which makes sense since it dates around 1950...and I absolutely love it! 

I have never found any pieces in flea markets. I did find another salt and pepper shaker at an antique store one time. I bought it so I would have a set I would actually use! I didn't want to use the original for fear of breaking them! Good thing I didn't because sure enough, I broke one! All the other pieces I have added have been from Ebay or Replacements.com (both great sources for replacing stoneware and china.)

But today I scored a few pieces at the Tontitown flea market! 

Two refrigerator jars with lids...both in mint condition!

And a milk pitcher. It is actually the "ivory" color rather than the "mist" but I think it is a lovely little piece and thought it would look pretty next to the other I have in mist!

(Oops...still has the price tag string on it!!)

So today, I broke my hard-fast rule...there is absolutely nothing in this display case I can "take out" because they are all heirloom pieces that have great personal value. So I rearranged a few things and made room for them!

Good thing I don't have a huge china cabinet...

Not your plain ole' high chair!!!

This is one of my favorite projects for so many reason.  

First, I love doing "kid's" stuff...chairs, desks, dressers...anything kids would love!  

Second, it was free.  Well, the CHAIR was free...the materials and time were a little excessive!  But I love the way it turned out so it was worth it! Truthfully, if I paid myself by the hour on the items I repurpose/reupholster/refinish and then sell, I would make about $1.32 an hour...not sure I would even clear that on this chair!

This was another "abandoned" piece I found at my apartments. 

And it was N.A.S.T.Y!

IMG_1179.JPG

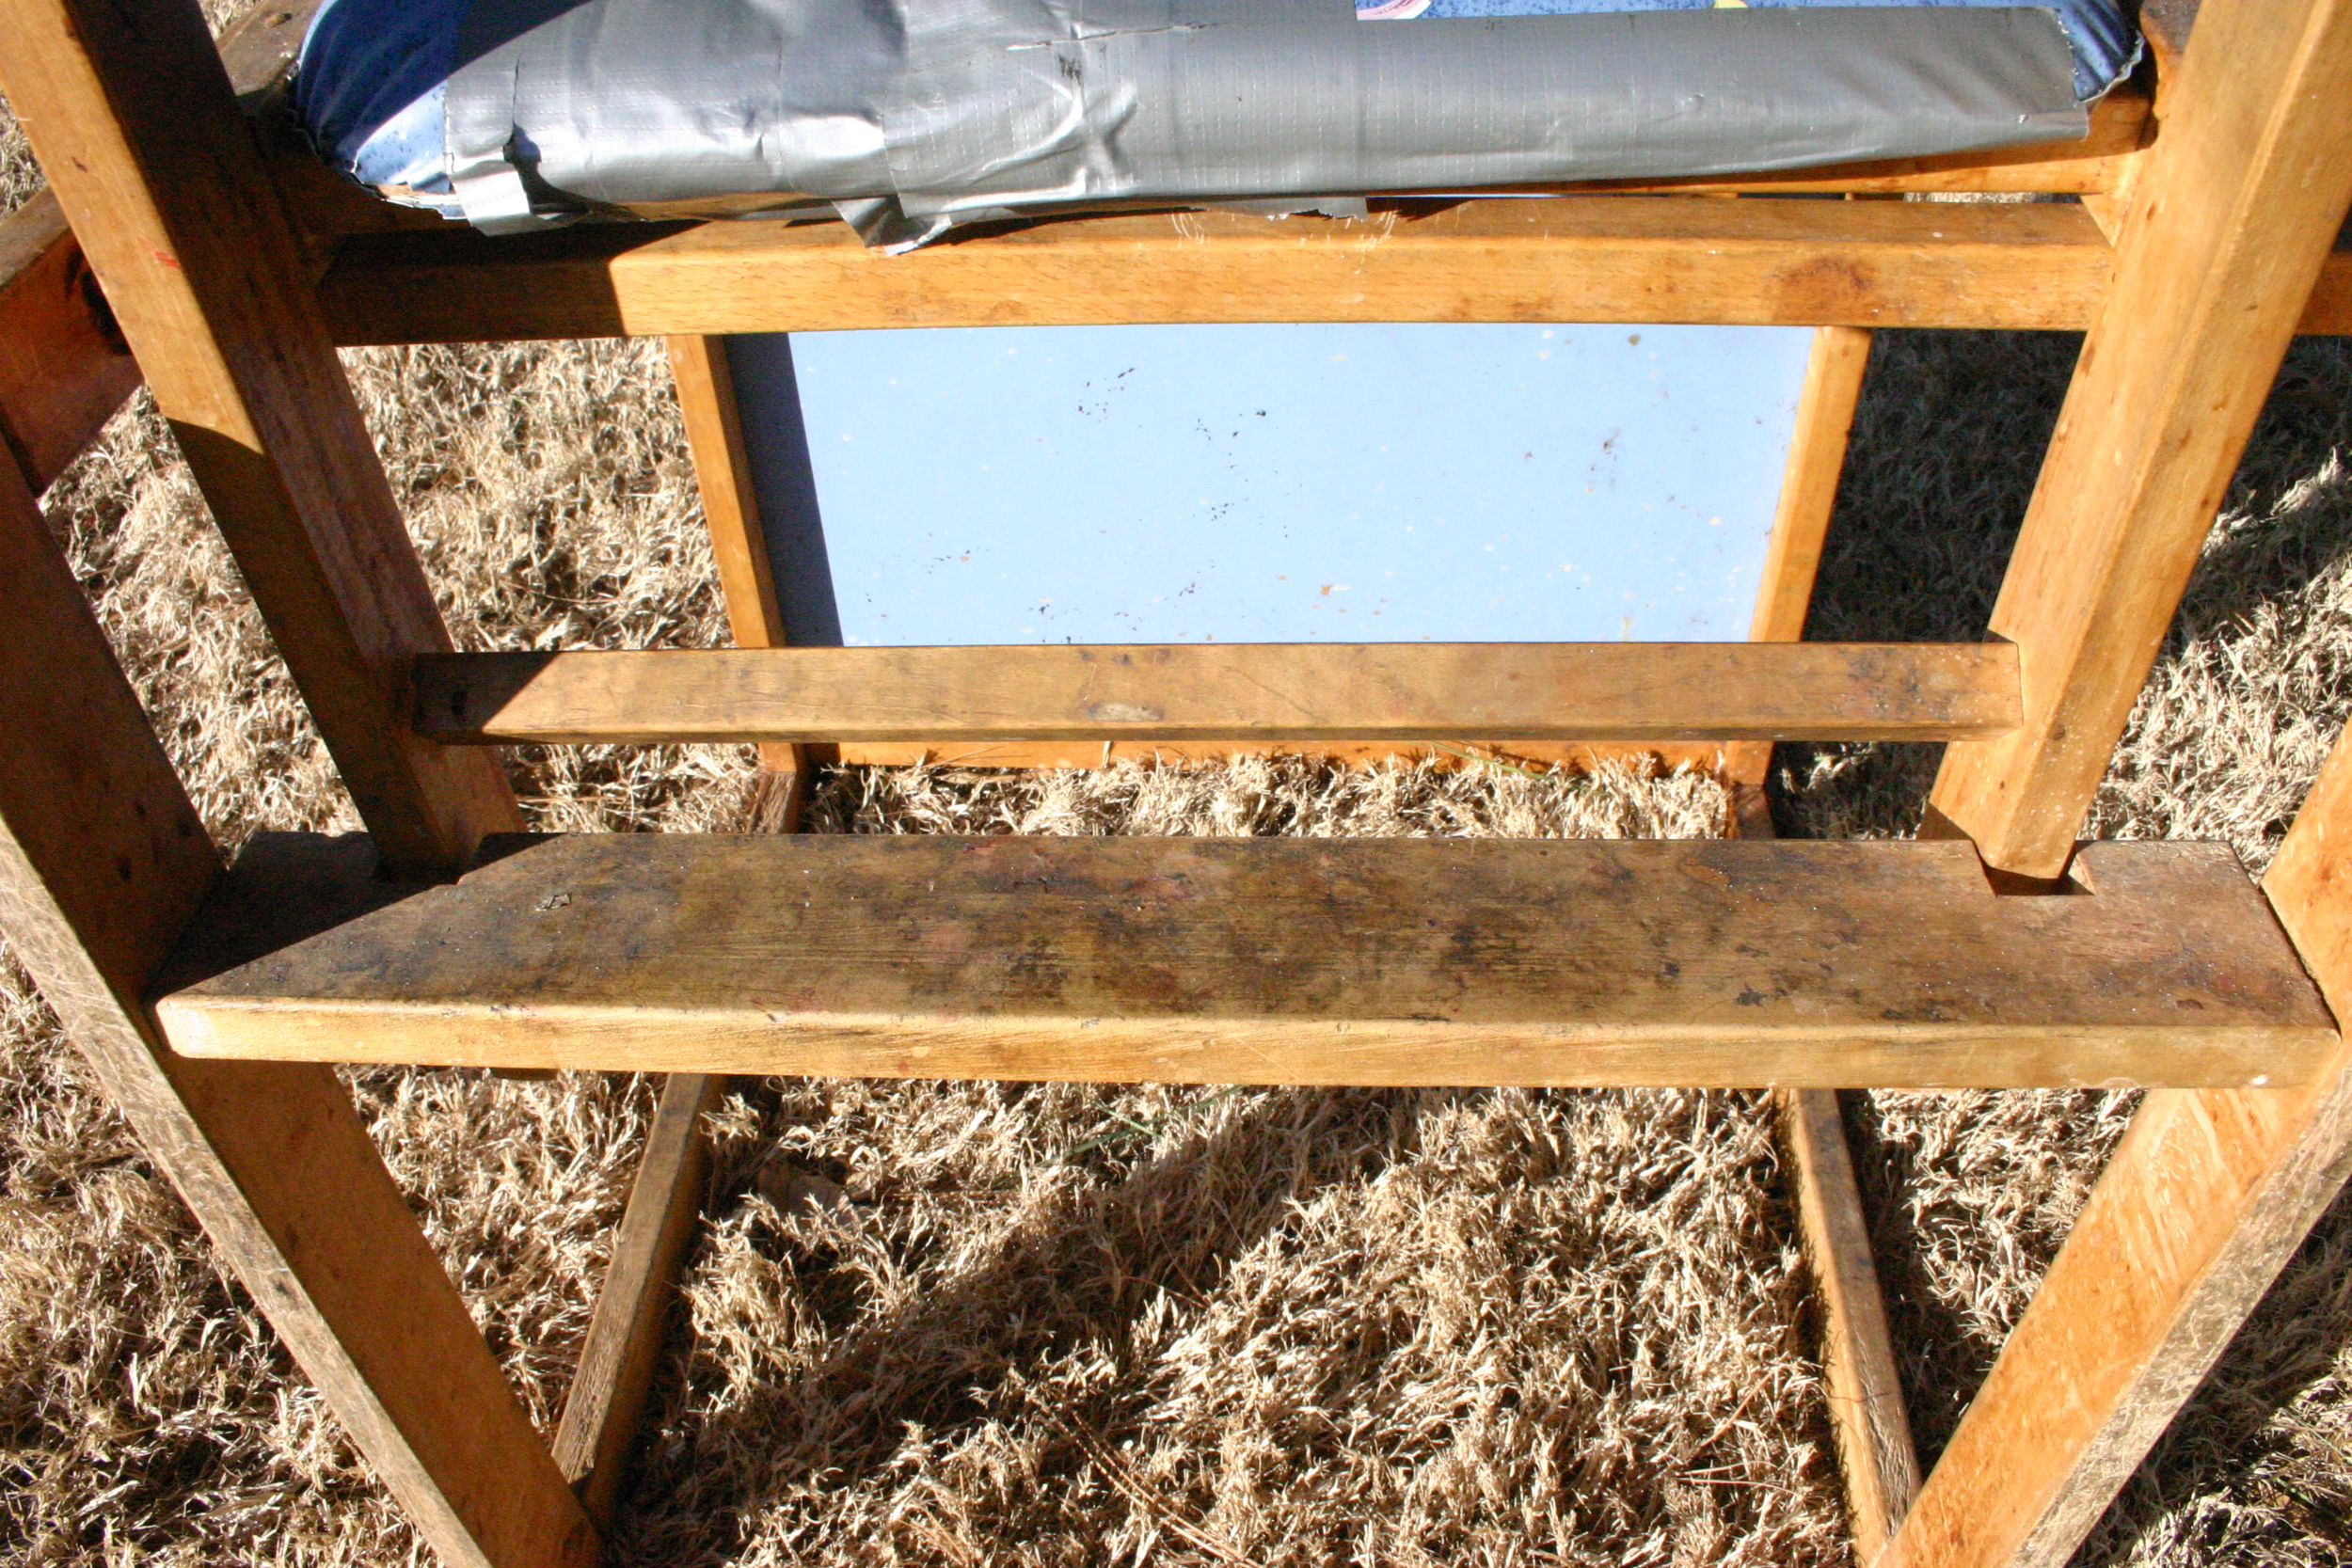
Every square inch was covered in nasty gunk!!!  But other than the tear in the seat (Duck tape? Seriously?) it was structurally sound. And super neat.... the top of the chair lifts off the base...and the base can be flipped over and used as a desk with a dry-erase top...nifty little thing.

Since the tray was missing and it probably is no longer considered "high chair safe" I decided to spruce it up and make it into a little child's booster chair!  Definitely not something you would want to put your toddler in and leave unattended, but sturdy enough for a young child! 

First I removed the seat and back and the old tray brackets. 

Then I had to clean it!  I put it in the tub and saturated it with straight ammonia....

The nastiness just melted off.  I can not tell you how disgustingly filthy this thing was and I am sick that someone would put their child in it...just gross.

After scrubbing it with ammonia and steal wool, I let it dry thoroughly and then gave it the ole' KSTP treatment...Kilz, sand, tack cloth and paint.  

I decided to spice the frame up a bit with bright red paint. I used a black and white damask with red piping on the cushions. The seat was pretty thin so I added a little foam padding before recovering it. 

I painted the dry erase board on the base with chalkboard paint! I'm kind of addicted to that stuff!

Just darling.  I just love anything that is "unique."

And while it really isn't safe to use as a high chair, it would make a perfect "kitchen helper."

Easy recipe book....

I love recipes.  I've collected a lot of recipe books over the years, including one my mother received as a wedding gift in 1961....a church recipe book.  It is awesome!  Best peanut butter cookie recipe EVER!

My uncle inherited my Grandmother's recipes and I brought them home and scanned EVERYTHING....every handwritten recipe, every newspaper and magazine clipping, every box recipe.  Anything she had in her recipe boxes, I scanned.  Someday I plan on making a recipe book with all the scans...someday.  They have been on my computer for over two years...but someday. 

So when I started cruising Pinterest I wanted to keep ALL the recipes that sounded even remotely good.  But I discovered that sometimes when you pinned a link, it was no longer there when you went back later.  So I had to find a way to organize all the recipes. 

I started printing them off, tacking them to the refrigerator and then if we liked them, I would put them in a "recipe book." 

I found the easiest way to do this was to "cut and paste" the recipe into an email, email it to myself and then print it off.  If it passed the family taste test, I would slip it into my recipe book. 

The book is a simple scrapbook with the little clear sleeves with paper inserts...50% off at Hobby Lobby.  I can add additional pages to it when I need to and the sleeves make it easy to slip the recipes in and keep them from getting cruddy when I splatter stuff on them.  

If I am feeling creative I will put holiday scrapbook paper in place of the white paper inserts.  

Pinterest and the internet are loaded with awesome recipes...and I really believe the secret to being a good cook is the willingness to try new recipes, even if you need to change them up a bit! 

Keeping up with all those recipes can be daunting and most of us rarely have the time to write them down on nice little cards and file them in nice little boxes like our mothers and grandmothers did.

Print, trim and slip....easy.  


Ode to Joel....

I try to come up with clever post titles....Lindsey at Betterafter.net ​always has the most clever titles for her blog posts.  Just too much brain effort on my part.  Sometimes I am funny, but it is just because I say and do stupid things...not because I am necessarily "witty."   Besides, if you aren't over the age of 45, you wouldn't get the title of this post.  (Ode to Billy Joe....not so great song...even worse movie)

Anywho, it was one of those days I had a million errands to run, one of which was to Hancock Fabrics to pick up some piping for the pillows I am making (another post for another day...if I ever get around to it!) Always on a hunt for a bargain, (i.e. digging around on the back shelves)​ I found some 90% Christmas clearance.  CHRISTMAS IN MARCH!!! LOVE!!!   I love Christmas...I love decorating for Christmas.  And every single year I proclaim "THIS IS IT!!!  Not another thing!"  But then I find the bargains....

IMG_8640.JPG

Seriously, who wouldn't love boxes of ornaments and gingerbread cookie cutters for .59 and strings of silver beads and pearls for 1.49 a strand!!!  And those cute little metal trees for 1.69!  Seriously, who wouldn't love finding this stuff in MARCH!!??? If I didn't love spring and fall so much I would be antsy for the Christmas holiday!!!

Anywho, taking this picture reminded me of how much I LOVE MY UNDER COUNTER LIGHTING....which brings me to my "Ode to Joel."  My FAVORITE son in law in the whole wide world.  Now, he will be quick to remind me that he is my ONLY son in law, but honestly, that is not the point.  He is my favorite.​

And not just because he is an electrician who is gracious enough to work during his visits.  See, I always have some electrical issue that is just a tad over my head...or rather one that I know would take him 4 hours to complete when it would take me 2 DAYS!  And who has time for that during the holidays...seriously! ​

So for YEARS I have wanted to put can lights in my kitchen.  I just thought they were so cool looking AND my kitchen felt a bit "dark" and "smallish" because of the lack of decent lighting.  But the "in" can lights right now are a little pricey and I knew I wouldn't be happy with the ones like I  have in my den...because, after all, those are not the "in" lights right now.  The "in" can lights are like the ones Joel installed in ​my bathroom last summer...that I love...but rarely turn on because you could land a jet in there now when both the vanity and can lights are on!

So last fall,  I went to Lowes (again, my fav) and started looking at lighting options.  I have never been a fan of the little "pot" lights that go under cabinets...kind of thought they were silly looking...but I did like the LED strip lighting they had...and while an 18" strip was around $60, I only needed three!  ​And they last "a lifetime" and you never have to change the bulbs.  Hum....that is right up my alley. 

So that is what we bought.  Long story short, we created a new switch next to the disposal switch (that required adding a larger box and second switch and some unanticipated tile repair....good thing I keep spare everything!) The lighting was hardwired to the switch and Joel was able to run the wires behind the microwave and refrigerator so the wiring wouldn't show.  ​

Oh, My. Goodness!  I swear my kitchen doubled in size!!!​

IMG_5011.JPG
IMG_5009.JPG

It is just sooo difficult to appreciate what a difference this makes with pictures.  Joel installed them the day before Thanksgiving last year, and I swear my kitchen prep space doubled in size!  It made a huge difference in my usable space because the two corners were just always so dark and impossible to use as prep space. ​

Again, he only installed three...one over the coffee pot (far left), then ran the wiring behind the microwave to the left corner cabinets and installed one there, then ran the wiring behind the refrigerator to the corner in the right.  AMAZING!!  ​

I installed new granite counter tops two years ago (talk about the steal of a lifetime...for another time!) and these new lights just made them POP!!!  Seriously, it has "sparklies" in it I didn't even know were there.  Like little pieces of quartz all through it...I knew it was beautiful granite...but with the added lights, it is breathtaking...seriously! 

But the biggest difference, again, was the amount of usable counter space, which in a small kitchen is a huge plus!!!!​

So....Ode to my SIL Joel...not only is he a wonderful husband and father...but he is a pretty handy dude to have around when there is some serious electrical work to be done!  Is this a "DIY" project?  Yes...it very easily could be and I have no doubt I could have done it myself.  But honestly, he did it in a quarter of the time it would have taken me to do it, at a time when I was a bit busy making pies and stuffing.​

So in my book, that makes him the BEST SON IN LAW IN THE WHOLE WIDE WORLD!!!​

IMG_1204.JPG