Painted bathroom litter cabinet...

I keep a list of projects I want to do on my refrigerator. Repair the irrigation line on the norths side of the house, wainscoting in the dining room, paint the trim, trim tops of windows and doors, paint the bathroom cabinet, add a flower bed around the backflow…and on and on it goes.

When something gets done, it gets marked off…when I think of something I want to do, I add it to the list!

It keeps me focused on what I want to get accomplished…eventually! And being able to check a project off my list feels amazing! (Sometimes if I do something that wasn’t on the list, I add it just so I can mark it off)

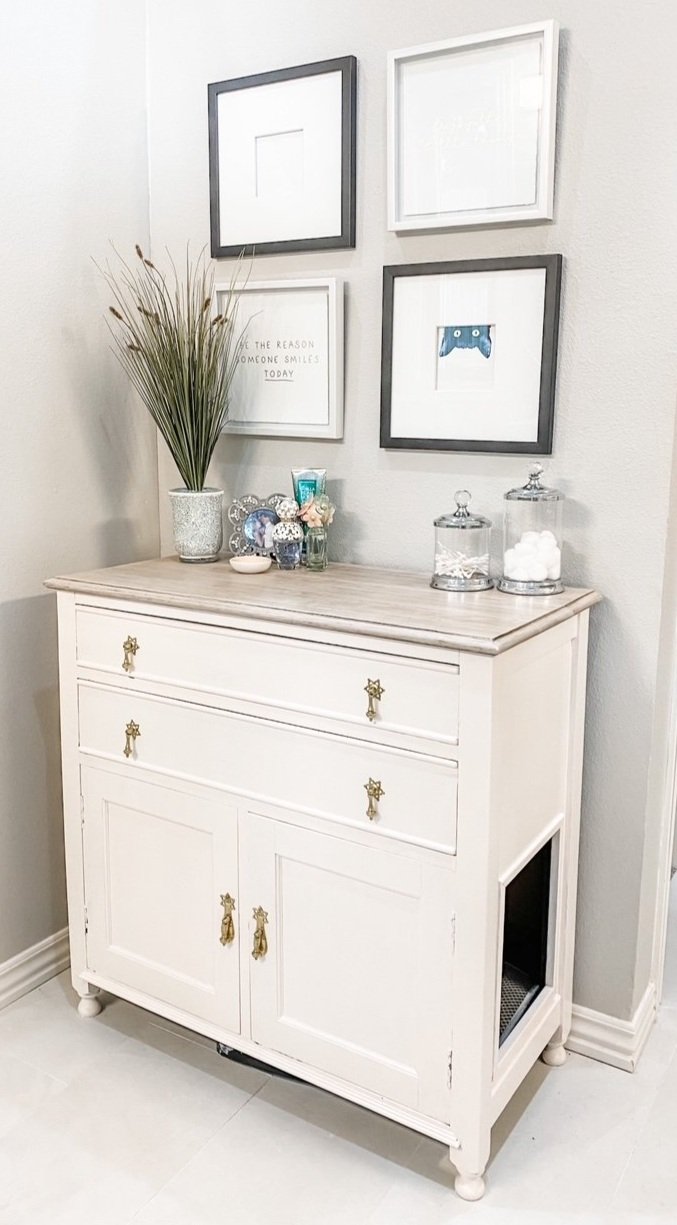
I’ve managed to get a few things done this week. The flower bed around the backflow is done. The dining room wainscoting is done (will share next week) and the littler box cabinet in the master bath has been painted.

Why did the litter box cabinet in the master bath need to be painted since I just painted it you ask?

Last year I painted the bathroom cabinets and in my opinion the two kind of clash…so it has bothered me for the last year.

So I wanted to paint the litter box cabinet but couldn’t decide on a color.

Last week I was cleaning out some drawers and found a little dish my daughter in law got me as a gift. I have no idea why it was stuck in a drawer, but it was my “inspiration” for the cabinet.

I have three cats…I would have more if Brian would tolerate it. My children know me well.

Anyway, I love pink. When I finally decorated my home office, I added a tiny bit of pink. I try not to over-saturate my house with pink because there is a guy living here, but I do like to throw it in there from time to time.

Pink…

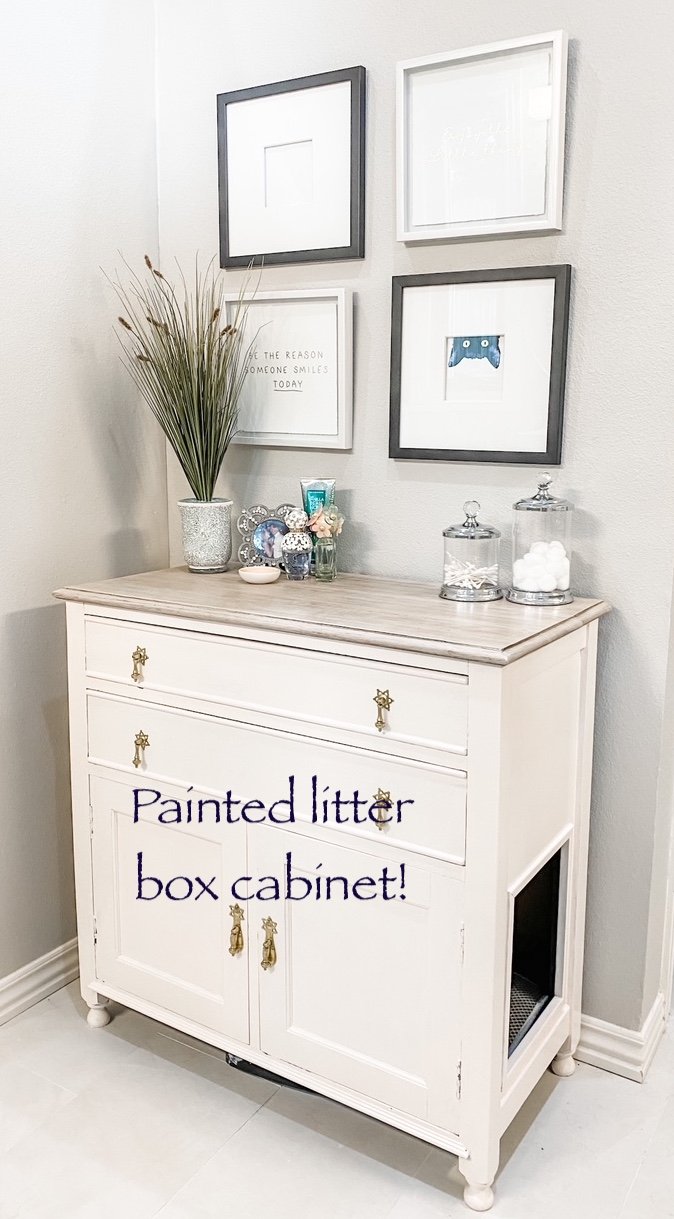
Since I had already done all the sanding and repair and priming and all the other fun prep work before I painted it the first time (HERE I did a fairly decent tutorial for turning a cabinet into a littler box), all I did this time was remove the hardware, scuff the finish with 220 grit paper, tape off the inside and rolled and brushed on my new favorite paint…the BM waterborne alkyd.

Better than my “go to” white…not as stark as black. Shined up the brass hardware again and walla!

Love!

Check. One thing down, a dozen more to go! But that is okay…being able to check one thing off the list feels amazing!
Comment
Share

A stencil backsplash...

Stenciling a backsplash!

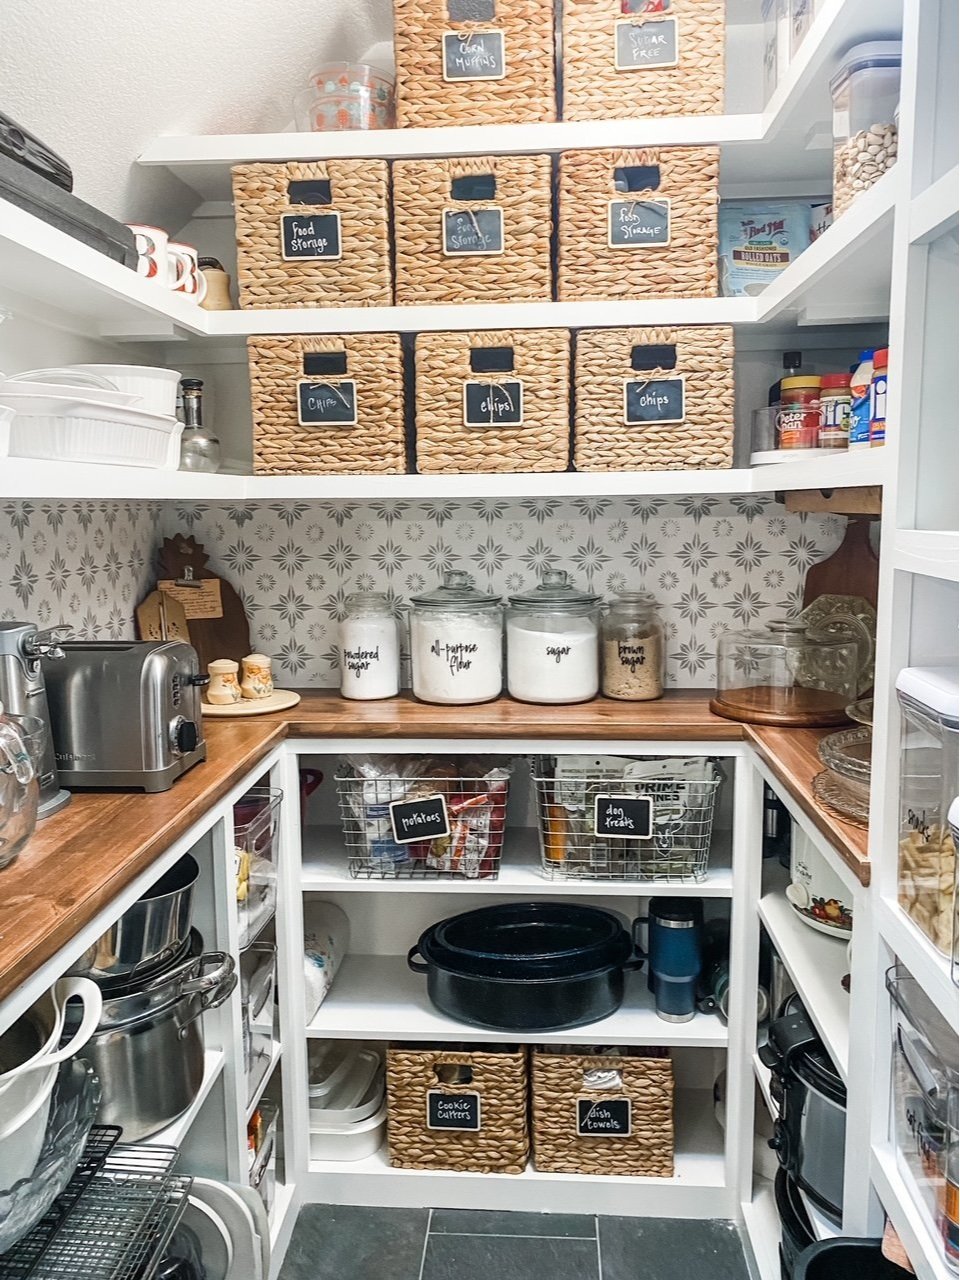
A few weeks ago I shared my new kitchen pantry. I absolutely love how this space looks and functions.

I doubt too many people will ever see my pantry, but I want spaces I use all the time to be functional AND pretty. Like my laundry roomanother space I doubt too many people will see…but I really believe if you make normally mundane or “functional” spaces pretty you are more likely to enjoy the function they serve (like the dreaded laundry chore) and keep them clean and organized. Maybe it’s just me…but the more I love something, the more I am likely to take care of it!

So I remodeled my pantry! LOVE!!!

I knew when I was done that I would eventually add some kind of backsplash around the countertop. I normally would advocate for tile or other hard surface around a kitchen backsplash but this area gets no food prep so it doesn’t really need to be that durable.

I just didn’t know what I wanted. Something simple. Something easy to install. Something that would be easy to change when the bug hit.

Stencils.

My blog friend Cristina used a stencil in your guest bath makeover. I LOVE it…so easy and inexpensive but really finishes off a space.

So I decided to give it a shot.

THIS is the stencil I choose. Not too busy or fussy.

Next head banging decision…color.

I had some green paint I used in the laundry room…I had some black paint from my front door. I mixed the two together and got a greenish/grey…PERFECT!

Again, there are hundreds of stencil tutorials out there…again, find one that makes sense to you. It is a seriously simple project…and if you make a mistake you can take a wet rag and wipe it off (from experience!).

In the end I have a nice “tile look” backsplash that will be super easy to paint over when I no longer want it.

It took all of MAYBE two hours to do and cost me $12 for the stencil. If you need paint as well, I would suggest getting one of the sample pots of paint or even a couple of little bottles of craft paints. It does not take a lot of paint!!!

There were a couple of spots where I got paint where it shouldn’t be…that is where leftover wall paint came in handy. I just took a little craft brush and spare paint and did a little touch up!

Simple, inexpensive project that packs a punch.

My favorite!

It's time to look for discounted perennials!

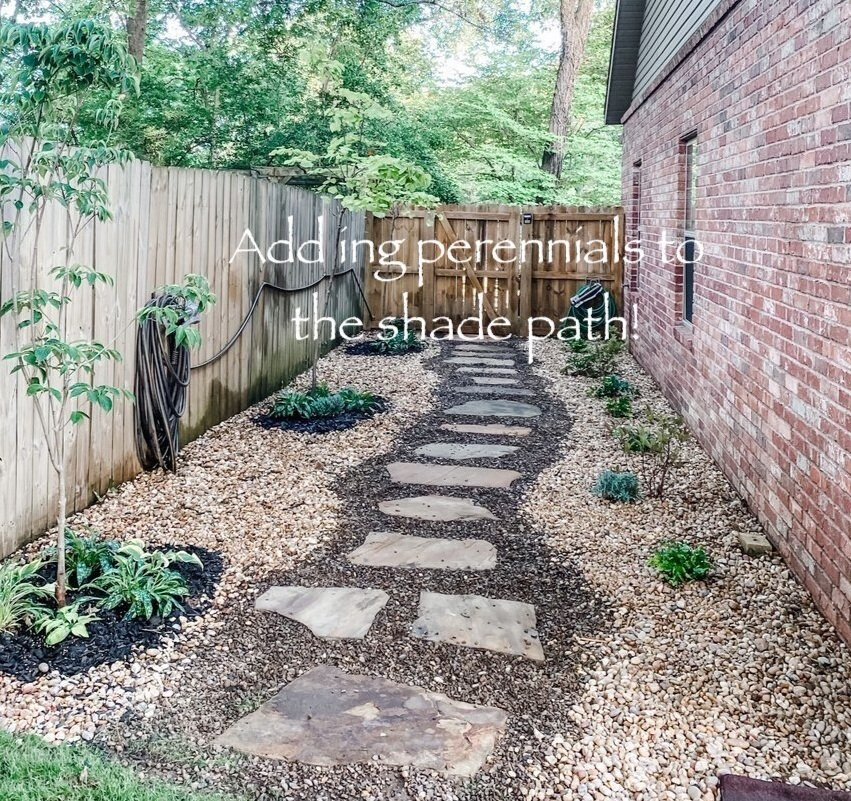
A couple of months ago, out of necessity, I created a little flagstone and rock path on the south side of my house….

When I first made it, it was all crisp and perfect…then two big dogs did a little “zoomy” number on it. Now it’s not so “crisp and perfect.”

So be it…still better than the wasteland that was there before. Too much moisture and shade for grass to grow but shade loving perennials will LOVE it!

First, let me explain the difference between annuals and perennials.

Annuals last one year and in MOST zones have to be replanted every year. Perennials come back every year…in MOST zones. It is important to check your “zone” and know what you can count on to come back and most importantly, WHEN you can plant. Our last freeze is in mid-April, whereas northern states may have freezes as late as early May. Know your zone…then in my experience, add a few weeks just to be on the safe side.

THIS is a good site to check your planting zone. Again, I always add a few weeks to our freeze date before I plant. Even though the threat of a freeze may be over, new plants still struggle with cooler temps and heavy rains.

I have been trying to plant perennials as much as I can and just fill in with colorful annuals.

But man they can be pricey. A cute little annual may only cost a few bucks but a perennial can cost $10+.

Short term, painful. Long term, you will be money ahead.

One way I have found to save a few pennies is to look for perennials that have been marked down.

This is the perfect time of the year to look. Sales of plants are starting to slow a tad so stores (especially big box stores like Lowes and Home Depot) are more likely to have markdowns. Plants are more likely to be marked down just from showing stress and being root bound rather than dying from heat and lack of water. Some smaller stores are marking plants down just to get rid of them before the heat hits…especially grocery stores!

That is exactly what I did to fill this side yard with perennials…I went searching for puny plants.

I ended up finding two Redbud trees, 6 perennials ferns, 6 Lungworts, two bottle brush bushes, 2 hydrangeas and a handful of other perennials I have never even heard of….all for 1/2 off. Most big box stores and even nurseries have a place where they put marked down struggling plants. Look for them. (And it never hurts to ask a manager…this week I was helping a friend pick out some perennials and we ended up getting two free and the rest 75% off …SCORE!)

They aren’t dead. They are usually just root bound and maybe have some dead foliage. But they are still salvageable and if you plant them properly and water them well this year, they will all rebound beautifully next year!

TIP: Research each plant and make sure you pay attention to the sun requirements. This area of my yard gets no direct sunlight so I had to make sure I choose plants that could handle shade.

TIP: Make sure you dig a hole twice the size of the root, amend the soil with potting soil if necessary and cut the bottom 1” off the bottom of the root if the roots are “bound.” Water, water, water!!!!

TIP: I used a root stimulater (mainly because of the trees). You can also add fertilizer. Just make sure you follow the directions because you can burn up a plant by giving it too much of either!

I need to split my hostas. I like to wait until they are just popping their little heads up in the spring to split them. Then I can take the splits and plant them in the side yard…free plants!

MOST, if not all, of the marked down plants I picked up should survive this year…but if a few don’t I can always fill in with the hostas.

The only thing I didn’t get at a reduced cost was the dogwood tree. I have several white dogwoods in this yard and I have desperately wanted a pink one. Those aren’t on sale. Not only are they difficult to transplant, they don’t rebound well when they start struggling. I ended up buying a smaller one only because I couldn’t handle the thought of killing a big mature one. Hopefully it will make it!

Most of these plants will bloom in the spring…if this were a focal point in my yard I would have worked a little harder at “layering” the plants so that I would have blooms throughout the season…but it’s not, and I didn’t. Again, if I really have to have some color I can add some annuals or maybe even some pots later.

If you are looking for plants that will come back year after year, this is the time to buy them at a discounted price. With a little TLC this year, they will come back for years to come bigger and prettier!

Comment
Share

The Pantry Makeover....

It has only been a little over a year since I “froo-frooed” my kitchen pantry. I love it and have found all the little storage elements I added to be very helpful. I have managed to keep it fairly organized.

After living with this space for a few years, it is time to reconfigure it and install new flooring.

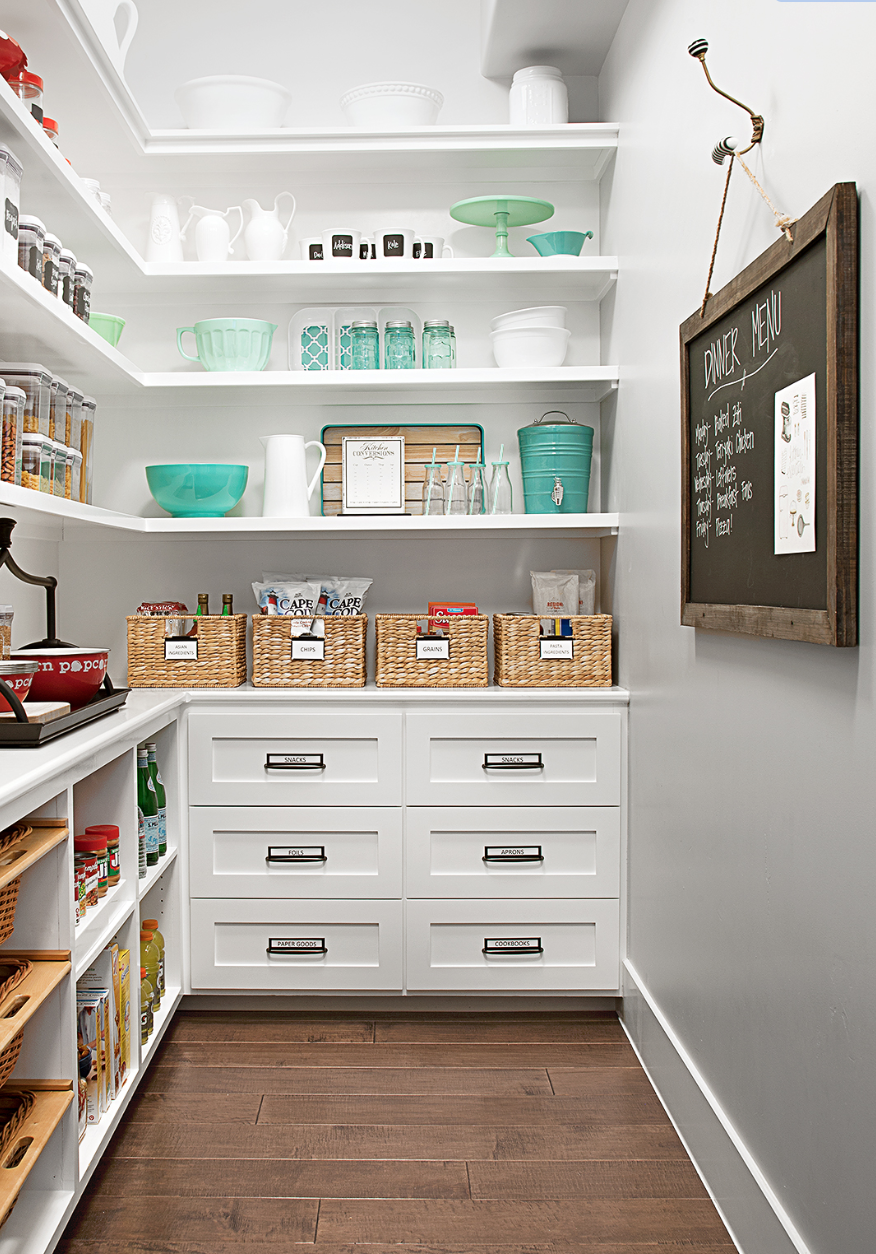
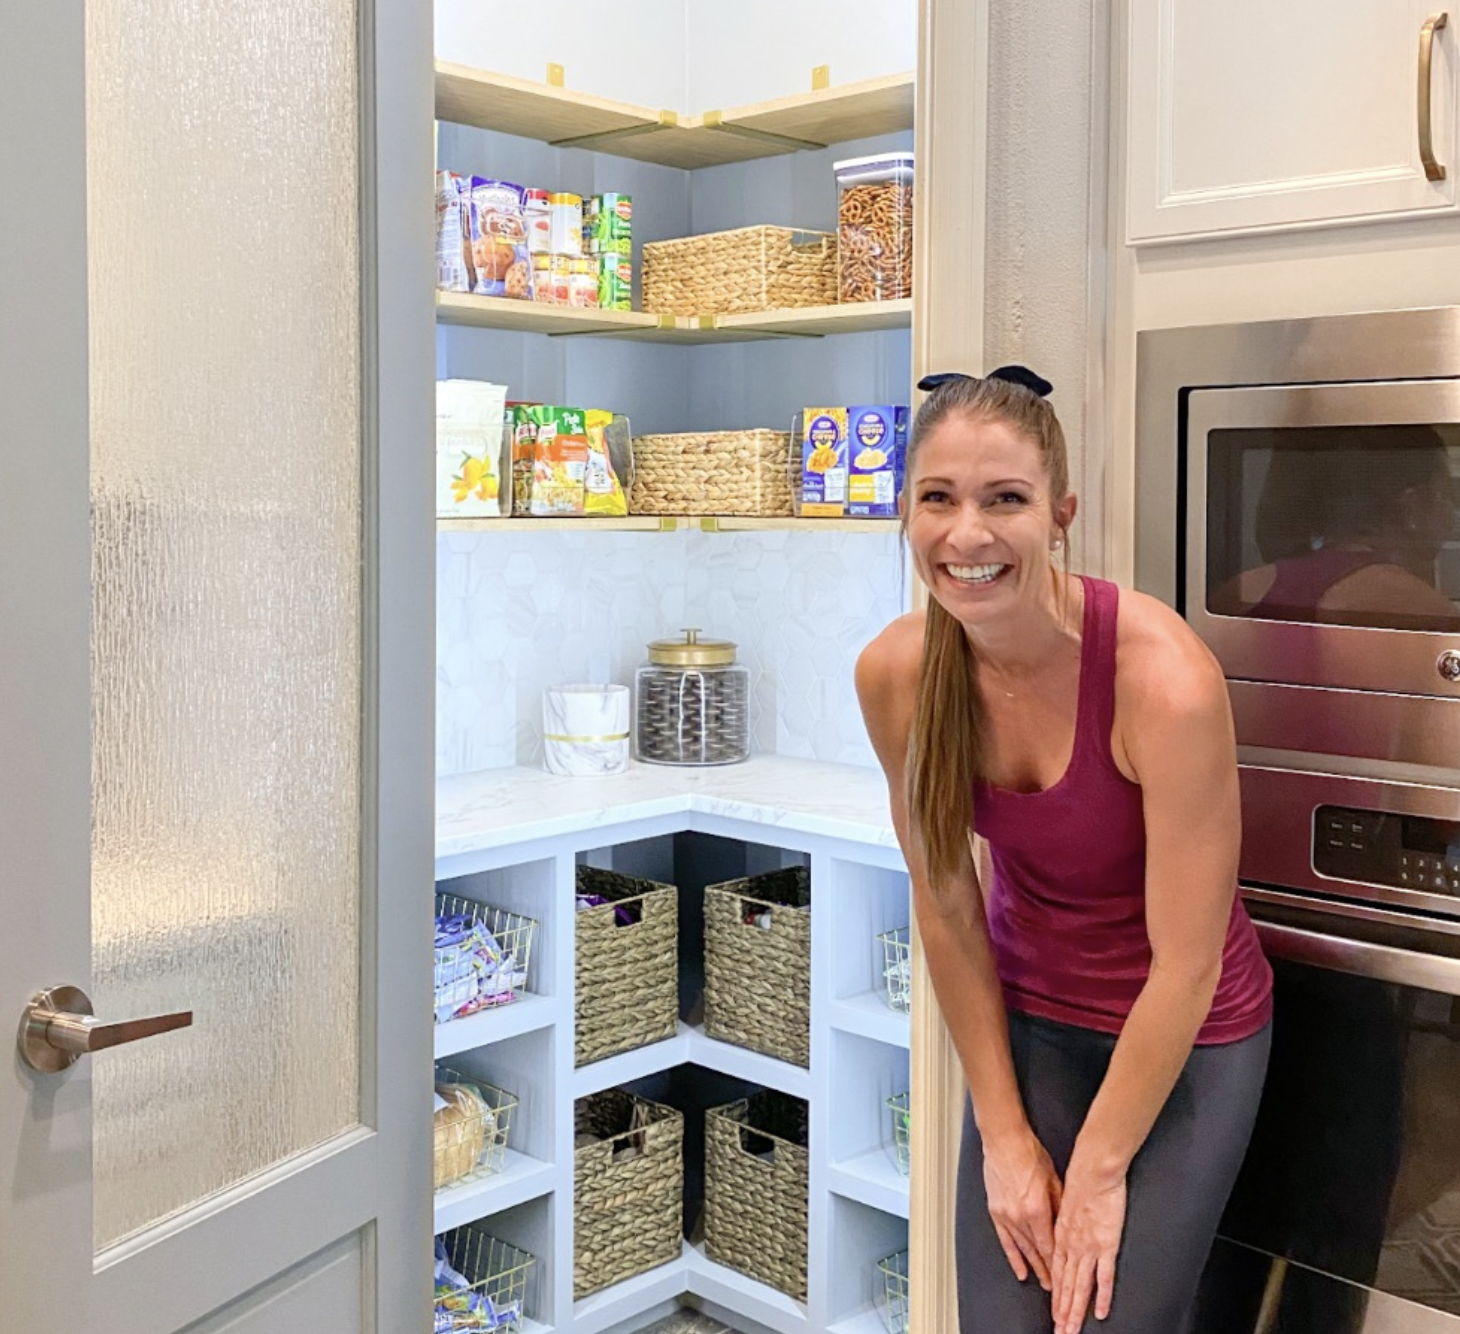
First things first….find my inspiration. Same song, second verse…cruise the blogisphere and Pinterest and see what trips my trigger.

Once I had an idea of what I WANT, it was time to take some measurements and draw everything out on graph paper…inspiration + space = ”the plan.” Drawing the space to scale gives me the ability to play around with the elements I think I want on paper before I start sawing and nailing. It also gives me important measurements for cabinets, flooring and shelf material.

I wanted base cabinets to hide rarely used appliances (food processor, grinder, etc), dutch ovens, crock pots, etc.

I wanted a cute counter top for the flour/sugar jars, toaster and can opener.

Lauren’s pantry was most similar to my layout so I looked closely at what she did….

Like Lauren, I knew I wanted to use 12” wall cabinets as the bases. However, I decided to build my shelves a tad differently.

I liked the look of the shelving featured HERE….

Unfortunately I couldn’t find any wall cabinets to use as base cabinets…at least none that are affordable. It’s a pantry. With the cost of materials THROUGH THE ROOF I have to be conscience of the cost of this little project.

I wasn’t real keen on open base cabinets but Lindsey built some really awesome bases

She posted a great tutorial on building these base cabinets…pretty much exactly the way I built mine!

So all this got worked into “the plan.” Again, a fluid plan, but a plan none the less.

First up…the flooring. The flooring was the original tile and I decided to use the same tile I used in the laundry room. Tiling over the tile in the laundry room worked well so I decided to do that again.

I wanted to reset the shelving and build some additional “shelf towers” so I removed all the existing shelving….

I wanted a new light fixture so I found one I kind of liked. HOWEVER, it came with Edison bulbs. Kind of important since you can see the bulbs through the glass but I just don’t like the light…just too “yellow.”

One morning I woke up thinking “I really don’t like that light.” So I got up, took down the new one and put the old one back up. Again, it’s a pantry…functional is more important that pretty sometimes. Maybe I’ll eventually find something that is both pretty and functional…way down the bottom of the list at this point.

BTW, in case you want to see what “projecting” looks like around here….

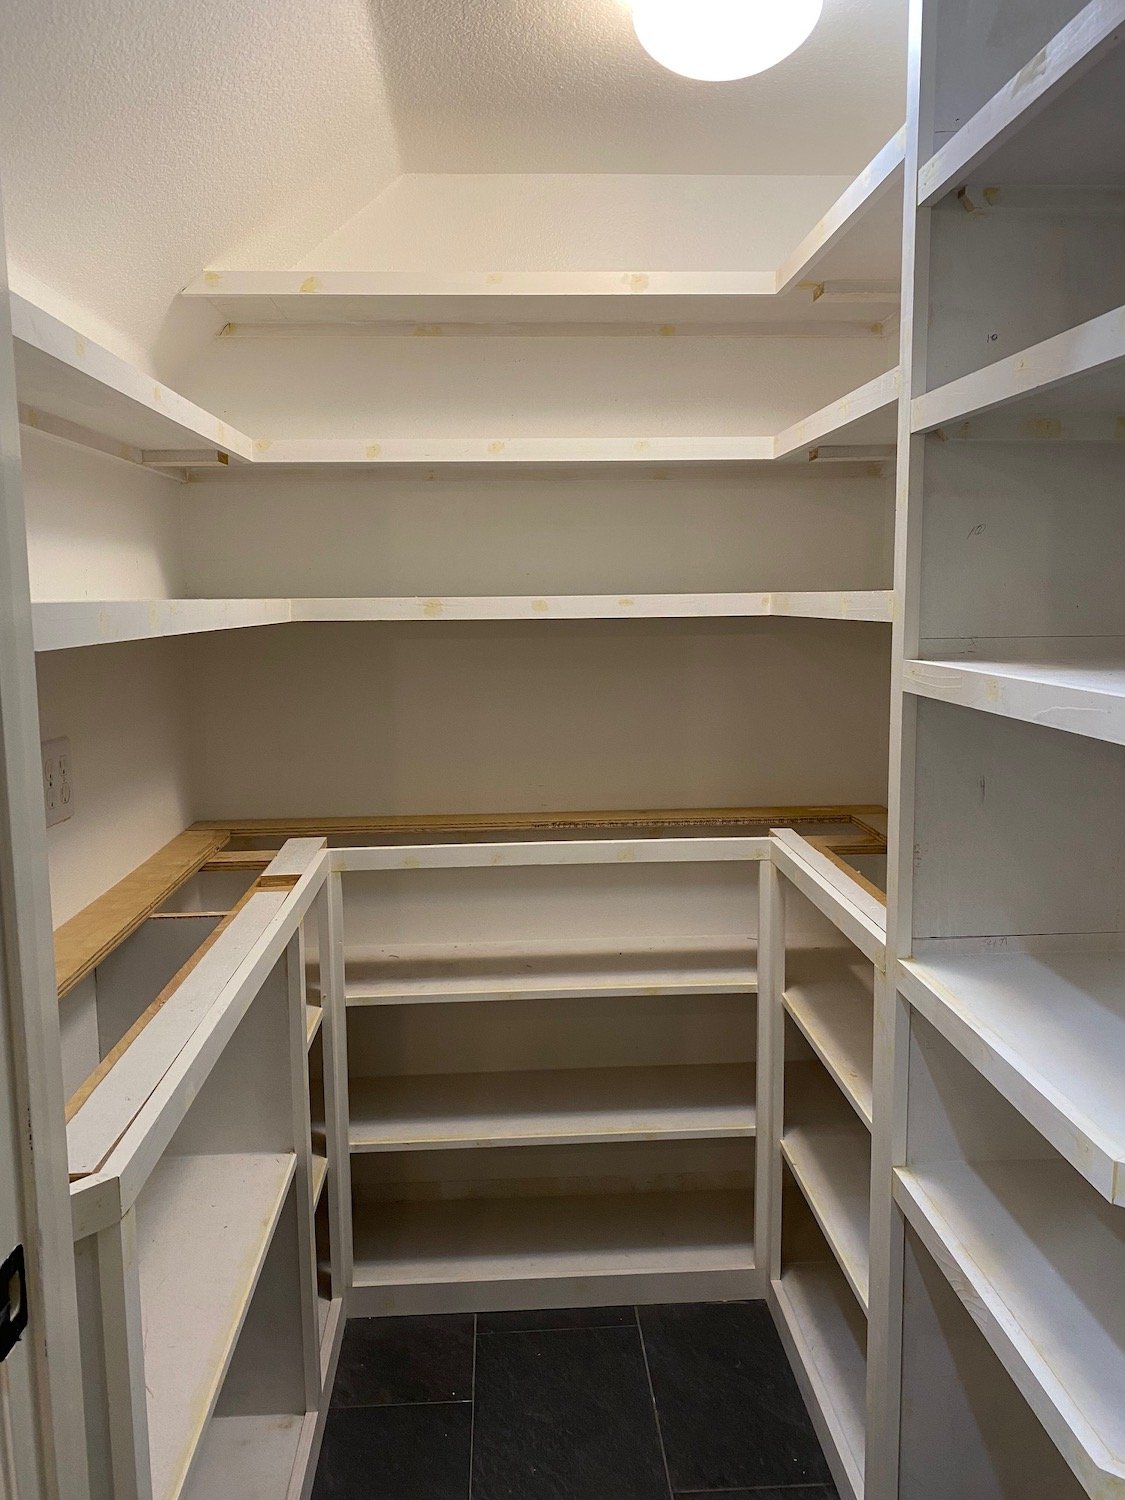
I patched and painted the walls white (my new fav, BM Chantilly Lace), grouted the floor tile, then started building the base cabinets and adding the new shelves. I preprimed and sanded all the material so all I had to do after it was assembled was caulk and putty holes. A light sanding, wipe with tack cloth and it was ready for paint. Prepriming and sanding BEFORE you cut and install will save you a MAJOR dust storm in the house.

AGAIN, I am not going to go into a long drawn out tutorial…just so many great tutorials out there.

Some people go to the lake during Memorial Day weekend. I build shelves.

The countertop. I like wood since it is not an actual food prep space.

If I wanted to splurge I would have built walnut counters or even a butcher block. But again…it’s a pantry!

The question then is if I go with a less expensive wood do I stain it with a dark stain or just leave it natural.

SOURCE

I love the dark stain but I worry it is running it’s course. But you know what, I don’t care. I love the darker stain and since the walls and cabinets are white, dark it is! I decided to use the pine “project board” from Lowes, stain with a “brown mahogany” and then apply a couple of coats of polycrylic. (Remember, polyurethane has a tendency to yellow over time)

Floors done, walls painted, cabinets and shelves built and painted, top on. Now the hard part…letting it all sit and cure before I load everything back in. IT IS IMPORTANT PEOPLE!!!! Let your paint and finishes cure before you go all decor-crazy on it…otherwise you will scar and scuff and will have wasted all your time and money!

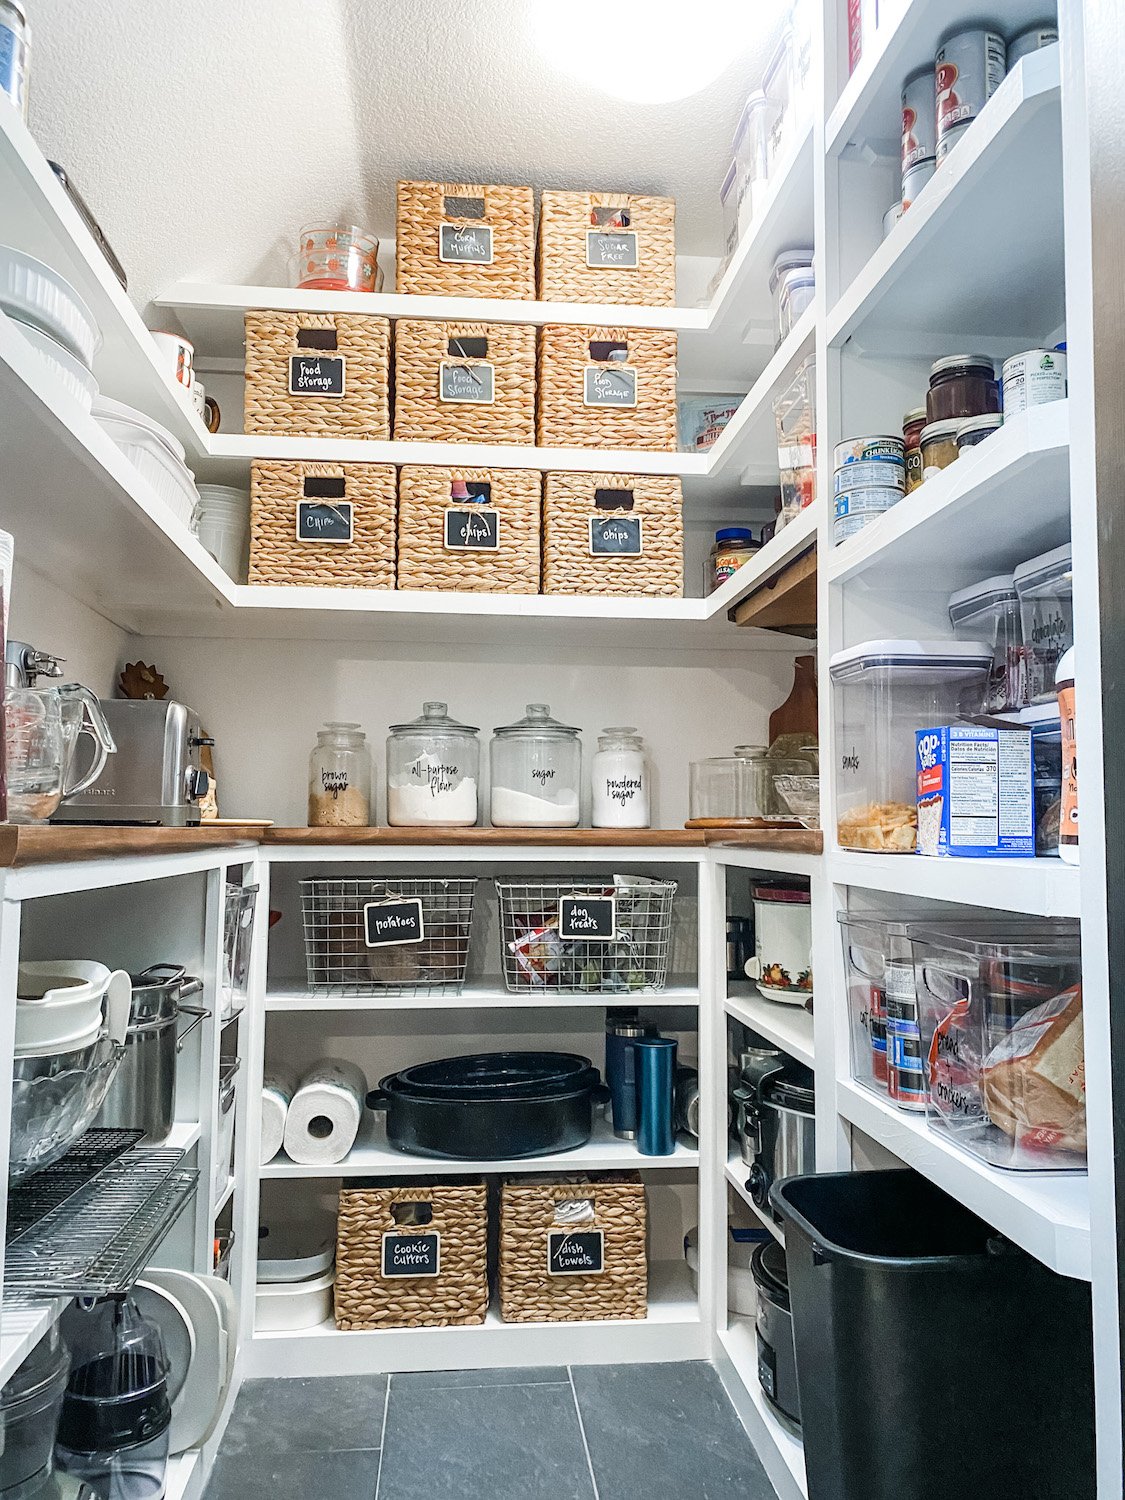
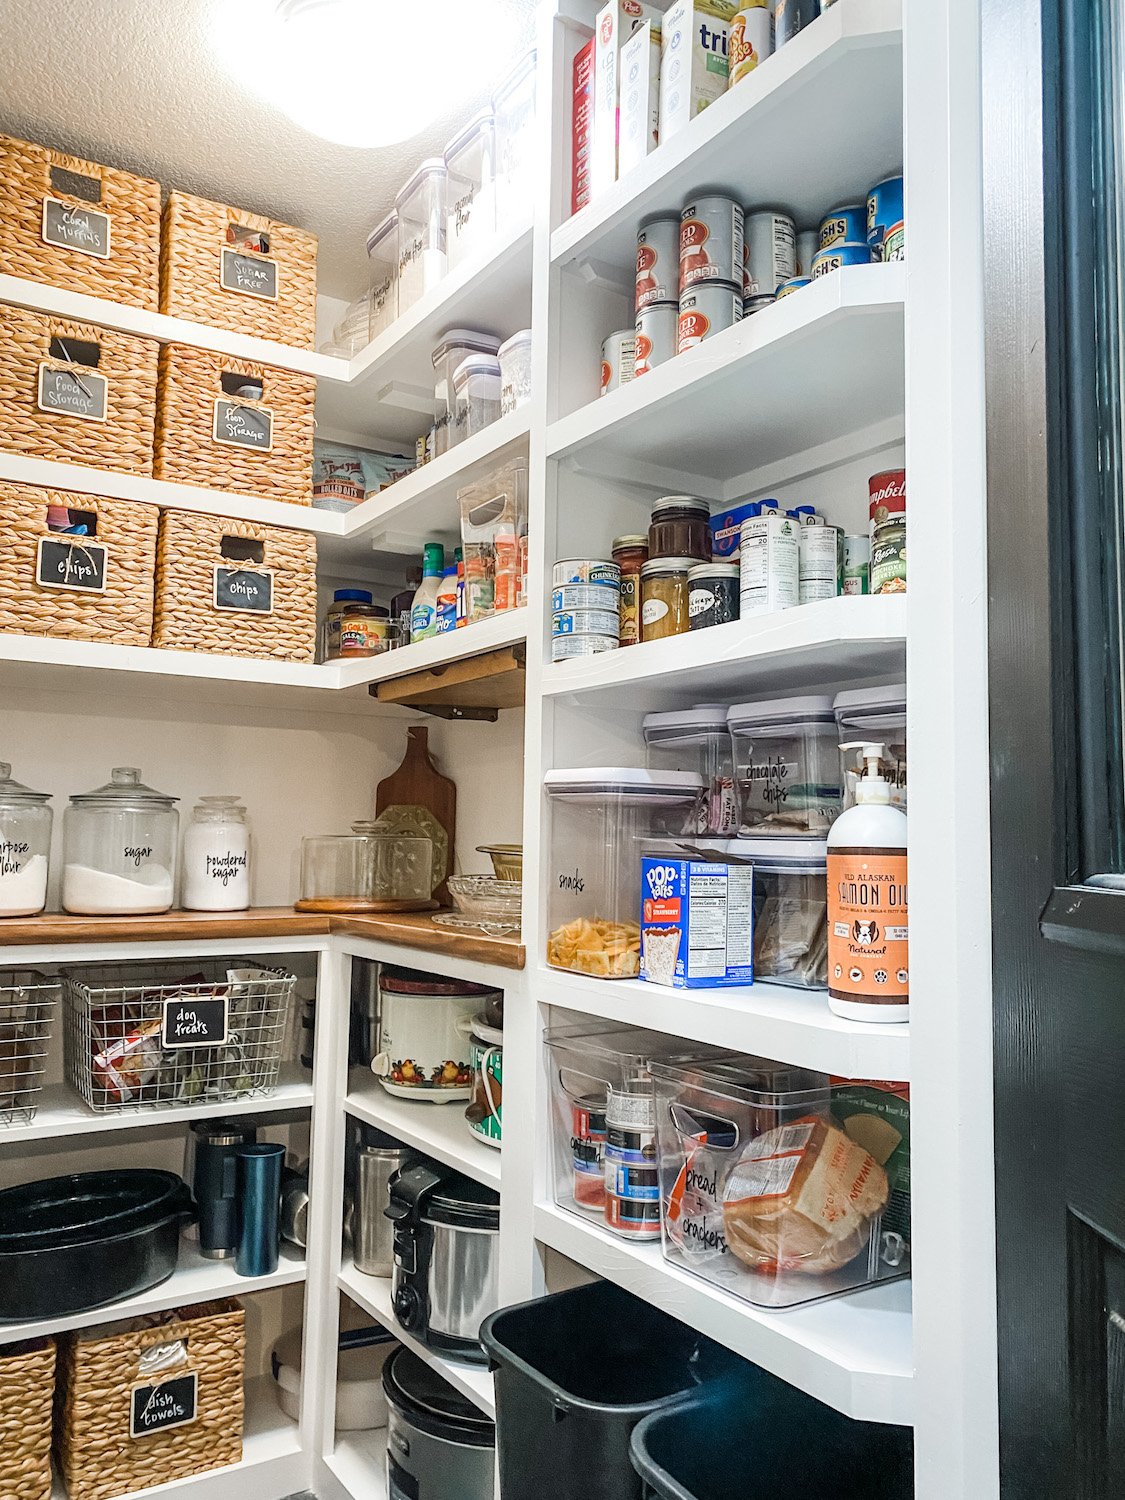
You may notice I actually gained a couple of shelves on the right and middle walls just by reconfiguring them. I also changed the upper shelves on the left to 10” and 8” deep shelves instead of the 12” that were there. I didn’t need the depth and it seemed to “open” up the space a tad.

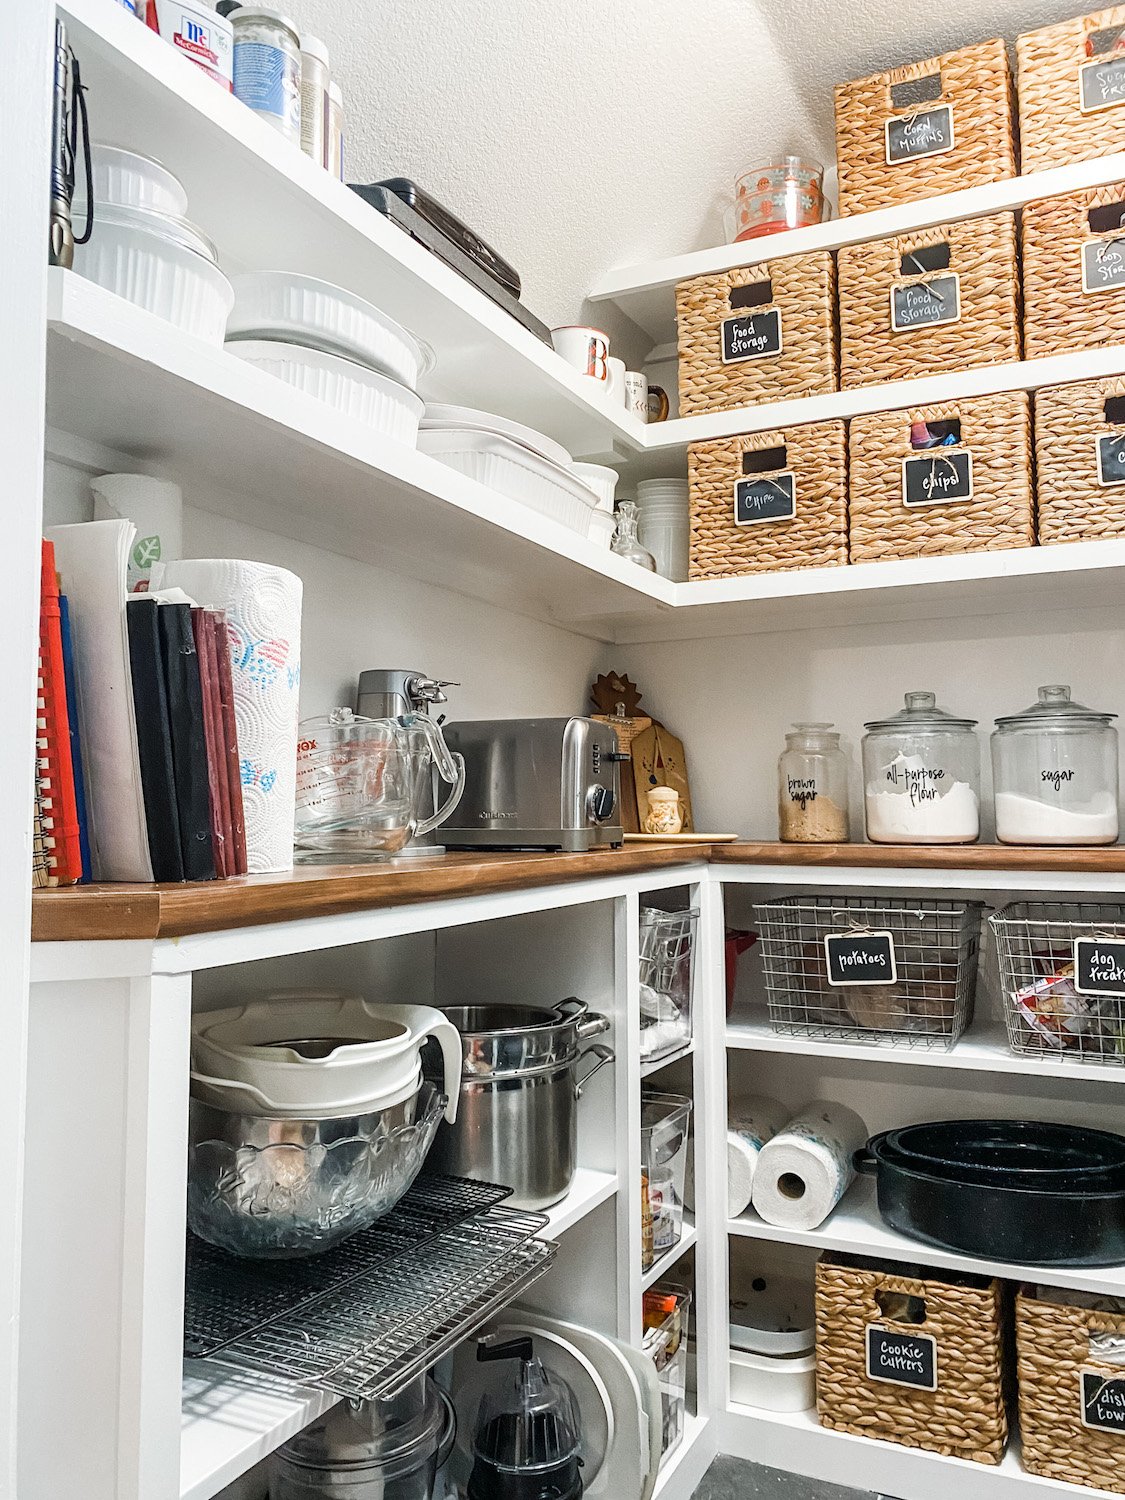
I could have carried the top all the way around on the right and still had dog and cat food storage under it…but I needed a few shelves 14” tall so I decided to do a separate “shelf tower.” Perfect for taller items like the stacked storage containers, cereal boxes and wine bottles. All the other shelves have a 10” clearance which is ample tall enough for most of my stuff.

Right side….

Left side…

I love that we added an outlet in this pantry…perfect for the toaster and can opener so they don’t take up real estate in the kitchen.

I think my Kitchen Aide mixer would look cute in here but I like it on my kitchen counter. If it were in here I would have to haul it back and forth to the kitchen…it’s too heavy and I’m too old!

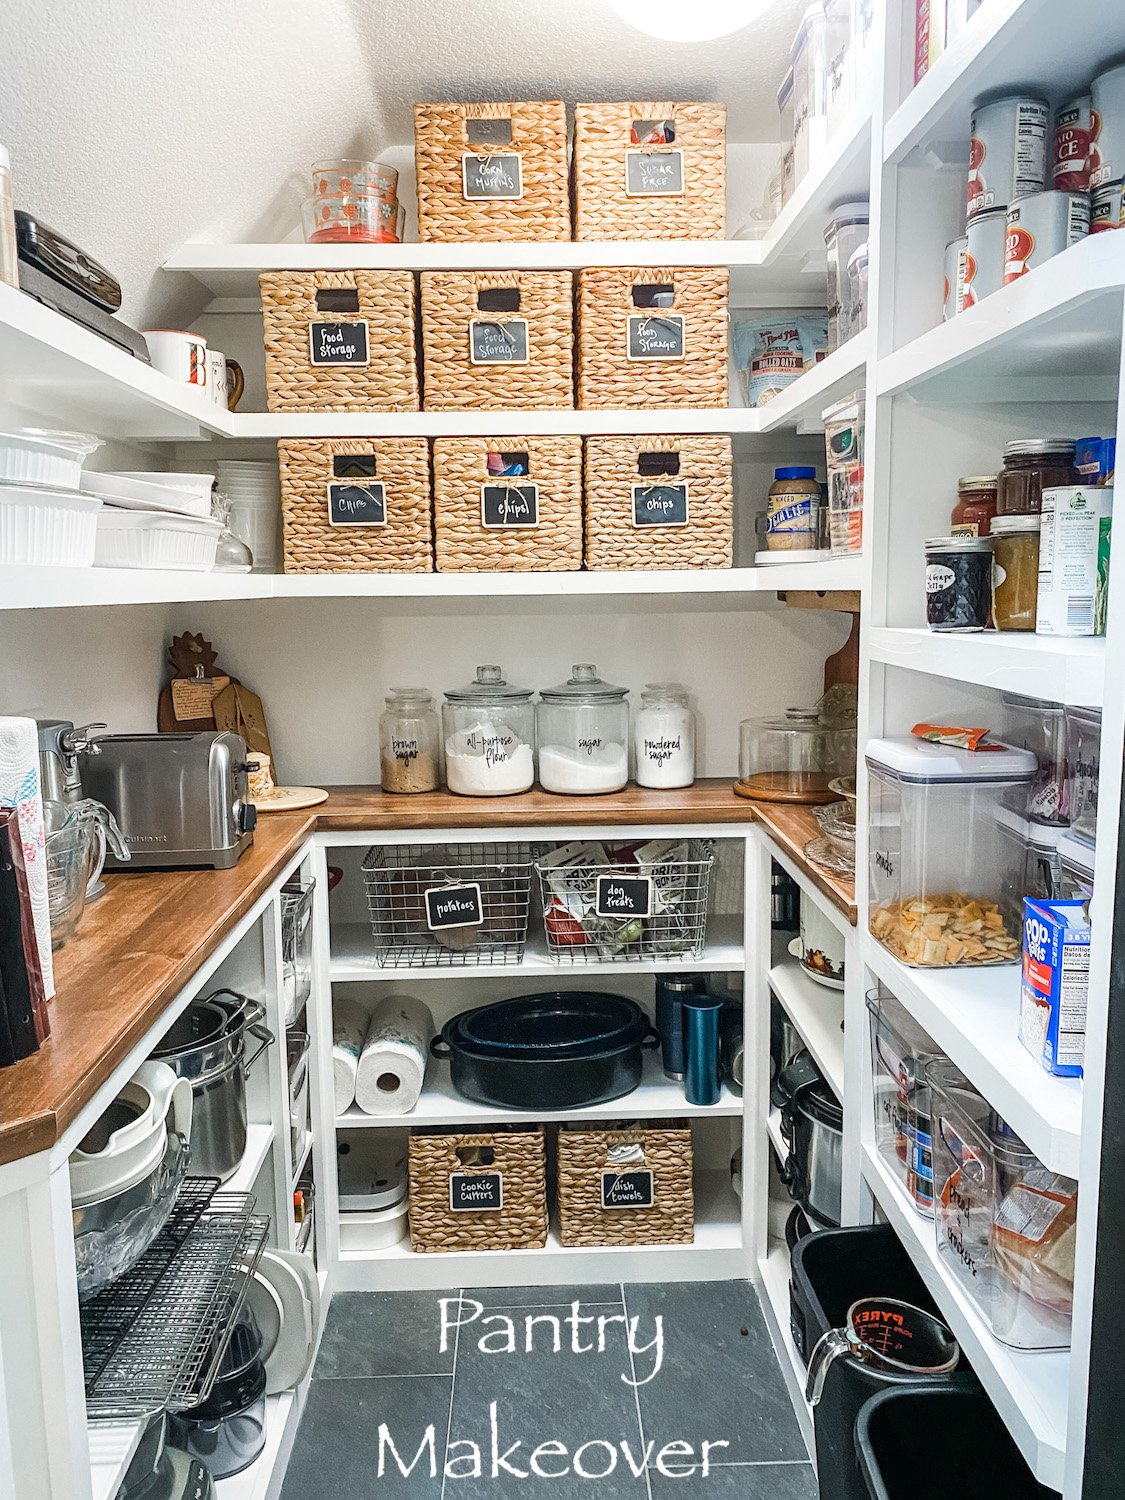
I was a bit bummed that I couldn’t originally find cabinets with doors but honestly I like this look better! While dutch ovens and crock pots aren’t really display worthy, the open shelves keep the room from feeling so small and claustrophobic. Believe it or not this space is only 5 x 5. Tiny but mighty!

I have no doubt that at some point I will add a backsplash…not sure whether it will be tile or wallpaper or something else…but something to give the space a little color and character. Right now I am worn out just getting to this point!

Last year I added glass to the pantry door. I LOVE it and I’m glad that is one chore I don’t have to do now!

The important thing I want to share is that reworking a space can make a huge difference. I now have a pretty pantry that works beautifully as an extension of my kitchen. Remember, I don’t have a lot of upper cabinet storage in my kitchen so this pantry is super important!

On a scale of 1-10? For me, not difficult because I have the tools and the know-how. For a novice DIYer, probably an 8. But there are a ton of tutorials out there for how to build simple shelving or how to use old cabinets to create a space like this. The first thing you have to do is find “inspiration” for the space you actually have and work from there. It is doable…YOU CAN DO IT!!!!!

On a blog board I am on someone said she was afraid to do something like this because she was afraid to mess up.

Don’t be afraid to “mess up.” That is how you learn…watch tutorials and read blogs. There are so many great resources at your fingertips these days.

Use them…and JUST DO IT!