Another Christmas....

Ever year I feature my Christmas decor…every year I think not much has changed.

But it does change…a tad here and there.

Last year I shared a few little changes…same this year…a few things here and there.

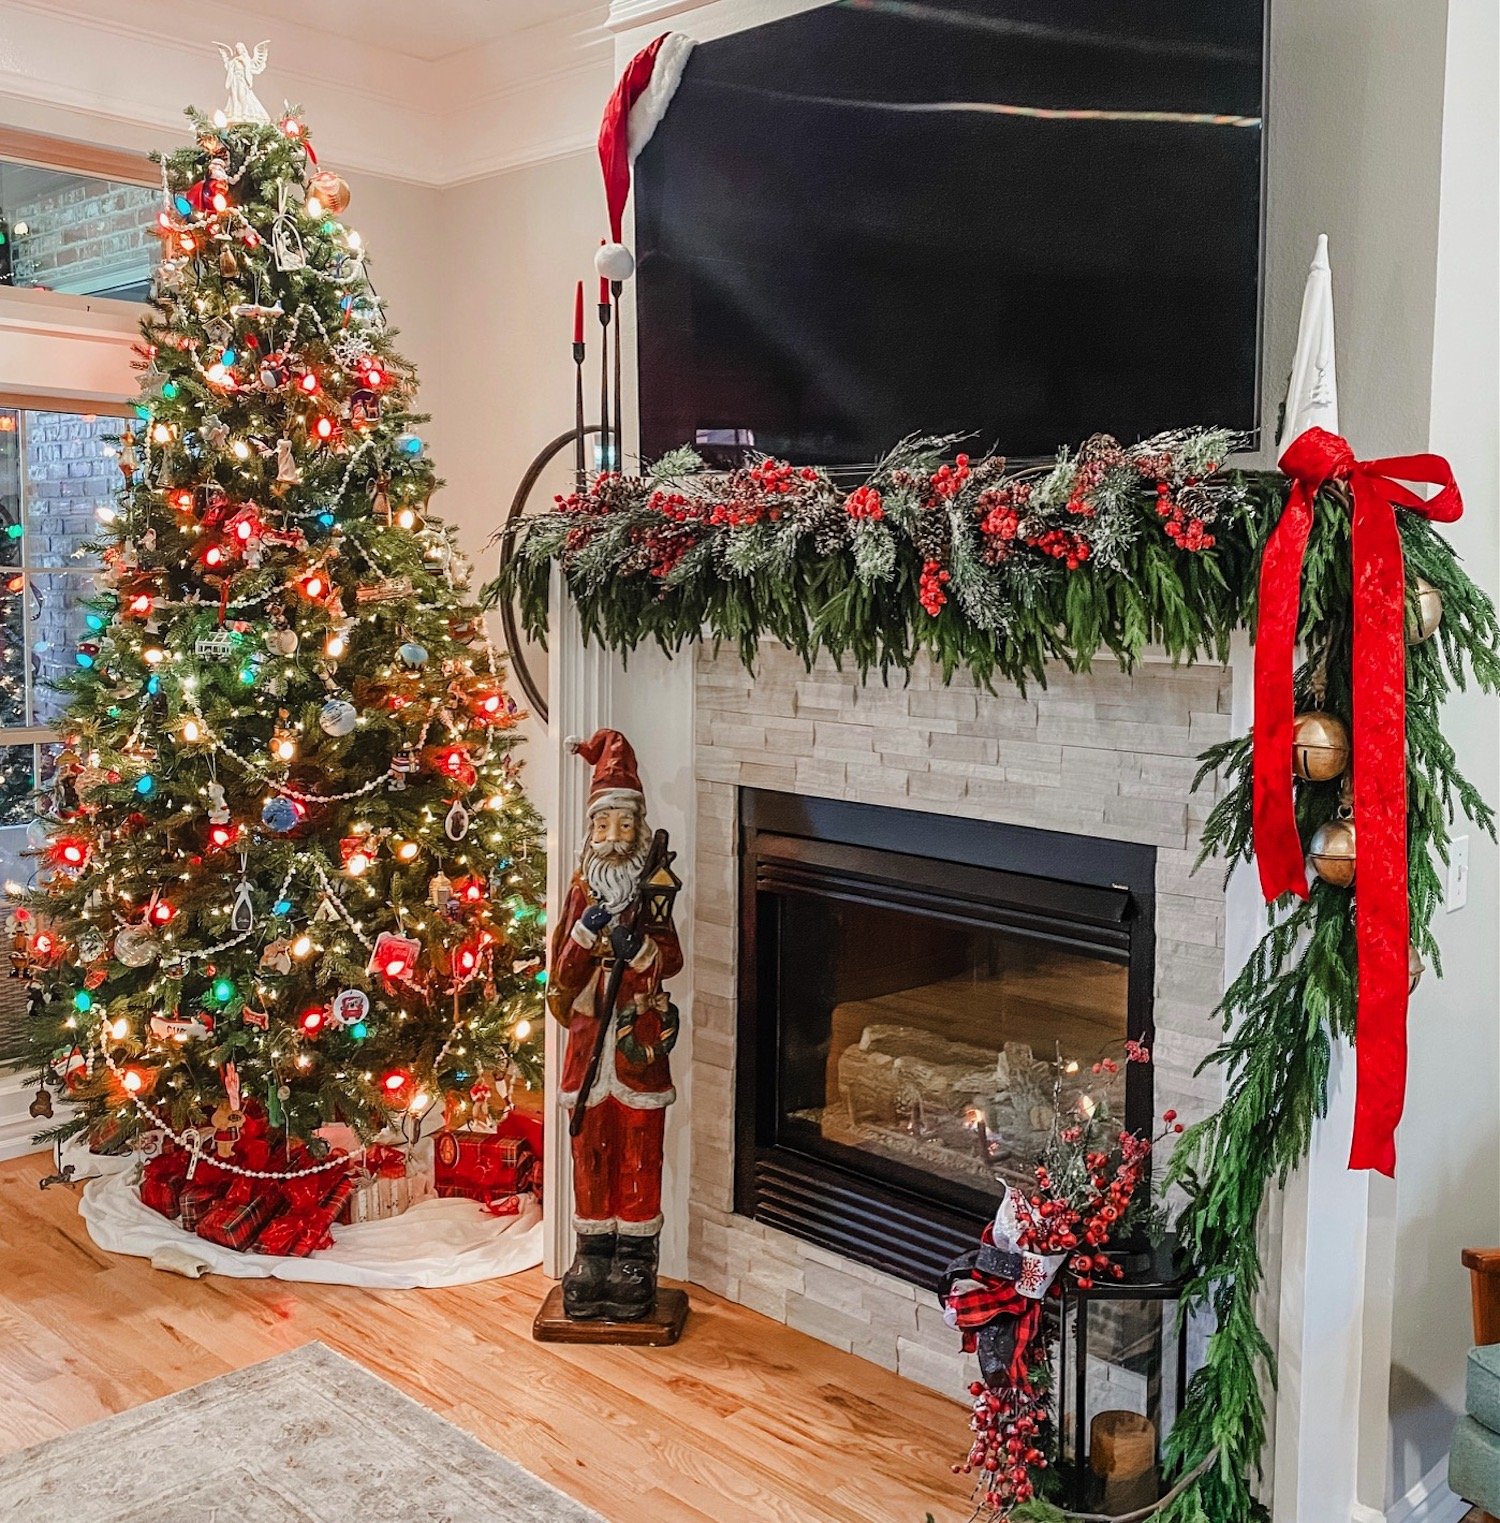
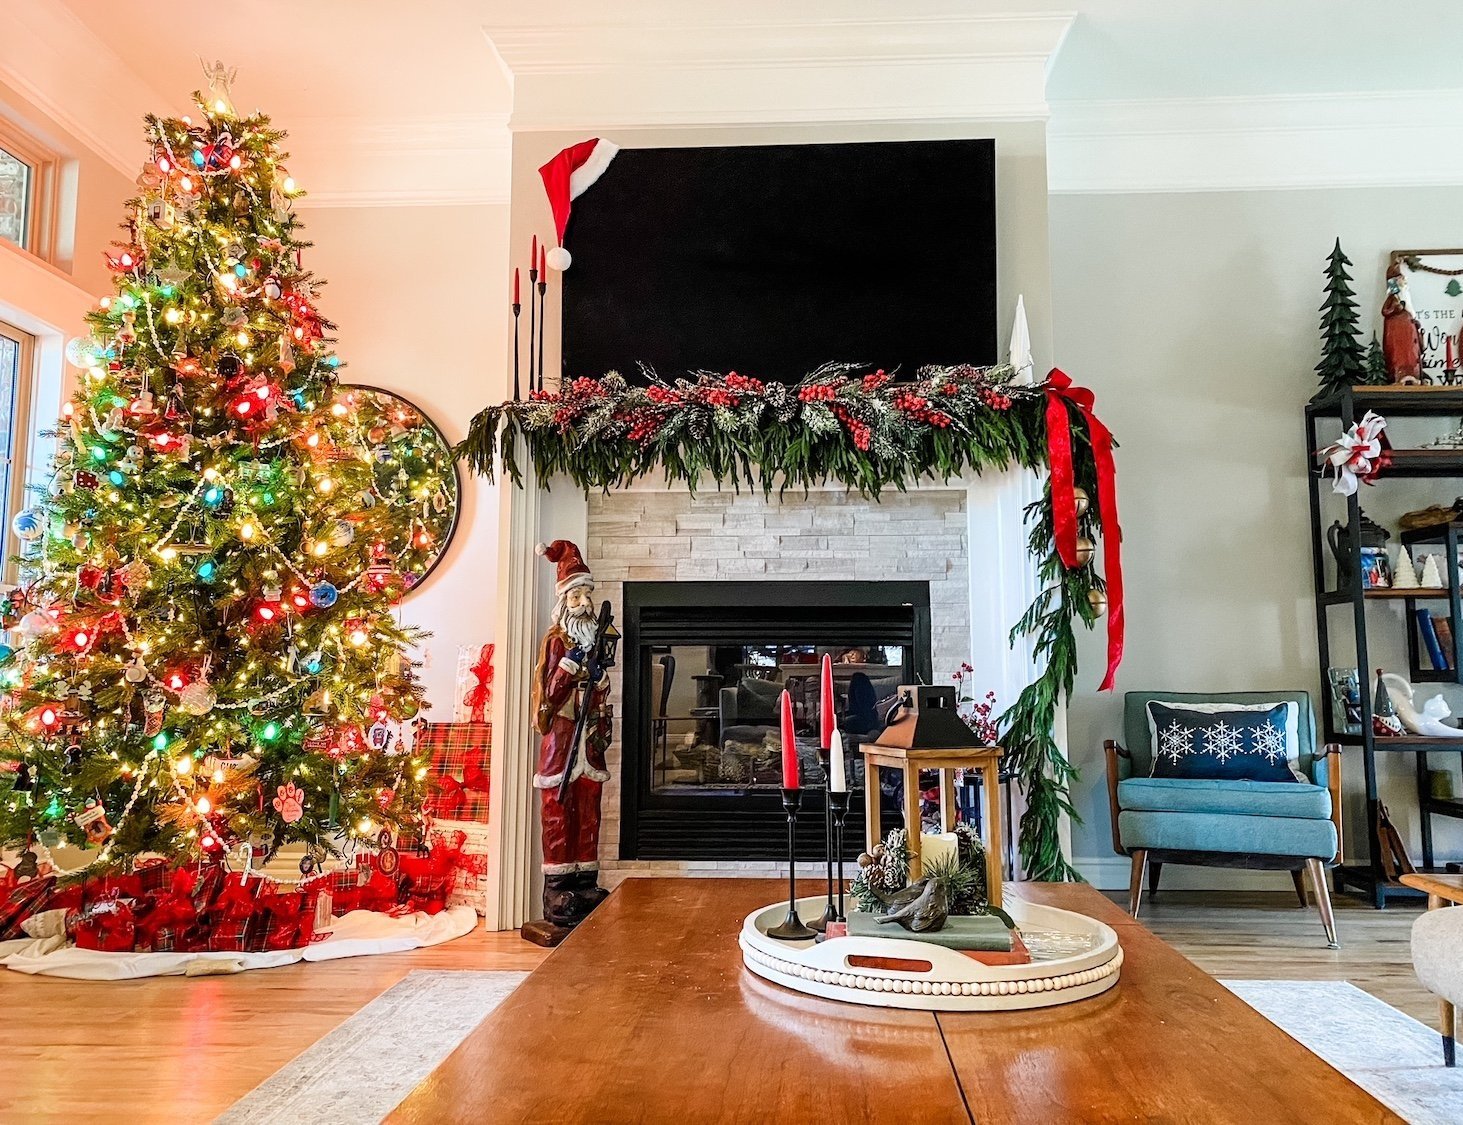
So what did I change this year? Probably the biggest change is the mantel decor….

Last year THIS soft touch garland was ALL the rage…everyone wanted it. Which is why it was sold out and on Ebay for mega bucks. So I waited until after Christmas and bought it when it was back in stock. Problem was, I forgot I bought it, several times, and by the time I brought down all my Christmas decor I had 10 strands of it along with three soft touch wreaths I have NO idea what to do with!

No biggy…while it is a beautiful garland, you really have to layer it to get a good thickness. On my living room mantel I have 4 5’ strands and 1 15’ strand.

In the den I layered 5 5’ strands….

I used Command hooks about every 1-1 1'/2’ and floral wire to secure it.

I added a red velvet ribbon and these awesome bells….

I would love to link to the bells but as usual I have NO idea where I got them. I know I ordered them but from where? Not a clue!

Last year I layered the berry picks on the mantel…this year I layered them on top of the garland…just plain ole’ picks you can get at Hobby Lobby…four on each mantel.

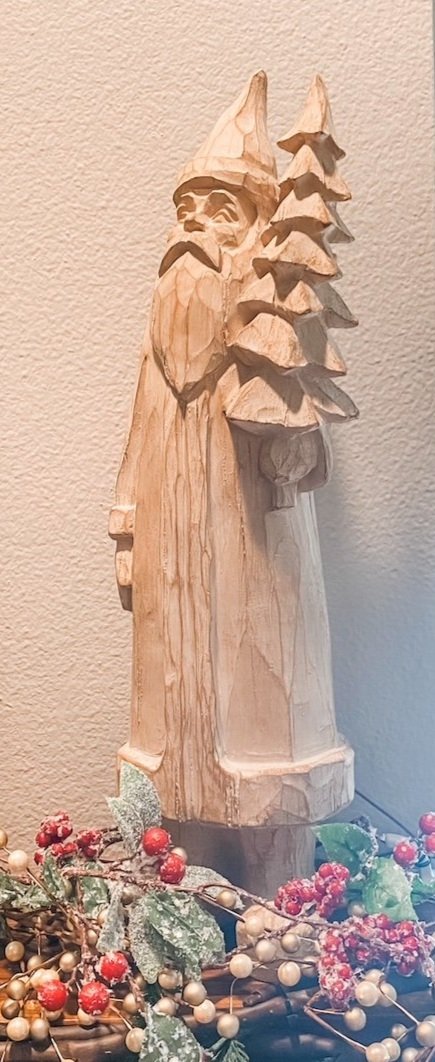
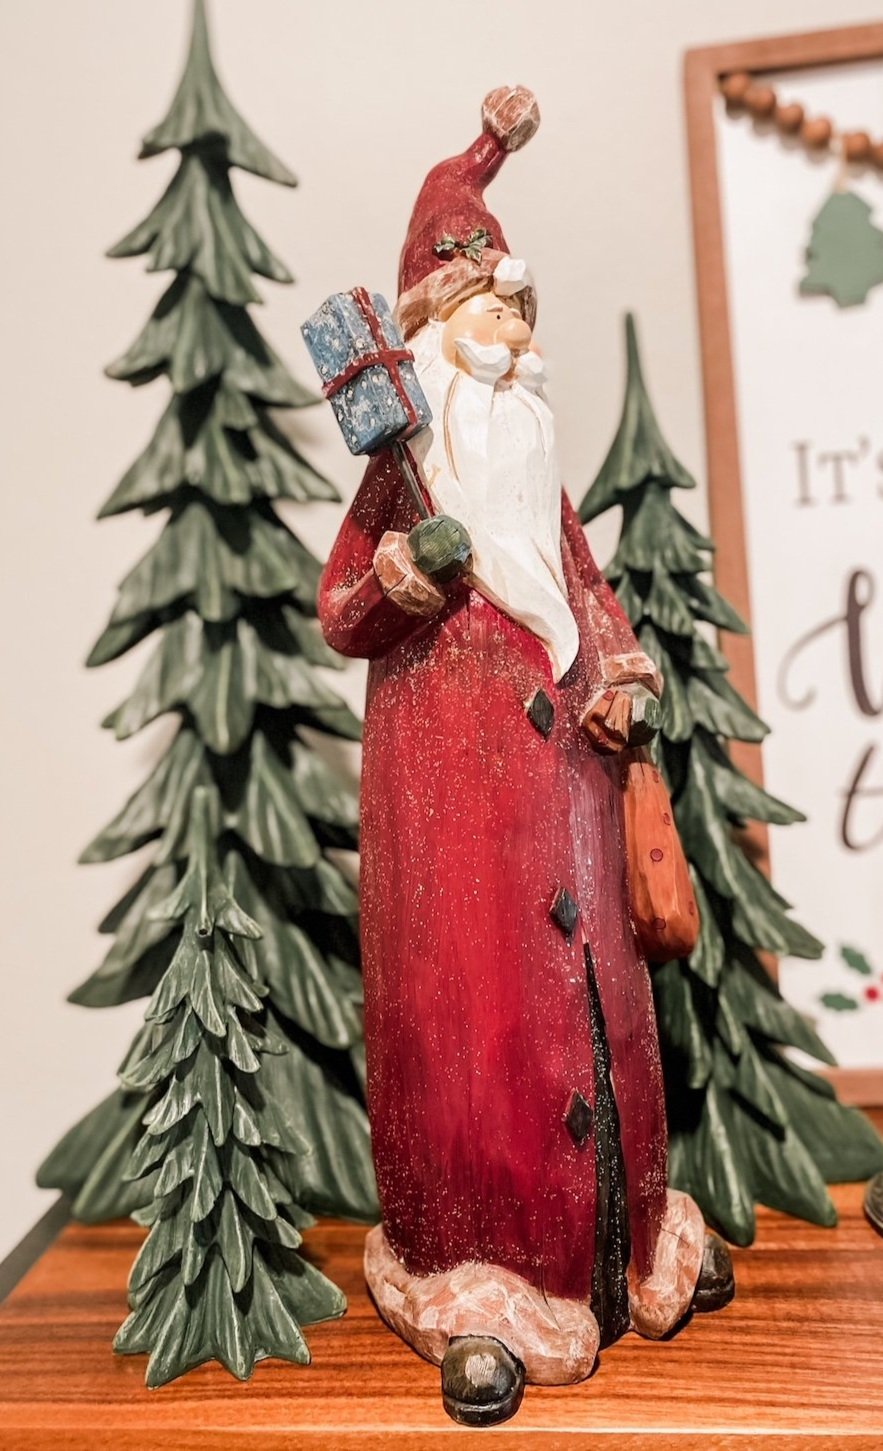
Another new addition is this wood Santa….

I know WHO influenced me to buy it but have no idea WHERE he came from. I follow a couple of great ladies on Instagram…Deb and Danelle…and as influencers go they get me every time. Their style isn’t necessarily my style but they feature elements I love. Truthfully I think that is where the bell inspiration came from!

What drew me to this Santa was his “girth.” He’a skinny.

Okay, so here is the deal…ALL my Santas are skinny. I have NO idea what that is all about but it seems like every time I am drawn to a Santa he is on the anorexic side.

I kid you not.

Another element I added to my decor this year are the cabinets wreaths….

For several years I have wanted to add “mini” wreaths to my upper cabinets. I finally found am inspiration for what I wanted, but honestly, when I put it all together they came out a hair too big. Hardly “mini.”

So be it…maybe next year I’ll try again…for this year it is what it is….

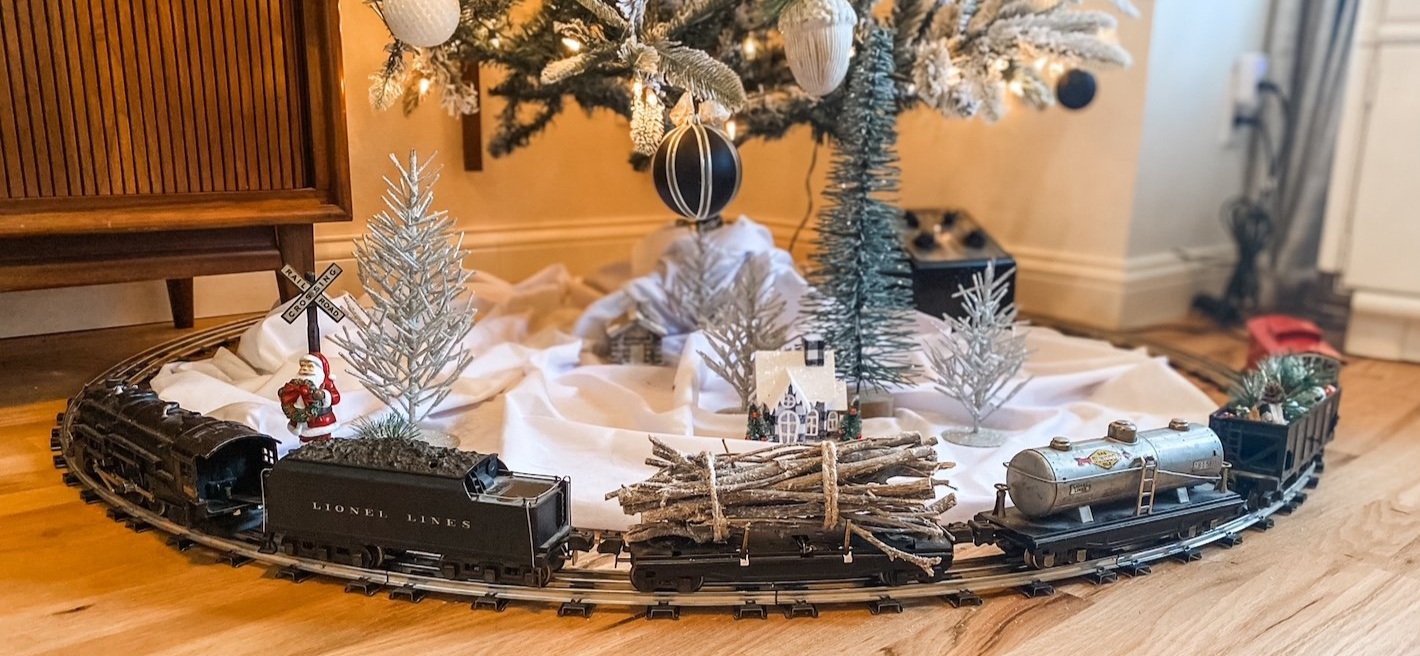
The precious train!

This train was a gift from Brian’s grandfather to his dad in the 40’s…it was used then. Last year we displayed it above the dining room. This year we got it up and running and put it around the tree in the office.

We didn’t put it around the main tree in the living room because 1) too many gifts under that tree and 2) the SLIGHTEST bump derails it and the living room is a high traffic area.

Not sure Callum is really old enough to appreciate it but I sure love it!!!!

And now the pièce de résistance…the final tree in my life long dream of having a tree in every room!!!

For years I swore if I had the time AND the money, I would put a tree in every room of my house. Last year the goal was complete.

The master bedroom tree!

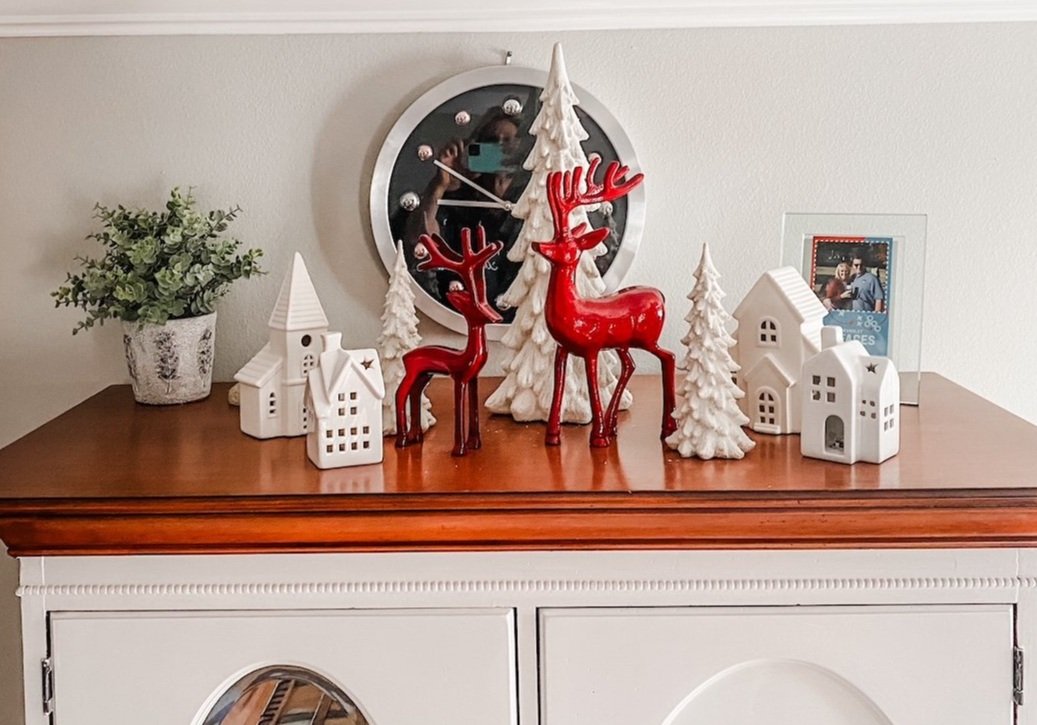
I added a few little knick knacks on the highboy. Just a few little things from Home Goods…nothing fancy.

The office….

The wreath is new…a tad over powering. Again, I tend to “go big” and then I’m not so thrilled with the result. Meh…next year I’ll change it!

The dining room….

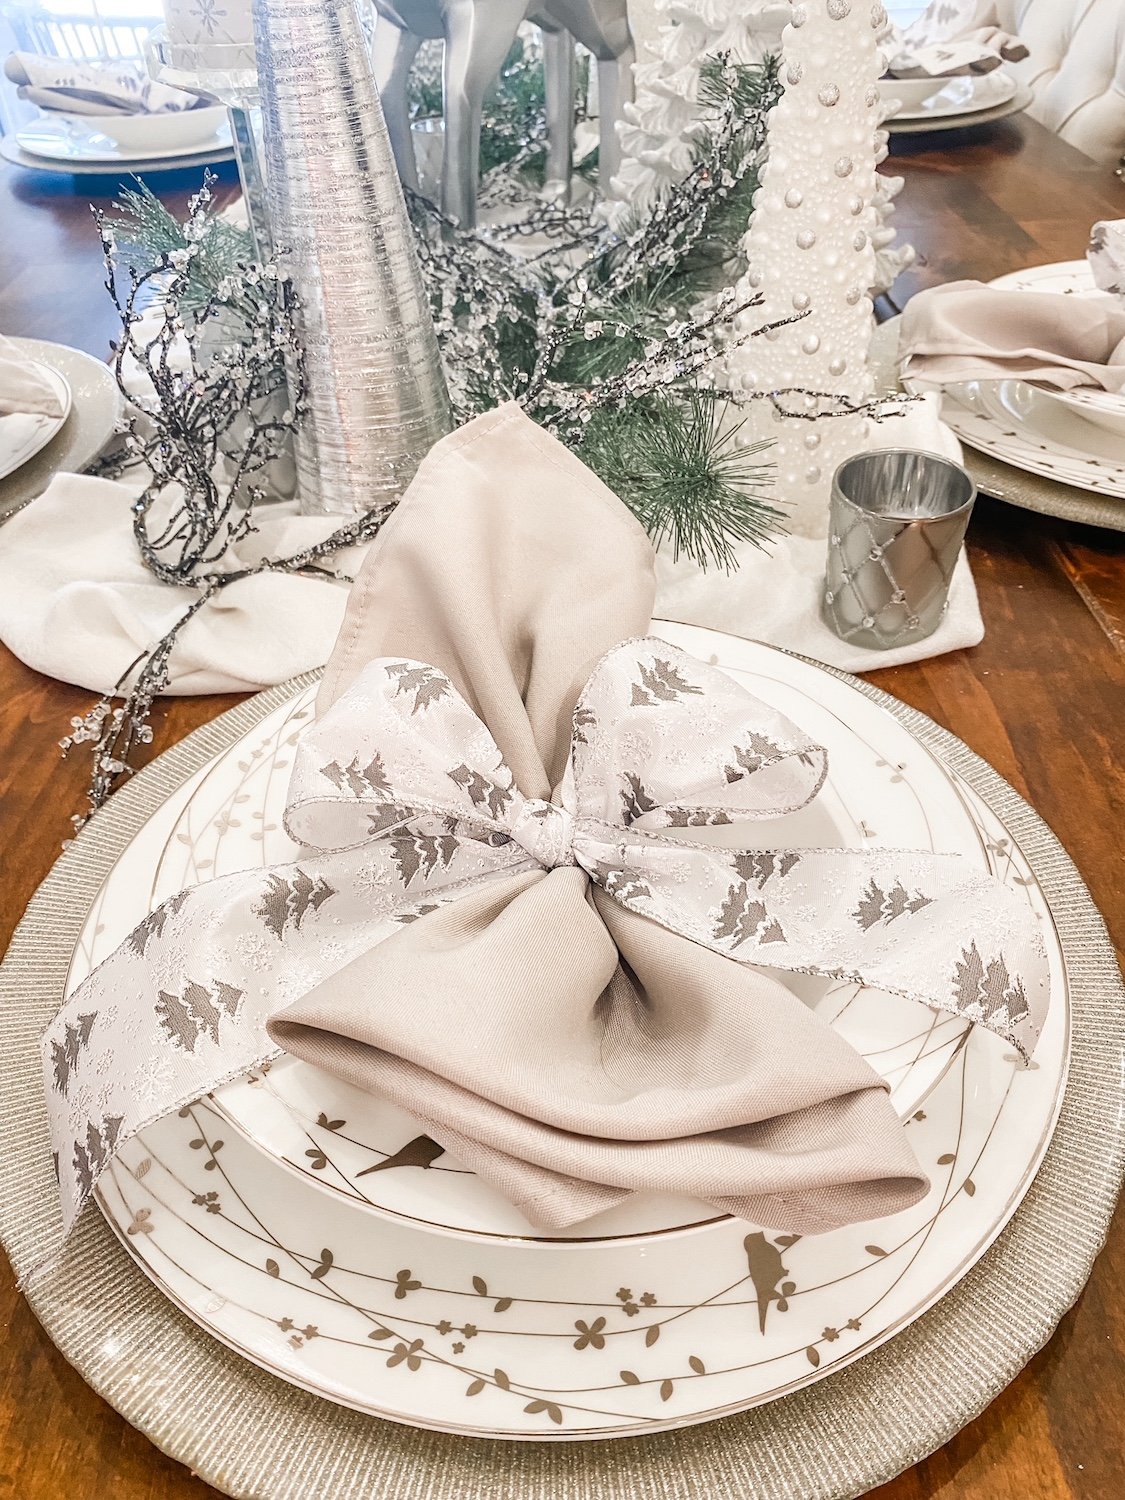
This is always one of my favorite rooms to decorate.. I love the neutrals even though I am drawn to all the vibrant holiday colors in the other rooms.

I like to keep the place settings out even though we don’t usually use these dishes because they have to be hand washed. Simple but elegant.

The sunroom….

I have shared this room before. It is my “Stewart plaid” room in honor of my “Stewart family.” Love it and I am always looking for more Stewart plaid elements to put in here. This year my sweet friend Carrie brought me this precious decoration from Italy!

The den…

The breakfast room….

Not all the trees have decorations…some just have lights. That’s okay. They are still pretty and the four that are decorated take enough time!

The entry…

Little has changed here…added some little wooden trees and a Christmas sign on the trim…another PJ pillow. Love the view into the office!

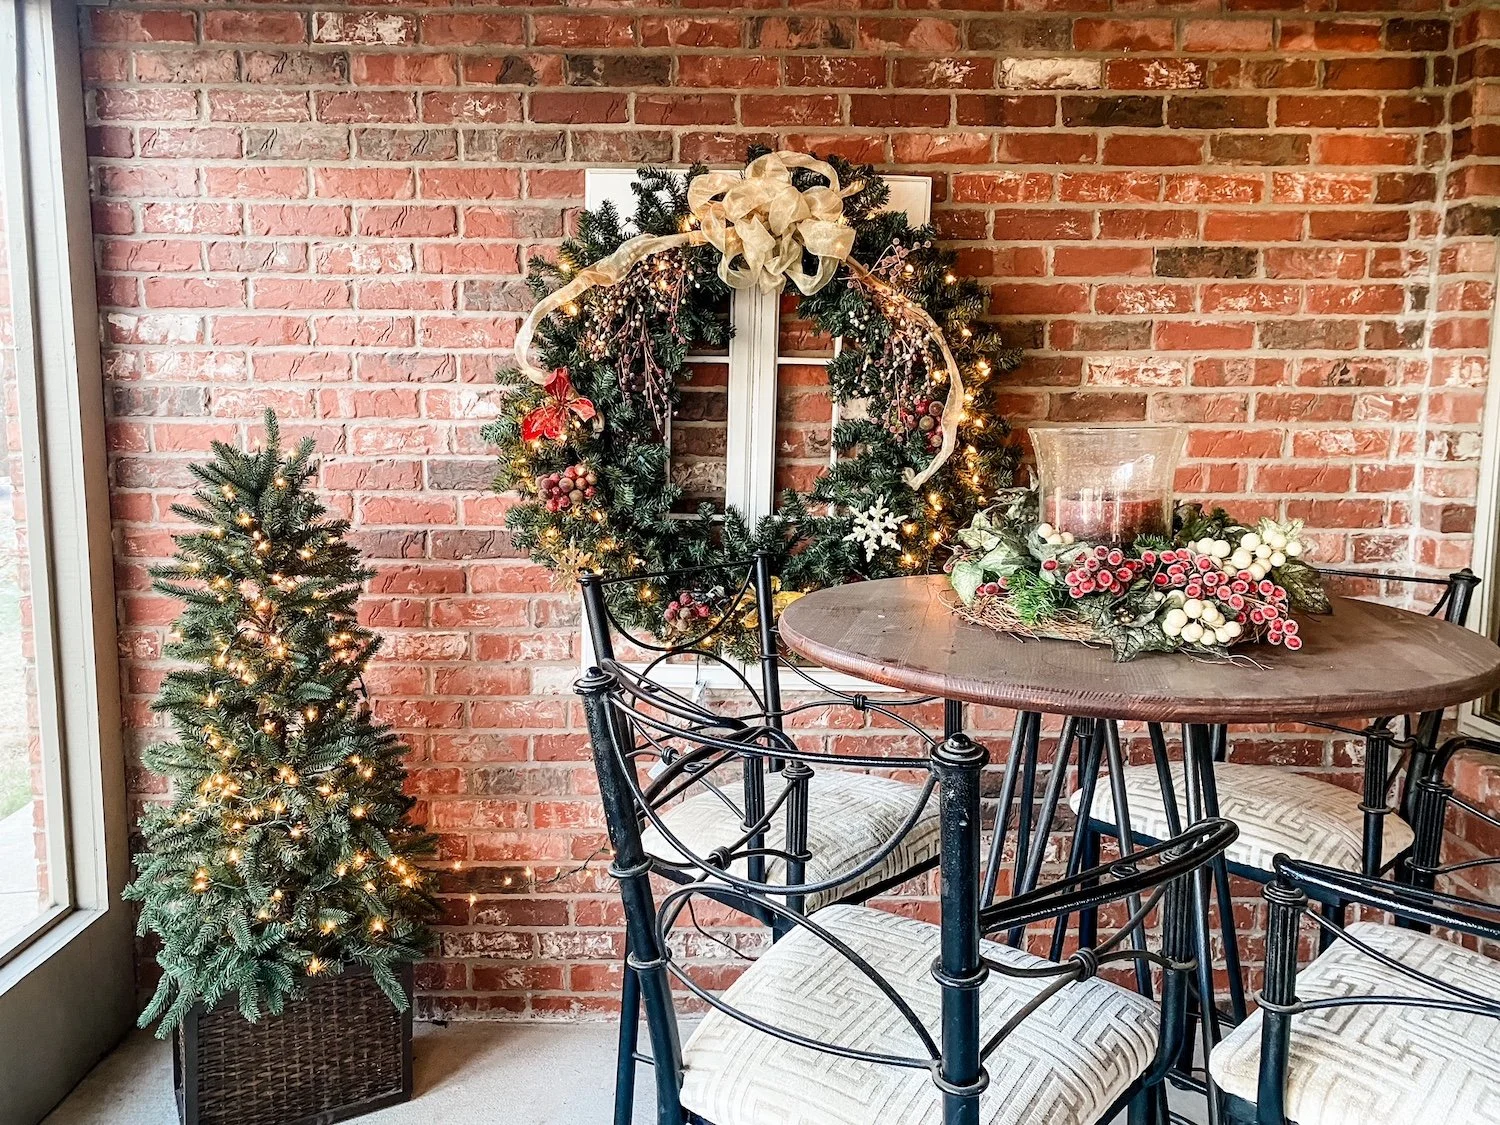
The screened porch….

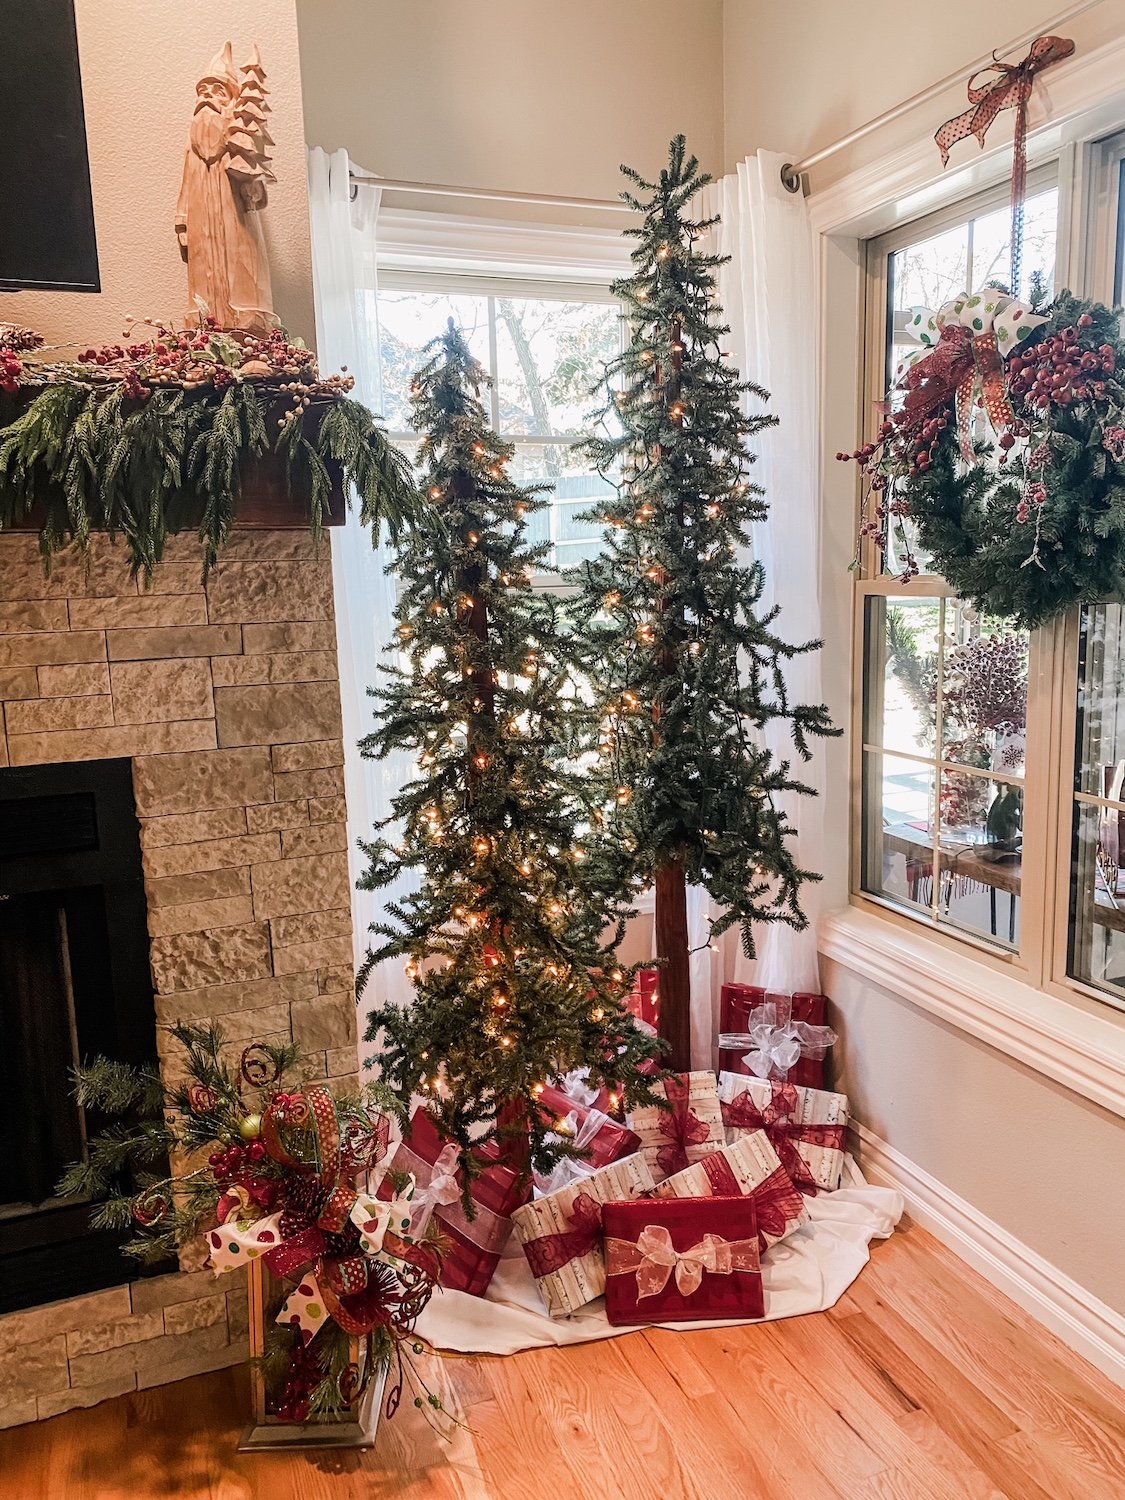
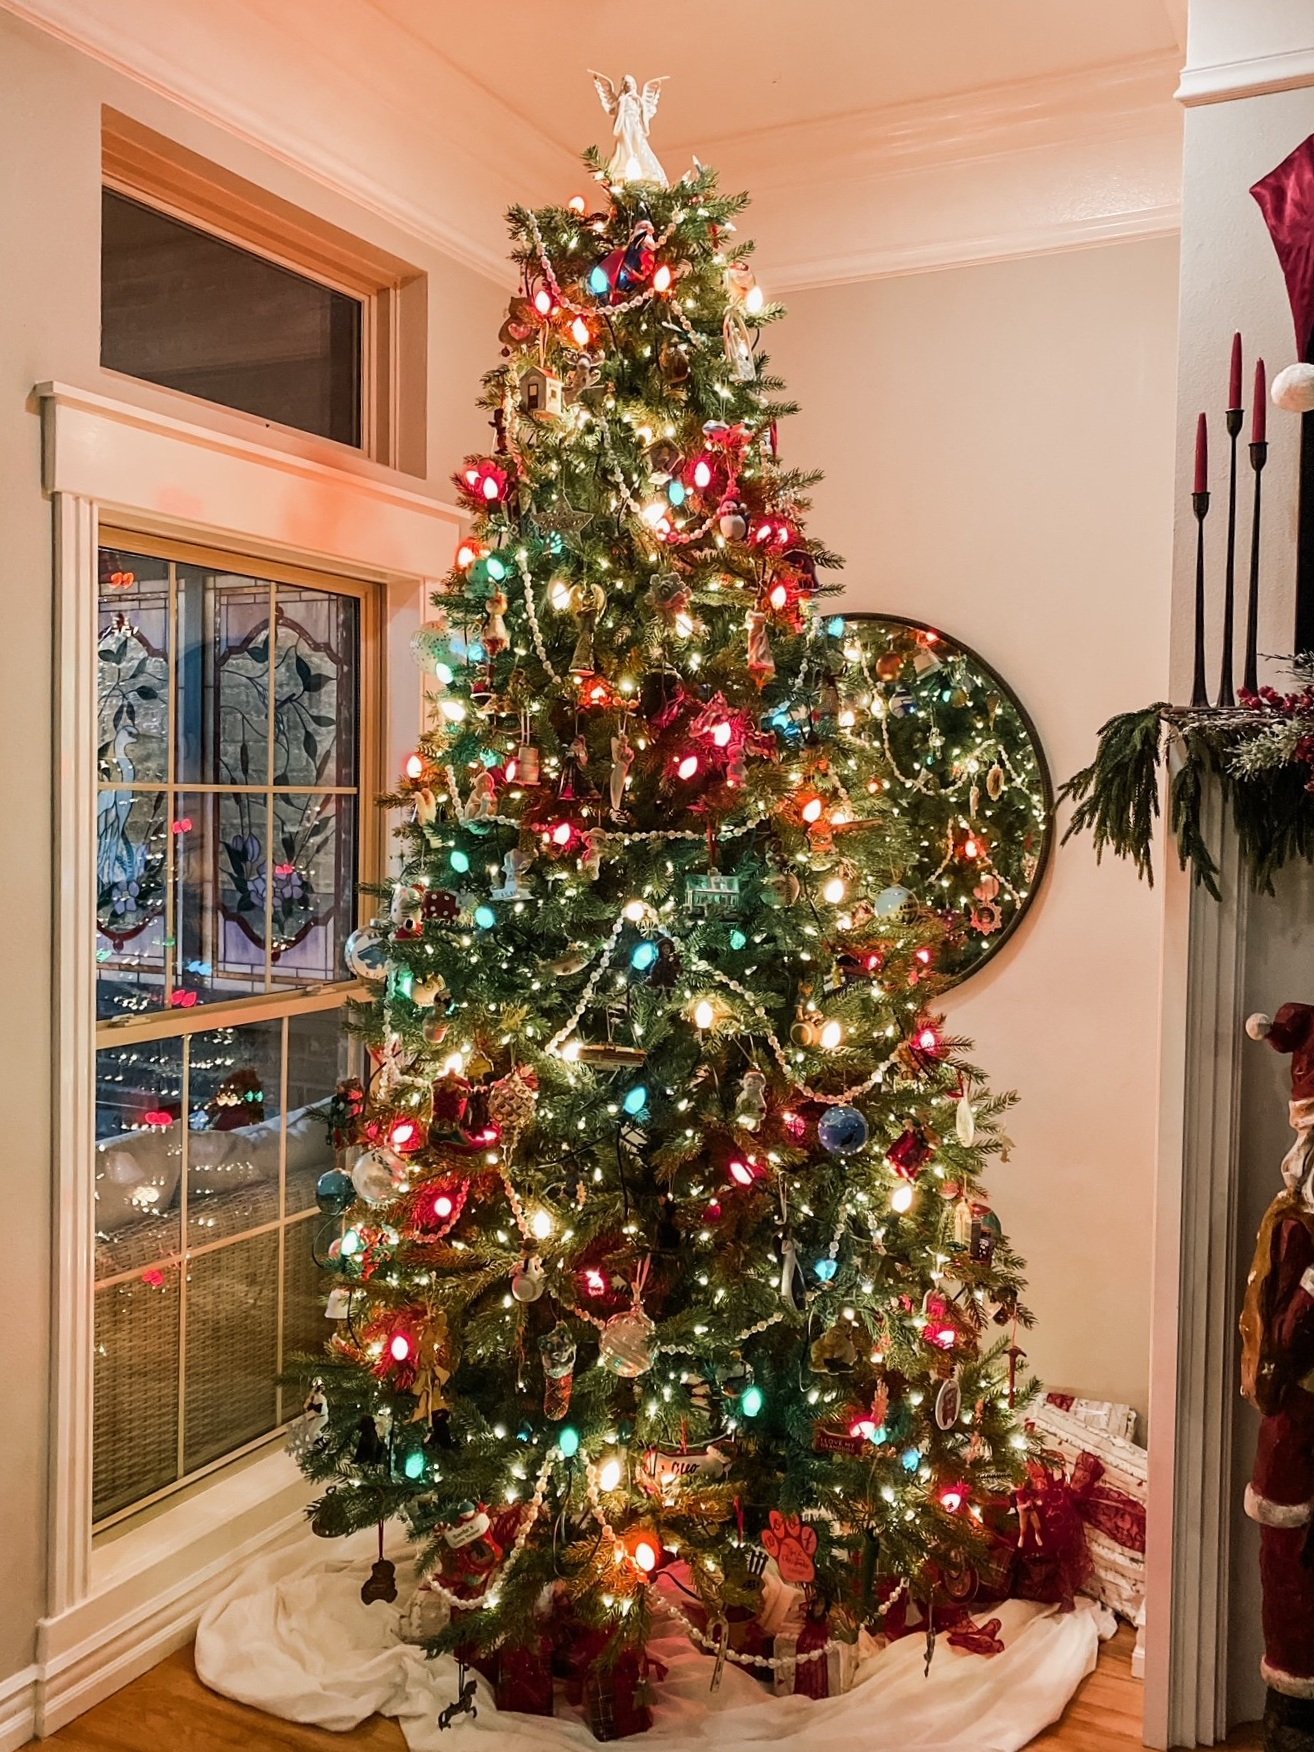
And of course the main tree in the living room….

All these trees are connected to remotes (THIS is one I use and LOVE) and are turned on every day. I don’t even want to tell you what my electric bill is for the month of December. Suffice it to say it is cheaper to cool this 3500 s.f. house than to light it up…lol!!!

But I love it and as long as I am physically able to do it, I will. Then I may hire it done!

I love this holiday and it seems that year after year I do indeed add something new. I hope something I did will inspire you to add a little more to your home.

Starting a holiday tradition...

It is never too late.

Time flies.

Before you know it, decades have passed and that little thing you started doing 20-30-40 years ago is now a treasured tradition that will be passed down for generations.

Even if you didn’t realize it at the time…it was just something you did every year.

I’ve shared this story before…when my oldest (now 42) was a baby, my mother started giving her a few precious ornaments every Christmars. She did the same for the boys when they were babies (now 34 and 35) and again with my baby (now 26). After 40+ years of giving my 4 children a couple of special ornaments every year, my tree is bursting with heirloom treasures.

There are the wooden ornaments she gave them from her and my dad’s trip to Yellowstone…

The ornament from the year Katie and I went to New York

College graduation….

Our trip to Georgetown, Colorado….

A Lenox moose representing the year Katie shot her first deer….

Every single ornament on my tree has a special meaning….ornaments representing every milestone in our lives and souvenirs from our travels and my parent’s travels.

Even after giving Sarah all her ornaments, I still have a tree full. And now that my children are growing and creating their own homes with their own trees, they have begun the “tradition” of gifting me with ornaments with special meaning. Once all my kids have their own trees to decorate, mine will still have special ornaments from my travels and my children.

My mom is no longer here but I have carried on this little tradition she started 42 years ago. Every year I give each of my kids and grandkids an ornament from our travels or one representing something special in their lives. Baby’s first year, college graduation, a cruise to Alaska…..anything and everything special and memorable is represented on our Christmas trees.

It is never too late to start a “tradition.” We do PJs and ornaments.

What tradition will you start this year? Remember, every “tradition” starts somewhere with someone…give your children, grandchildren and great grandchildren a tradition to charish!

Getting ready for the holidays!

It’s been a minute.

I really haven’t had too much going on project-wise…little to share. I guess I could have shared the new water line I ran from my seasonal meter out front to the back yard. Or maybe the repairs I made to a neighbor’s kitchen island or garbage disposal. Could have shared the cute cupcakes the little girl next door and I made and delivered to our neighbors.

I could share the Alaskan cruise we went on in September. I’m not a travel blogger…just go! I promise you won’t be disappointed.

But seriously, no major projects. I have a few in the thinking/planning stage I will share in the coming months. One will be a room makeover for a very special “delivery” coming in May! Stay tuned!

So for now I will just share what is coming this weekend….CHRISTMAS!!!!!!

Yep…for the first time ever I am actually doing a little Christmas decorating BEFORE Thanksgiving!

Why? Well, it has been a lifelong dream to have a tree in every room of my house…and last year I finally achieved that dream.

It started with the “black and white” Christmas tree I put up in the office….I share that HERE.

This year we are going to set up the vintage train set around this tree.

Callum, our youngest grandson, will be 10 months old and he will LOVE it! This is the train set Brian’s grandfather gave his dad when he was a little boy…so Callum will be the 4th generation to enjoy!

The Stewart plaid tree is one I added to the sunroom two years ago…..I shared it HERE!

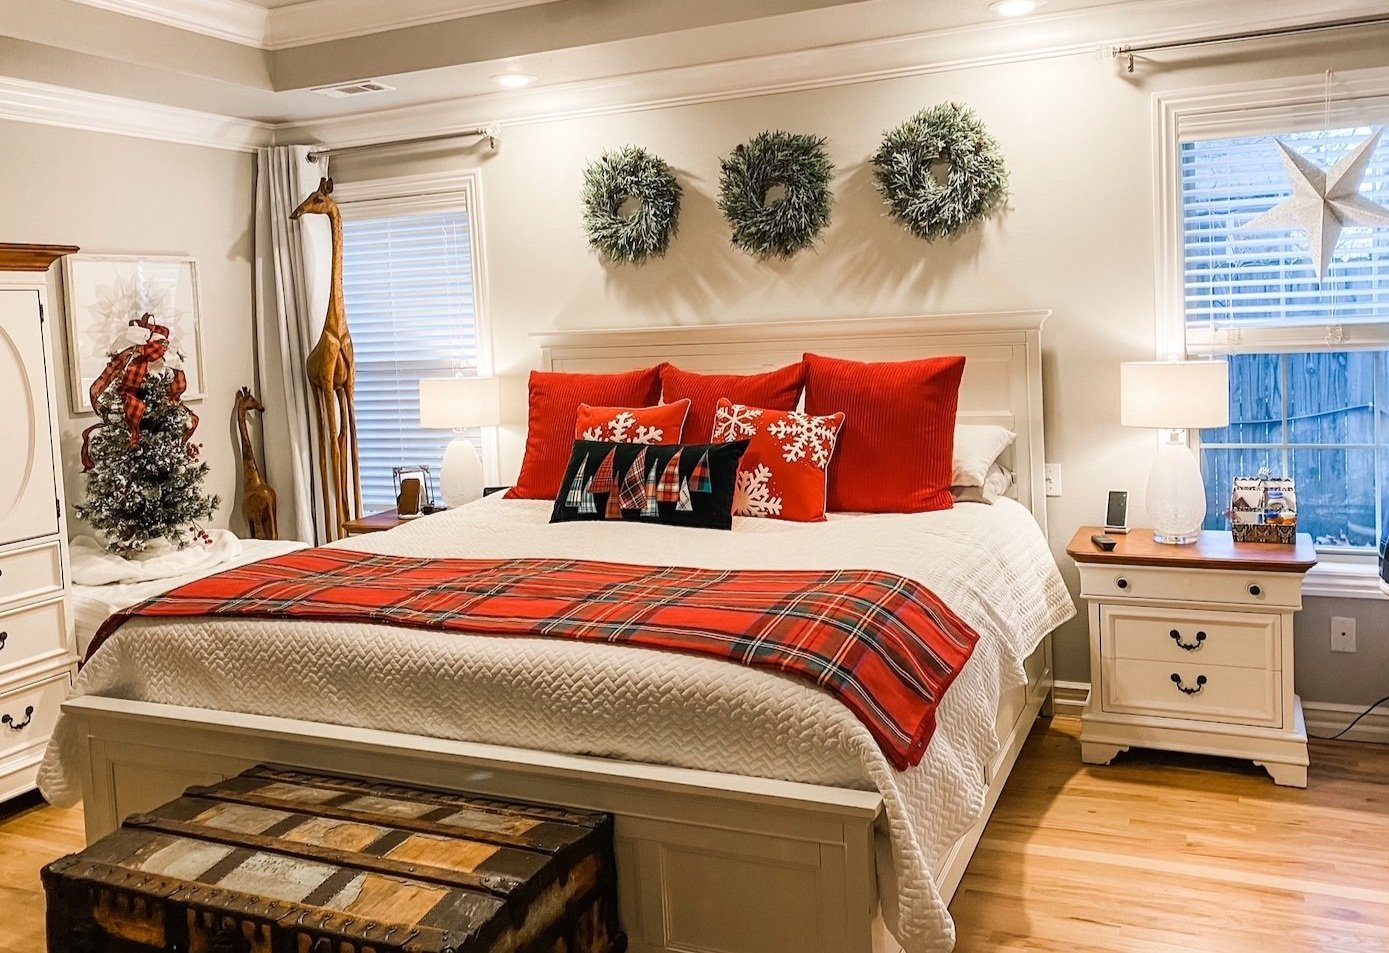
And for the first time ever, I decorated the master bedroom for the holidays….

What I didn’t share is the large red and white tree I added to this room later in the season.

So with these new additions, as well as ALL the Christmas decor through out the house, I just don’t think I can get it all done the weekend after Thanksgiving….the main tree in the living room takes an entire day!

So for the first time ever I am breaking my hard fast cardinal rule of NO CHRISTMAS BEFORE THANKSGIVING! I love fall decor and I really want to enjoy it for as long as I can. So I have decided to decorate the office, master bedroom and sunroom for Christmas since those rooms don’t have a lot of fall decor!

So stay tuned…at some point in the next few weeks I will share all the holiday decor….again. Little changes from year to year but it is my hope that something I do, and have done for years, may catch your eye and give you a little “Christmas inspiration!”

Happy Thanksgiving!

Just breathe....

If you can…I am struggling to breathe because of my stinking allergies.

Still, this is a wonderful time of the year to “breathe”…at least for me. In years past, when my kids played baseball, football and softball, this was a hectic time of the year. Practices, games, scrimmages…every evening, every weekend.
But now I can take this time, between the super busy holidays from fall to Easter that seem to be never ending, and breathe.

I still have a lot to do. Clean out and purge a few closets, clean the windows, clear out the flower beds in preparation for mulch, split hostas, power wash rugs.
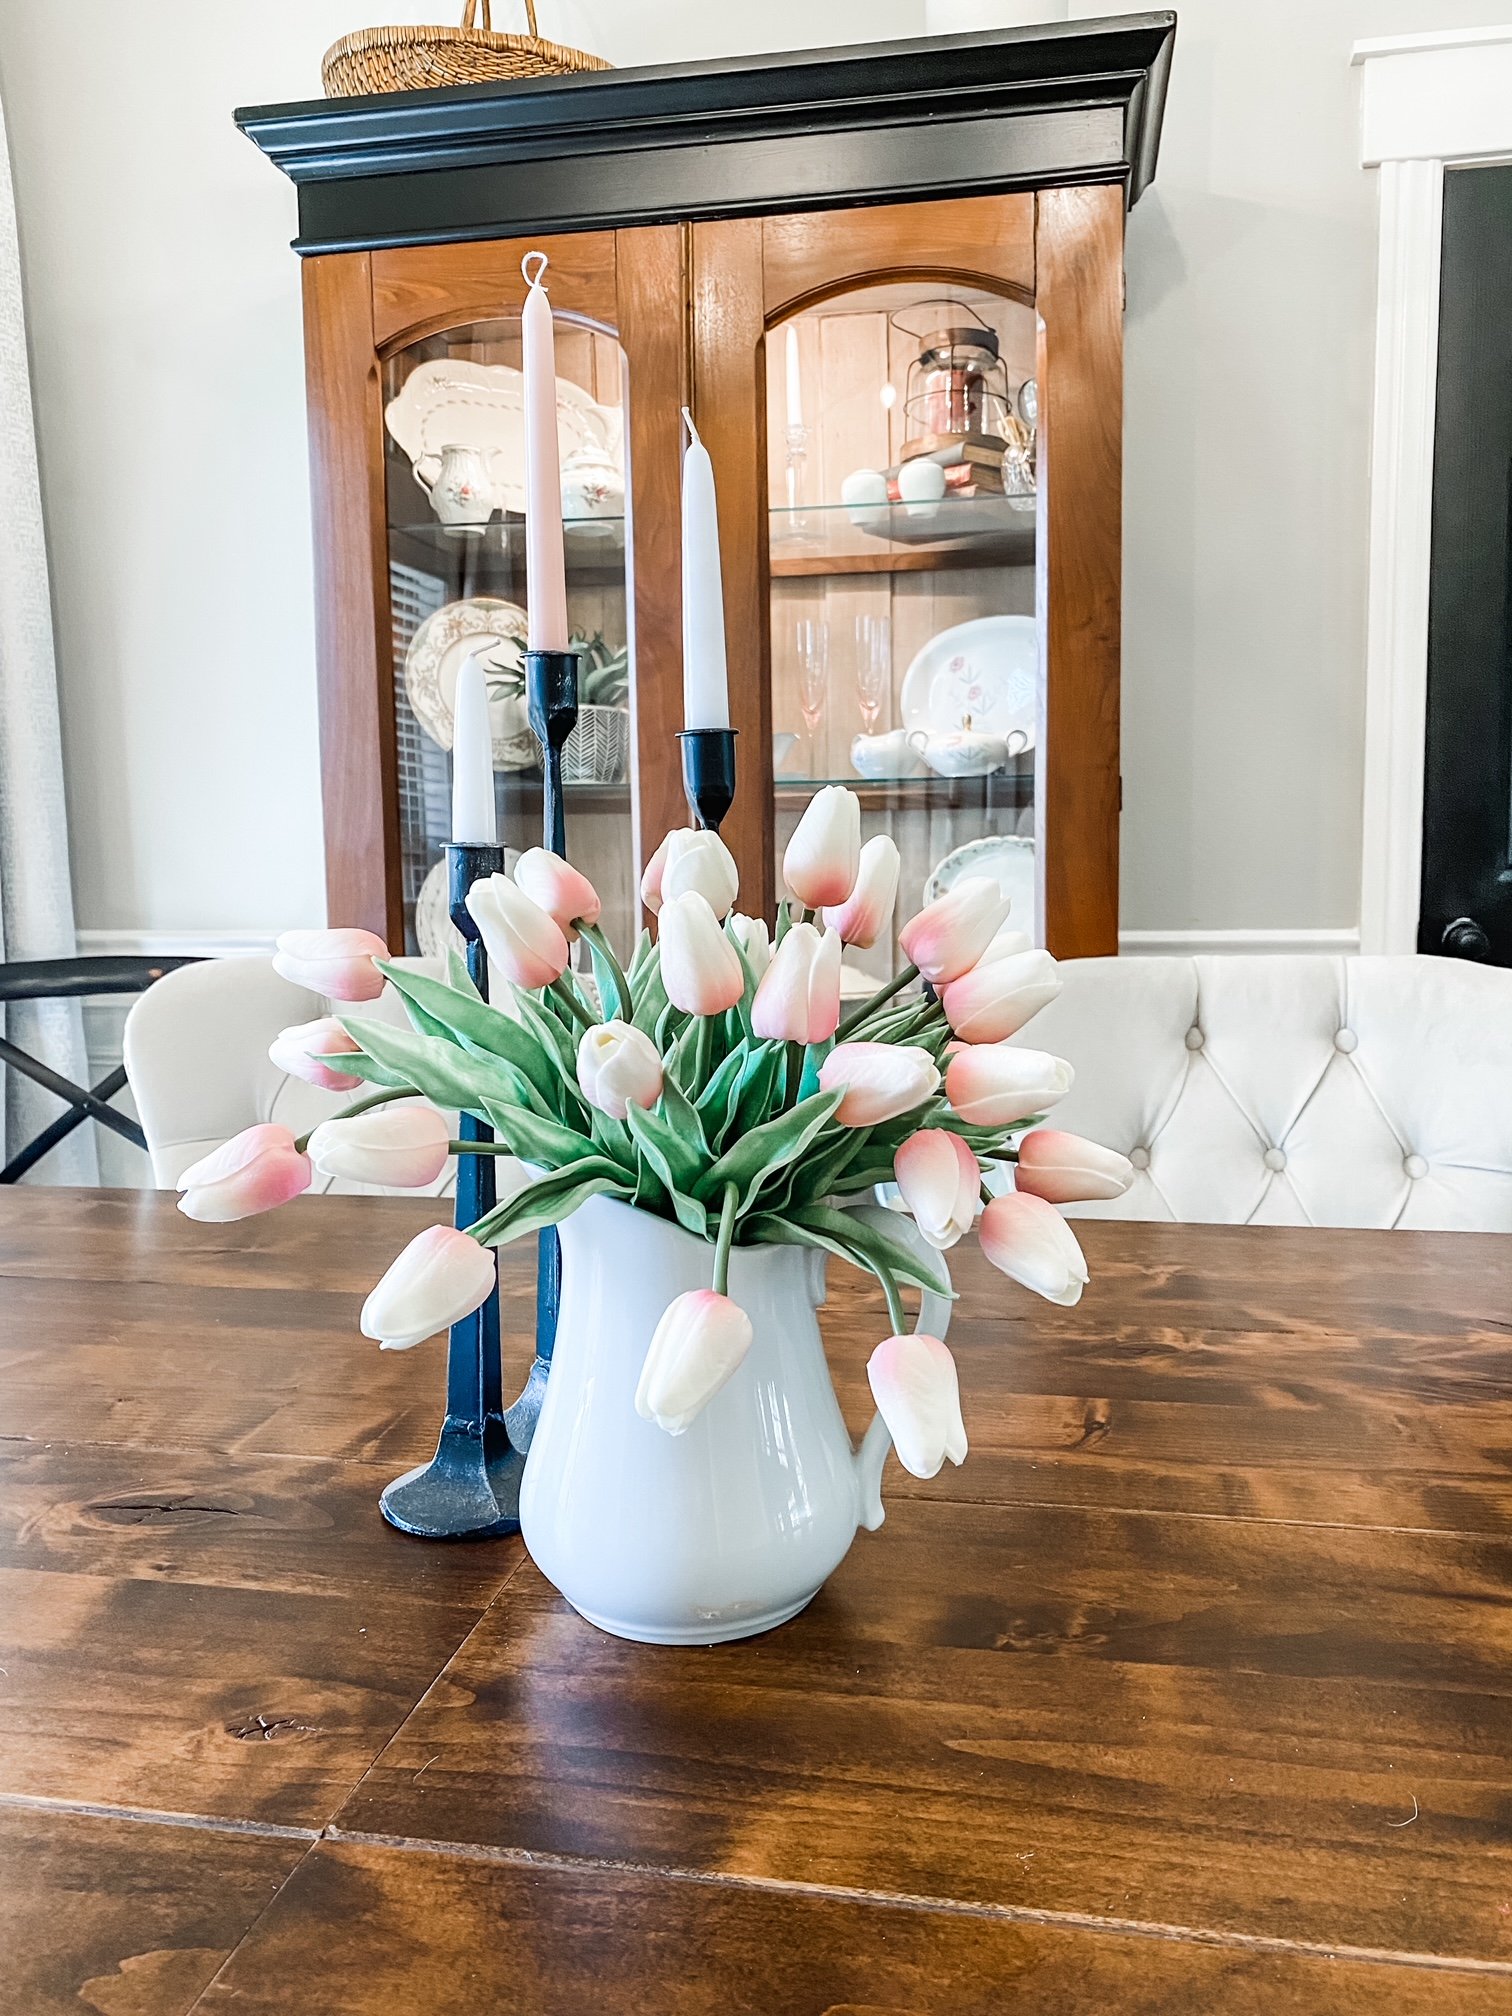
But my favorite thing to do in the spring is sit on the porch and soak in the beautiful dogwoods and spring flowers…and breathe.

Monday all the bunnies and Easter decor were packed up and put away and for the first time in seven months there is no seasonal or holiday decor.

The next big seasonal explosion will be for Memorial Day and 4th of July.

Until then, just breathe….sit on your porch and drink your coffee. Take a walk around your neighborhood or local park and take in all the beautiful spring flowers and blooming trees. If you are like me and suffer from severe allergies, take your meds and get out and enjoy the season!!! It is so short!

Let your house breathe also…open the windows. Keep your decor simple and focus more on purging than filling space. Pick a drawer, closet or cabinet, purge and clean. Then go out and enjoy this beautiful time of the year!

In a few weeks it will be time to start my summer planting…I need this down time!

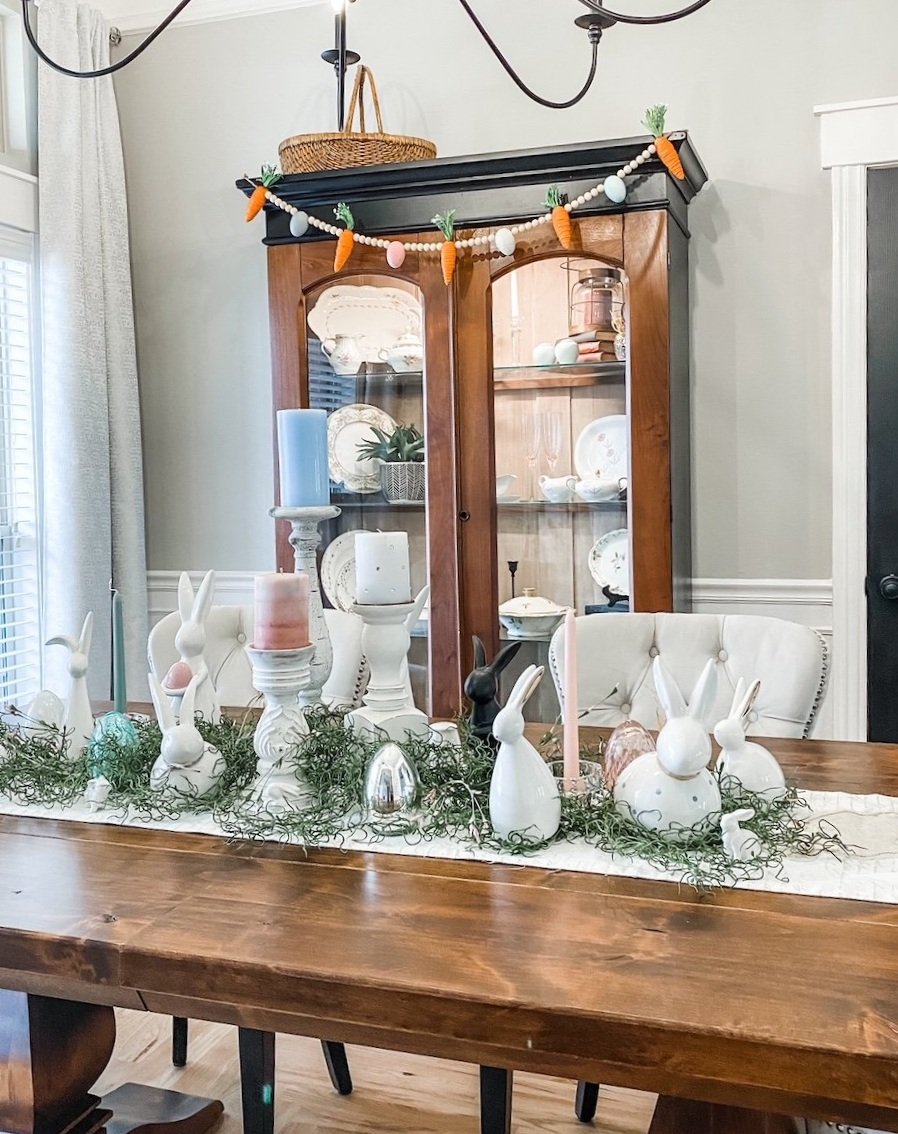
Easter garland....

I have mentioned many times my obsession with decorating for EVERY holiday.

Christmas was a given for years….

And of course fall….

Up until a few years ago, that was pretty much the extent of it…maybe a few knick knacks here and there for a few holidays like Valentine’s Day or Easter, but nothing major.

Then I “retired”…and decorating EVERYTHING for EVERY holiday has become my thing. A wreath on the porch, entry and kitchen, a tablescape, special candles, special dishes…every event. I even bought “Easter” champagne glasses this year and we don’t even drink! But they matched the Easter dinnerware so ……!

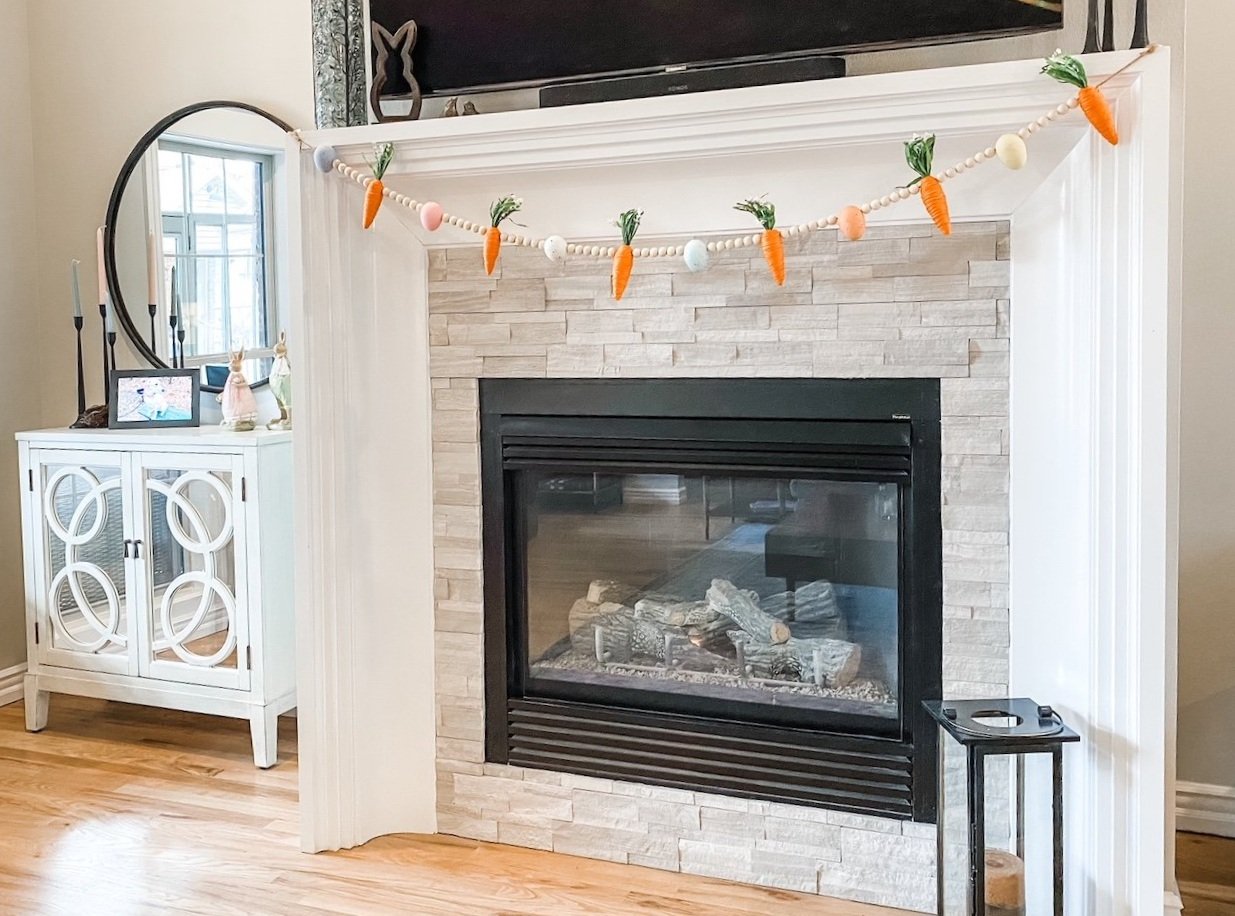
Anywho…I think the little holiday banners and garland I see on Pinterest are just too stinking cute. This year I decided I wanted an Easter garland…you know, with carrots and eggs….for the fireplace.

So I went searching.

First I ordered THIS carrot garland from Amazon.

Cute but it wasn’t really tripping my trigger.

So I went on Pinterest and started looking for a little inspiration.

All said and done, this was the final look I came up with.

I had a little extra of every thing so I even made one for the dining room hutch.

This was super simple to make…the little carrots slid right off the jute they were on. I threaded the jute on a big upholstery needle I had on hand, then strung the beads, carrots and foam eggs onto the jute.

Garland…too cute!

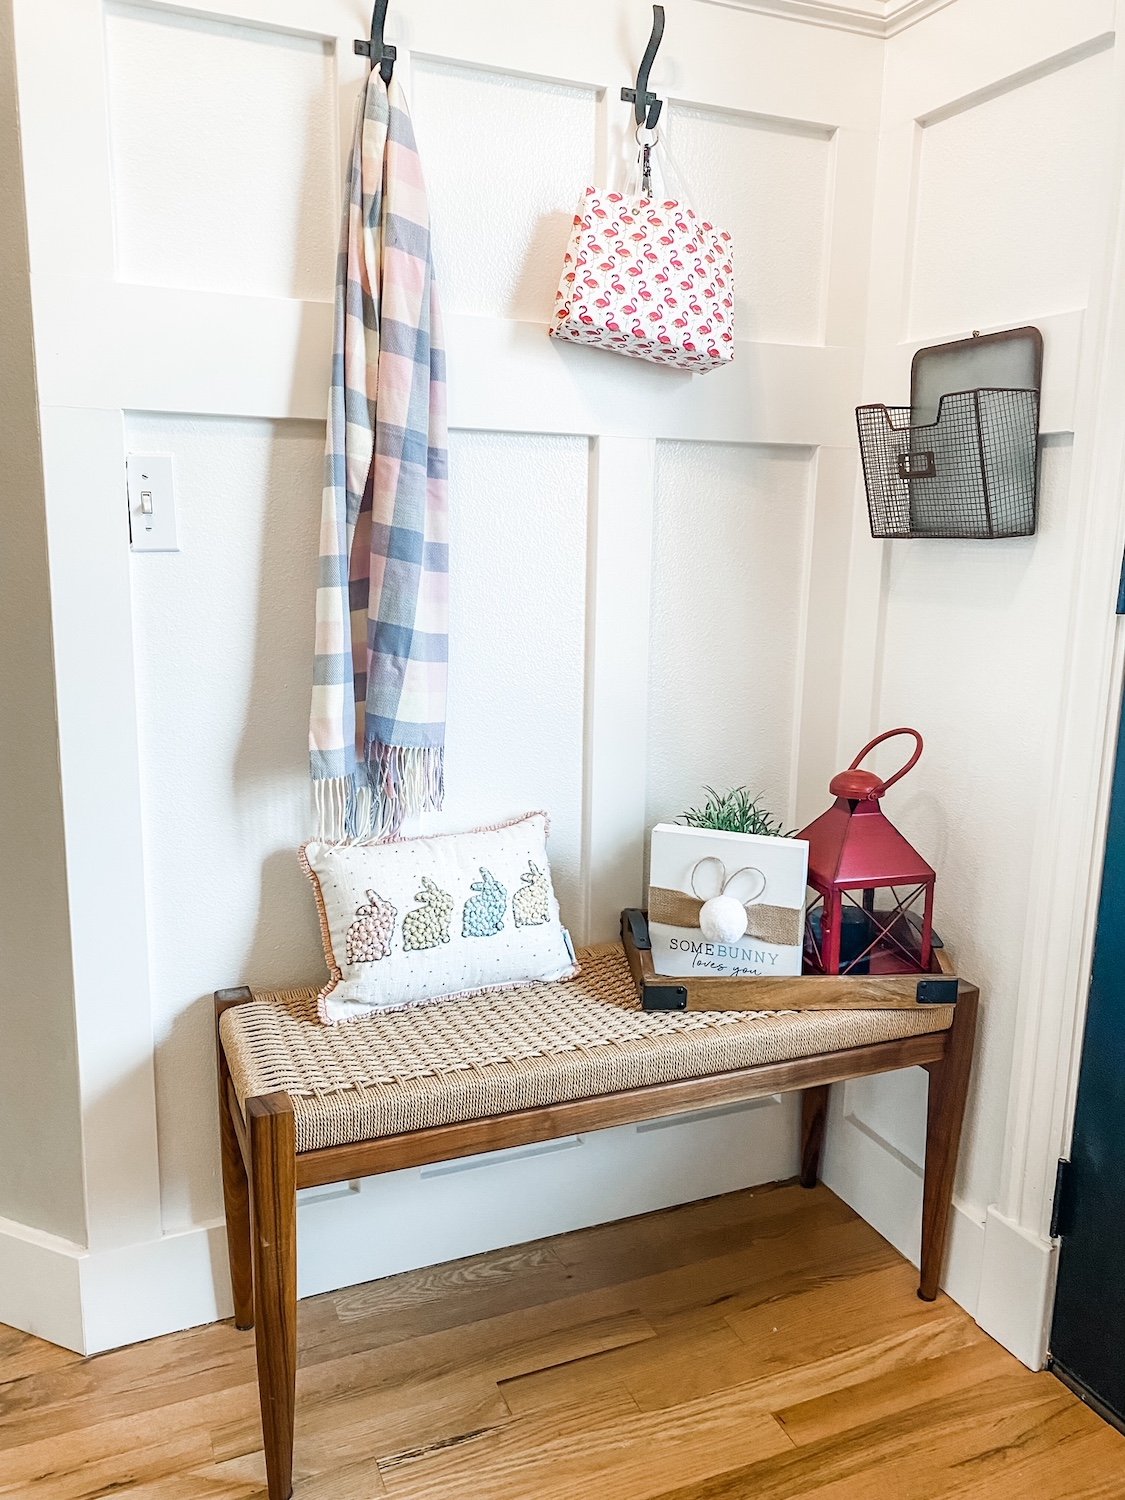
As you can see, i have a thing for bunnies…just scattered around the house. Lots of pink, blue and green candles…spring wreaths…Easter pillows. Foam eggs here and there!

It may not be “the most wonderful time of the year” but fun none the less!


Christmas! It really is the most wonderful time of the year!

I almost didn’t do a Christmas post this year because I thought not much has changed.

But every year I add more and more to this house.

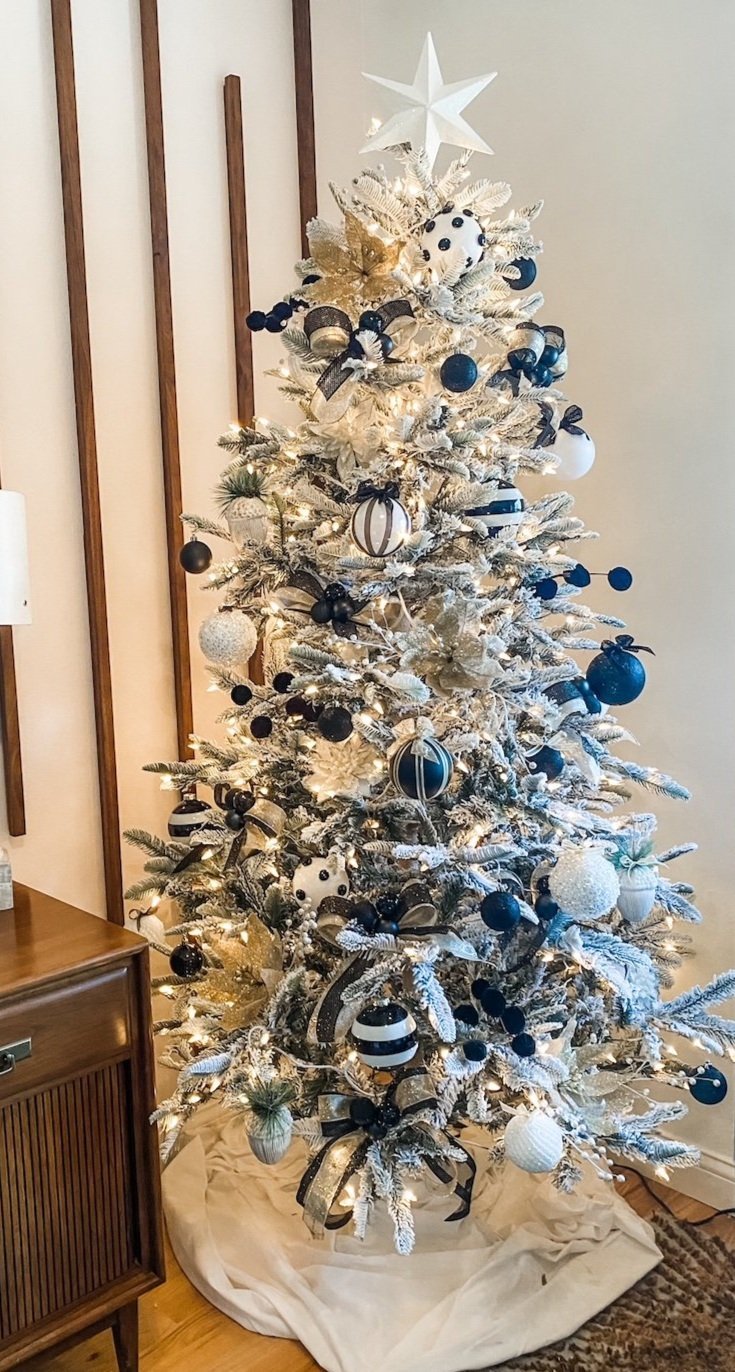
A few weeks ago I shared the new “black and white” tree in my office (I shared the accent wall and office makeover HERE)….

I love this tree and this year I wrapped all our Christmas eve gifts (shhhh…it’s pajamas) with white paper and black and gold ribbons to match the tree….LOVE!

Next year this tree will play an important role because we added a VERY special element to our Christmas decor.

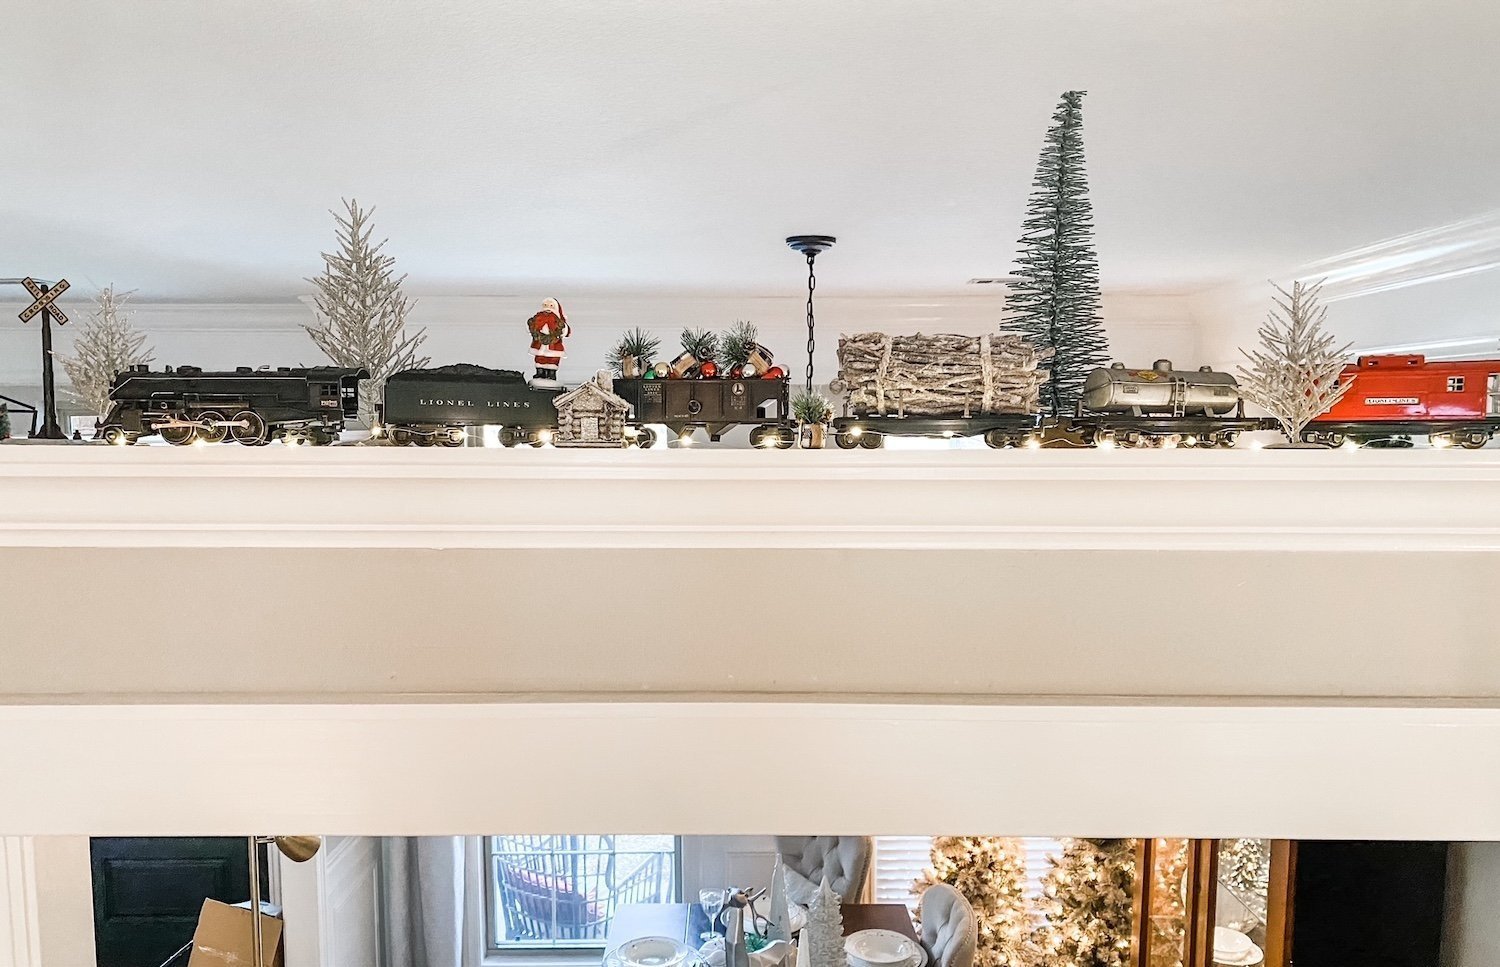
In the 40s, Brian’s grandad (his Papa) gave his dad a used cast iron train set for Christmas. Brian remembers it going around his Papa and Grammy’s Christmas tree every year.

This year Brian got it from his dad. It is magnificent!

This year we are displaying it above the dining room with some miniature Christmas knick knacks and little fairy lights.

We can’t put it around the main tree in our living room because of all the gifts but next year we will put it around the tree in the office.

Why….because next year we will have a 10 month old grandson who will absolutely love it…it goes around the tracks and even blows steam!

When I began to look around I realized how much has indeed changed because of all the little projects I have completed this past year.

The dining room…I added wainscoting and the china display cabinet and that changed everything up a tad!

No major projects in the entry this year but I added a tartan holiday rug from Ruggable!

So far I really love this rug and am considering getting one for the living room!

The breakfast room…this year I added the board and batten and a new china hutch….

It didn’t change up things too terribly much…just added a few touches to the hutch, moved the tree that use to be in the corner onto the screened porch and replaced it with the tree that was in the office last year!

My master bedroom….

I’ve never decorated the master bedroom for the holidays but this year was kind of a fluke. I ordered a ton of stuff for the guest room earlier this year. My oldest son is currently staying with us while he gets his pilot license so there is really no reason to deck it for the holiday. So I decided to use all the holiday froo-froo for my bedroom.

I LOVE IT!!!

The green pillow with the Christmas trees is one I made with the scraps from THIS never ending quilt project. (To date I have made 8 quilts, two pillow covers and one throw pillow)

My friend brought me this amazing star from Germany…I can’t wait to add a light to it!

The little tree is the one I had in the guest room last year. Next year when the big dog kennel is finally gone I am going to put up a bigger tree. Similar to the one in the office…only red and white! (I am slowly working my way to my dream of having a Christmas tree in every room!!!)

Decorating this room was a no brainer since, like the guest bath and office, you see it from the entry….

Not sure why it took me three years to do it!

The living room…earlier this year I changed out the fireplace surround. It didn’t make a huge difference, but this year I decided to add garland to the fireplace mantels. I desperately wanted the soft touch Norfolk pine that is all the rage but by the time I knew I wanted it, it was all sold out.

I have to be careful about the height and placement of any mantel decor because of the televisions (one of the few “design concessions” I gave Brian) .So I settled for some pretty frosted berry picks…four laid out in a row. I added them to the living room and den fireplace mantels.

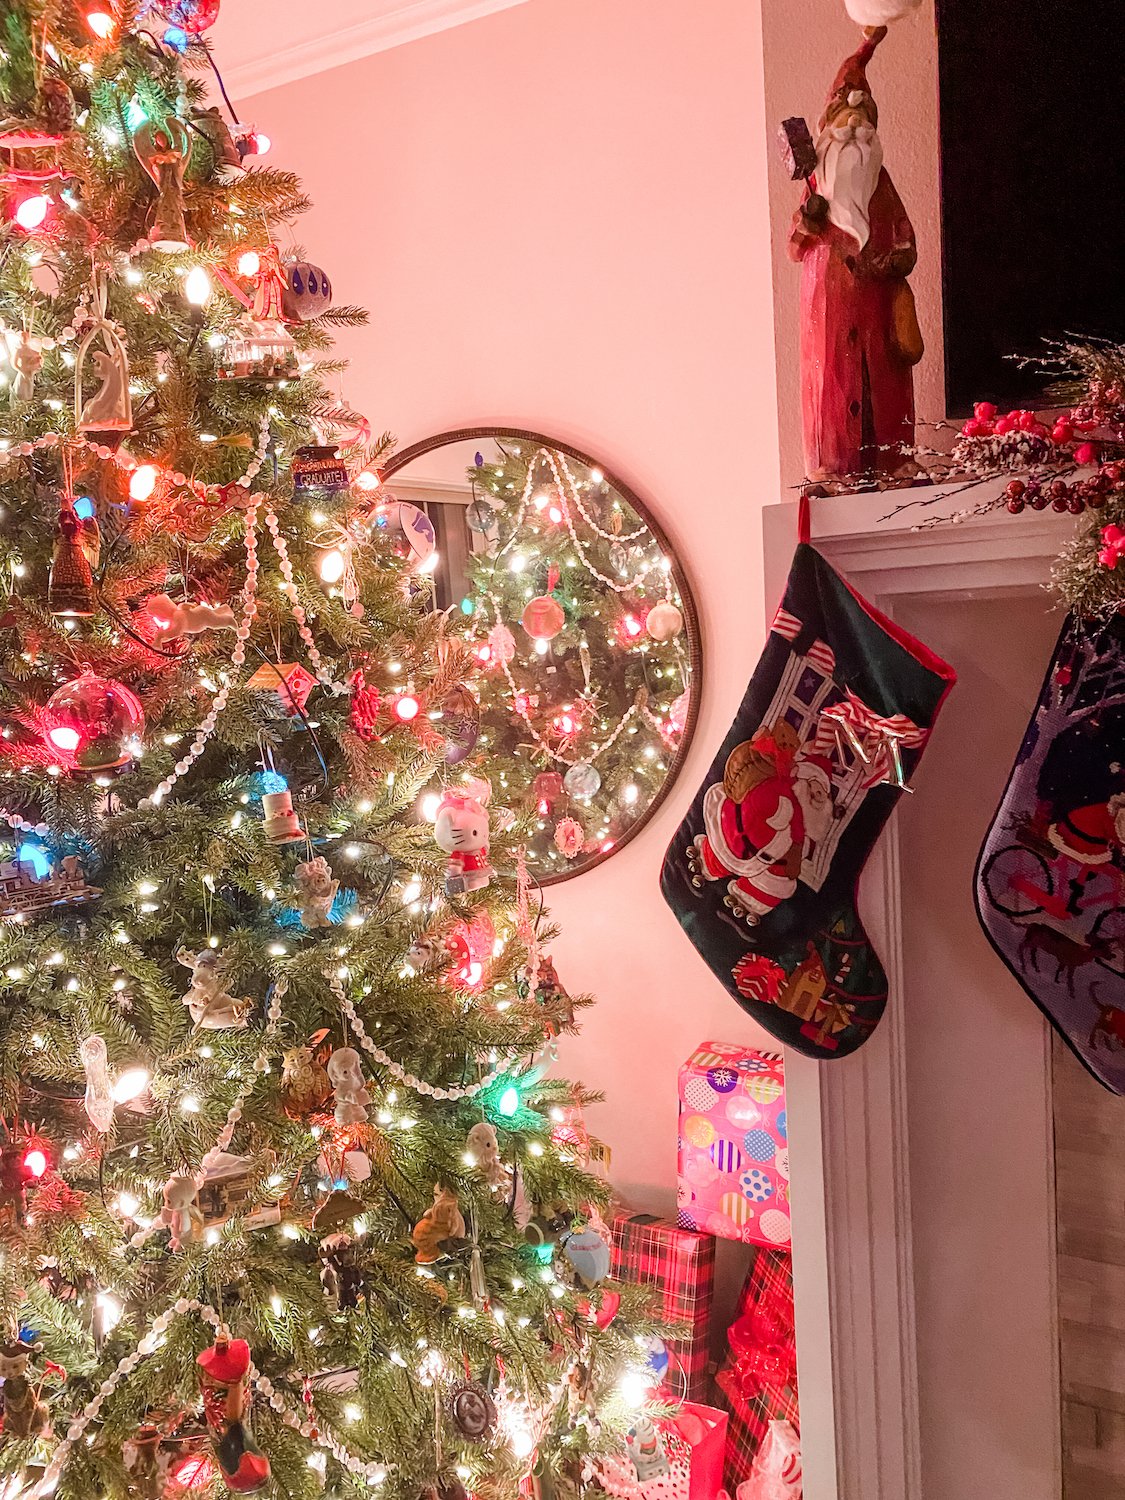
I left the mirror in the living room and I love how it reflects the tree!

Truthfully, I think I like the color and texture of the picks on the mantels better than I would plain green garland.

Great example of doing what you love rather than what Pinterest tells you to do!

So simple and so pretty.

Last year I shared how to make these little door signs…still think they are cute as a bugs ear! (the one on the left really is my wrapping room)

I did change all the other door wreaths. It really isn’t hard. Candle wreaths with a little ribbon…simple and inexpensive but very pretty throughout the house!

The kitchen…the only change in there this year was the pantry. Humungus difference for me for holiday baking but didn’t change the holiday decor!

I didn’t change much in the “Stewart plaid” all season room. I found this darling Stewart plaid top hat topper in a Christmas shop in Breckenridge and had to have it!

Little has changed outside…I did finish a TON of projects this year but nothing that really affects decorating for the holidays! (Check out the outdoor swing pergola I featured HERE)

I scattered a few things in my laundry room…nothing earth shattering.

So, while there doesn’t seem to be a lot of changes, additions and tweeks, there are.

I hope you and your family have a WONDERFUL holiday!!!!

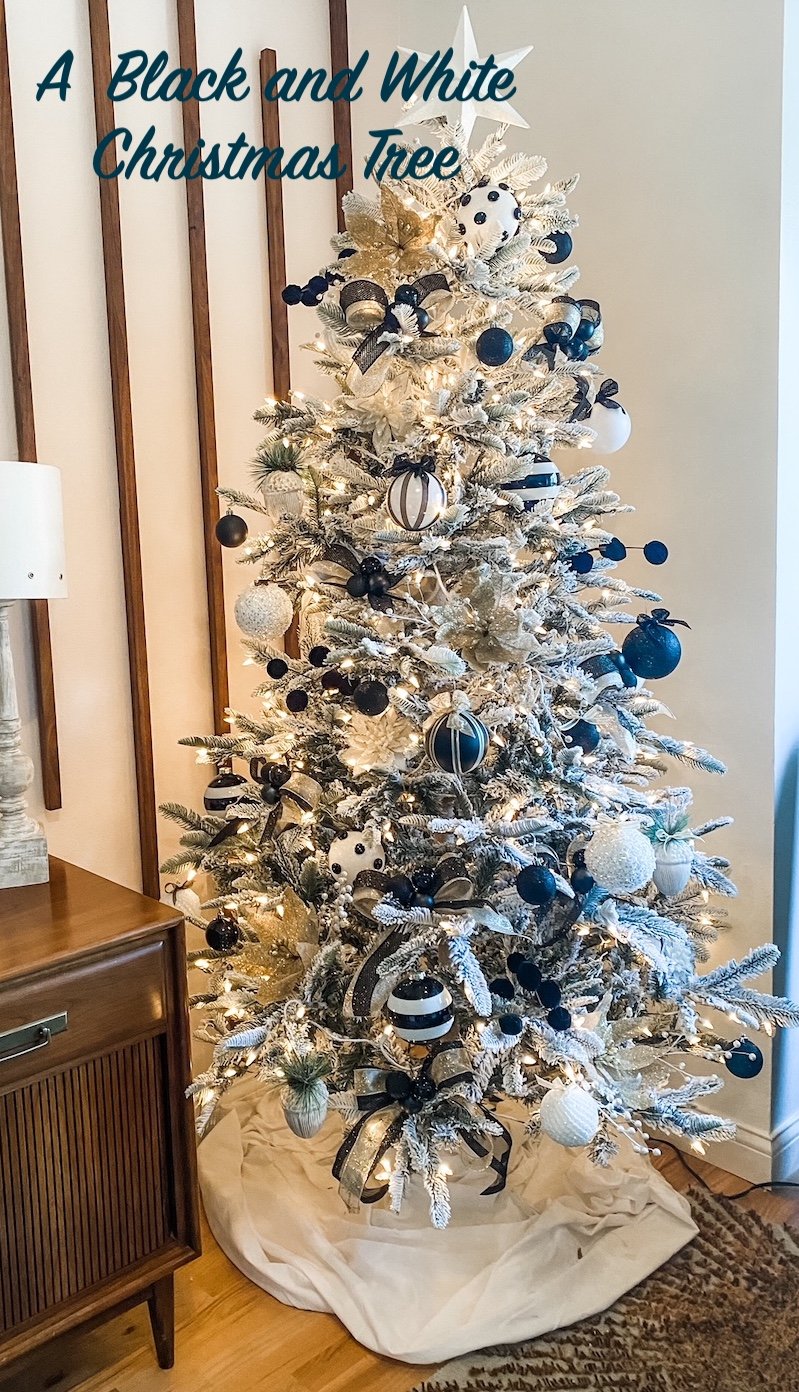
A new black and white Christmas tree...

This is our third Christmas in this house and every year I add something new.

Last year it was the “Stewart decor”….love and can’t wait to deck this room this year!

Year before was my “funky bow” obsession…still love those as well.

In both these links you can see a lot of my Christmas decor. Over the past few years I have added simple pre-lit trees to several rooms…guest room. office, all season room, dining room…most already had some “froo-froo” (flocking, berries, pinecones) so I didn’t really decorate any other than the main tree in the living room.

But while cruising Instagram I saw something that stopped me in my tracks.

This tree….

LOVE! I just think it is soooo pretty!

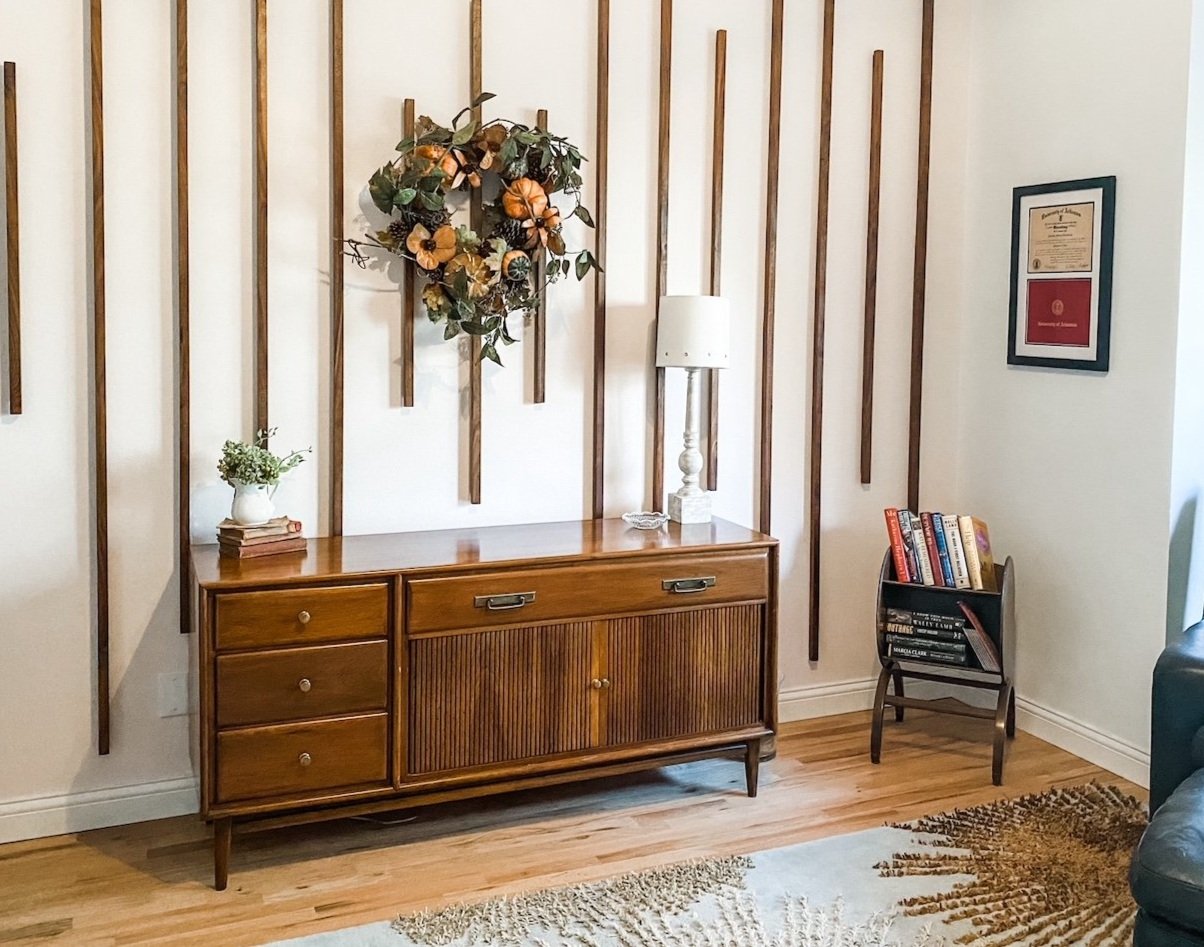
When I added the accent wall in my office earlier this year, a credenza is one element I wanted for this room. A few months ago I found the perfect credenza….a Heywood Wakefield Cliff House credenza in super awesome condition. Just happen to see it on an Instagram posting from one of my favorite vintage stores and was able to snatch it up over the phone. I can not tell you how much I love this piece….

So….when I saw the black and white Christmas tree I knew exactly where I could put it. In the corner next to the new credenza in my office where it can be seem from the living room and entry!

Last year I bought a little flocked tree for this room and set it on the side table in the front window. Pretty but just okay.

So I set out to recreate the black and white tree!

First thing I did was order a simple pre-lit flocked tree…bought THIS one and I really like it.

Then I took a picture of the inspiration tree to Hobby Lobby to find each little element.

One problem I ran into was finding the different ornaments…black and white polka dot and striped ornaments are not really the “in” thing.

What to do, what to do?

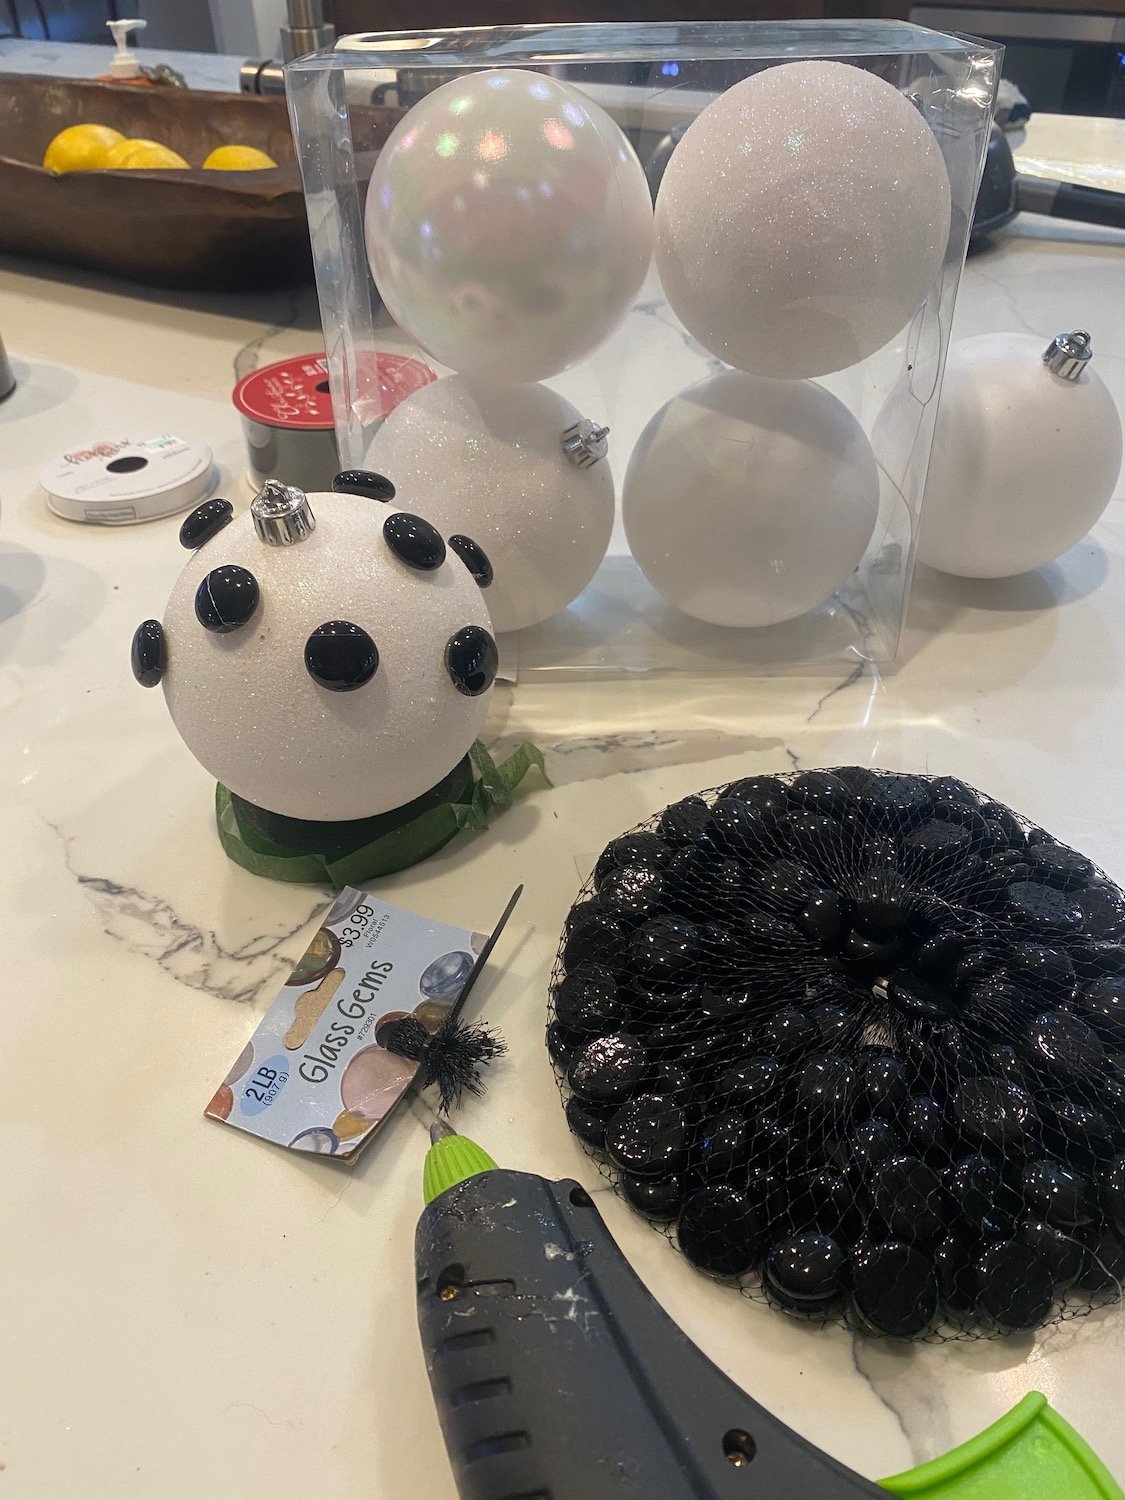
Time to break out the ole’ glue gun and get creative.

I bought some plain black and white ornaments and glued black glass beads and ribbon to the white ones and gold ribbon to the black ones.

I added pretty little bows to a few ornaments..

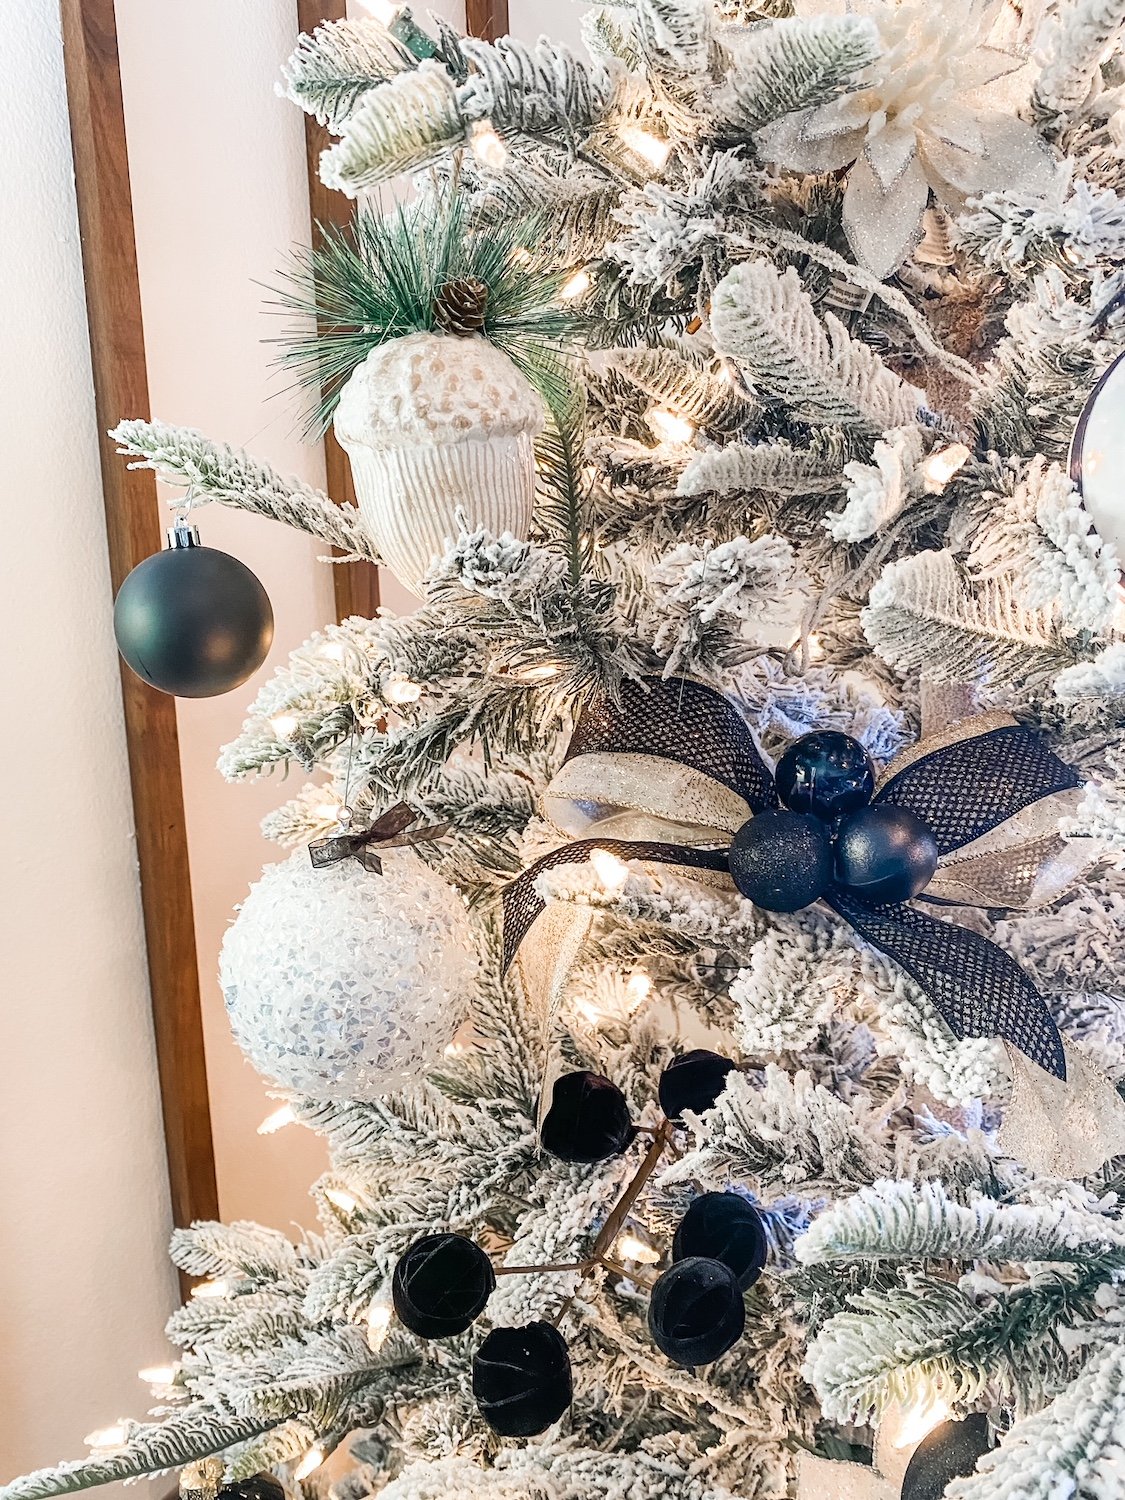
I was able to find a few “glitzy” ornaments that I dressed up with bows, a few velvet picks and even some simple white pinecone ornaments.

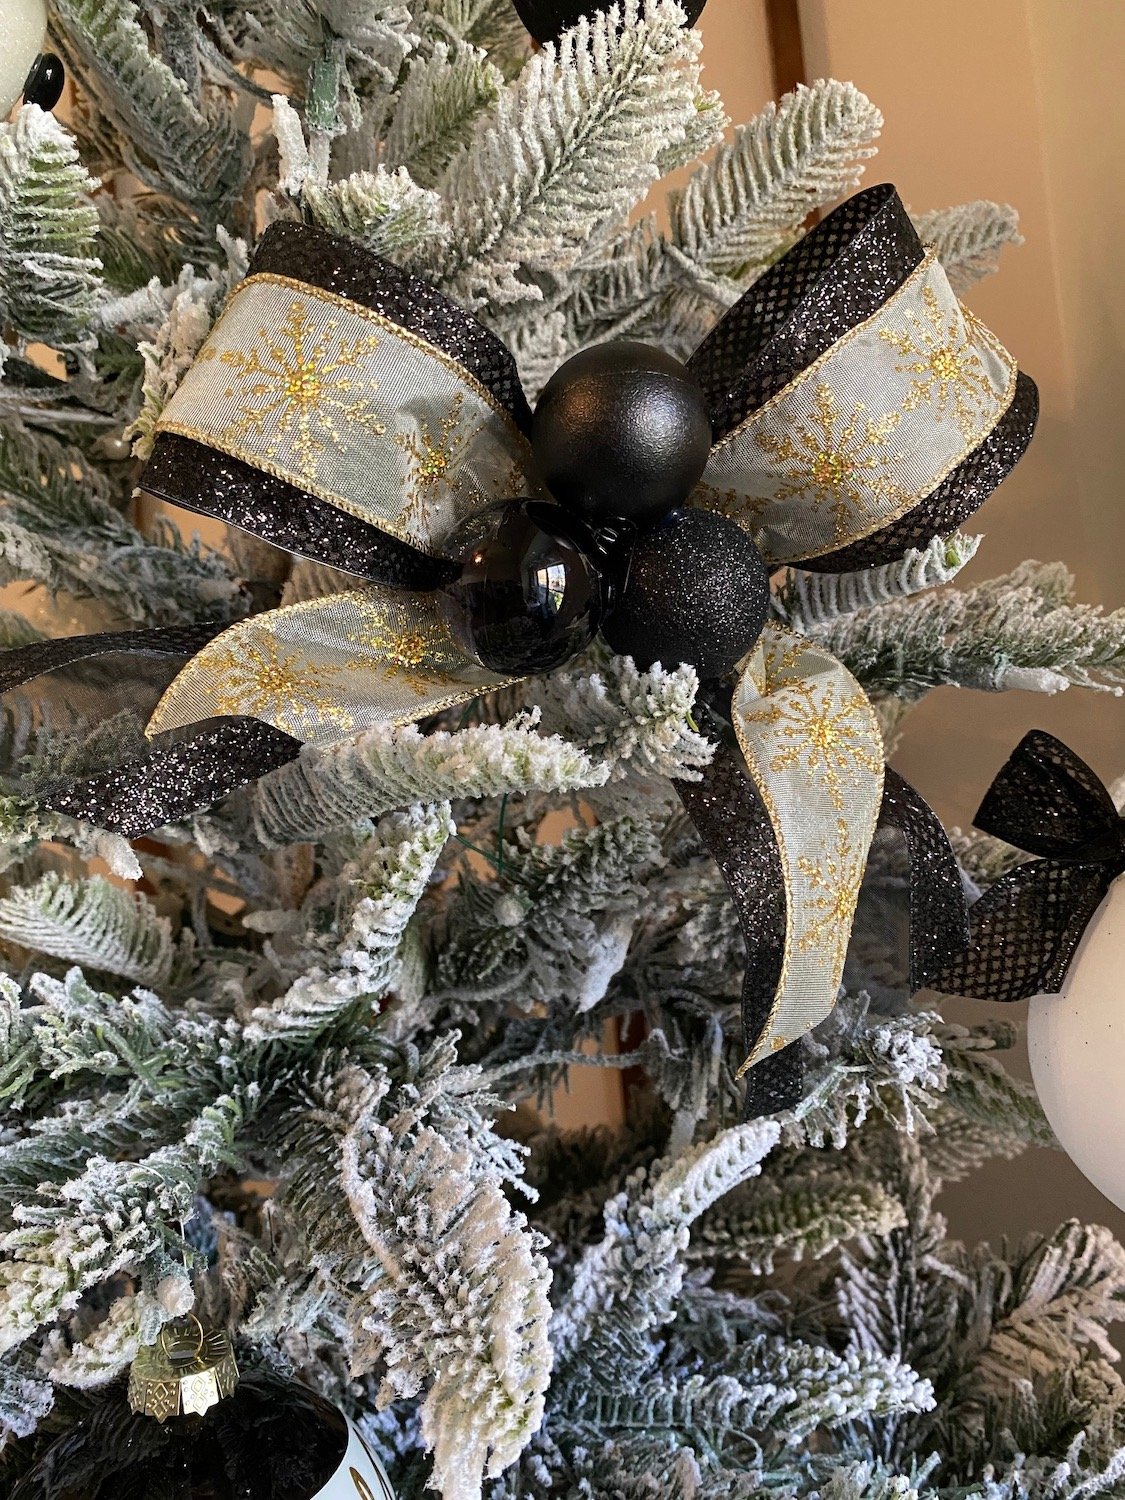
I made big bows out of gold and black holiday ribbon and glued inexpensive small black ornaments together to create little clusters.

Filled in here and there with inexpensive poinsettias.

The ornaments are certainly not “keepsake” ornaments like the main tree but simple and inexpensive and will be super easy to change if I decide to go with a different color scheme later down the road.

I wanted a tree that was simple but elegant.

I think I pulled it off!

I wish I had a link to the inspiration tree but it was on instagram and now I can’t find it. But there is tons of inspiration on Pinterest so look until something takes your breath away….then go out and create it!

YOU CAN DO IT!!!!

Fall tablescape...

I have some hard fast rules for decorating for the holidays. Fall decor goes up the week before we leave for vacation…usually the last week in September. Christmas goes up the weekend after Thanksgiving.

It’s the rules.

This past week I broke the rules.

It wasn’t really my fault. I got an At Home magazine in the mail. It had a really pretty picture of a fall tablescape and I was compelled to immediately go buy MORE fall stuff for my formal dining room. I blame it all on their devious advertising.

I went upstairs and dug around in my stash of heirloom china. I also pulled out the fall box marked “formal dining” …then I decorated my dining room.

I used my china and added little glass pumpkins, some amber stemless wine glasses and green place mats from At Home and straw placemats from Amazon

I picked up a few fall table runners but they didn’t make the cut.

i stuck a few little fall doo-dads in the china cabinet…

I made the center piece last year…fall candles, pumpkins, fall picks and some cotton stems in a round tray.

LOVE!

(You can check our the china cabinet makeover HERE!)

My son insists we use this room during our Sunday dinners. Since this china has to be hand washed, I have no doubt it won’t actually get used…we will just have to sit in the other dining room or move this fancy stuff out of the way…but it sure looks pretty.

For those who advocate using the fine china for every day use and not just for “formal”….you obviously have never had to hand wash dishes after feeding your entire family.

Right now we are having to hand wash everything anyway…our TWO YEAR OLD dishwasher isn’t working. I have no idea why…I’ve googled…could be one of four things. But after having to buy a new washing machine because we couldn’t get a simple part, we decided we would just buy a new dishwasher rather than pay $150 to have a repair main come out and tell us we can’t get a part we need. A brand new one was installed Tuesday.

So back to fall decorating. I love it and every year as soon as the temp drops below 80 degrees, I get the itch to start digging out the pumpkins and fall wreaths. But like every year, the temps climbed back into the 90s this week so now I haven the dining room decked out but the rest will have to wait a few more weeks.

That is okay! I will just enjoy the glorious summer flowers! And they are glorious this year!!

WHY DO I DO THIS TO MYSELF!!!

If you have ever checked out my “About Me” page you may note the annual pictures of our family in our Christmas PJs. No pictures of the last two years because Brian and I had Covid in 2020 and then Sarah had it this past year…so no family Christmas celebration for two years in a row. I still got everyone matching PJs but no family picture…poooo!

Anywho, I have always wanted to make a quit out of all the different plaid PJs. I have put it off because, well, I hate sewing. Hate is not a word I use often, but I really hate sewing. I wasn’t really sure why. I’m pretty good at it. I love the end results…whether it be a decorative pillow, reupholstered chair, or a custom formal dress.

I just know that every time I sew, I find myself growling and gritting my teeth.

I finally realized why I hate it so much after two weeks of working on this latest project!

It hurts…my back hurts, my neck hurts, my teeth hurt, my head hurts. Most likely the result of my horrible posture and hours of sitting.

The latest project? A PJ quilt…or rather quiltS! As in, I am up to three quilts and two throws.

Why…well, we have a full and twin bed upstairs in the bunk room and I really want some cute Christmasy quilts. Then I decided if I was going to make two for upstairs, I need to make a queen size one for the guest room. And of course the grandsons had different PJs than the adults so I thought it would be neat to make throws for them out of their little PJs.

And then of course I need to make something for the daughter-in-laws…they both want throws…and Sarah wants pillows…

AND BEFORE I KNOW IT ONE TINY SEWING PROJECT HAS TURNED INTO A FRICKING NIGHTMARE!!!

So be it…like I always say, the best way to eat an elephant is one bite at a time. So every morning I take 4 ibuprofen and start chomping away.

As with any DIY project I first had to find my “inspiration.” I knew I wanted quilts, but I also know I don’t want to do a tedious piece mill quilt. When I was in college, I worked for a lady who made applique’ baby quilts…so I know how to do that.

So I went searching and found this….

…I love it and it is something I can do with my skill set…applique’ trees made out of the flannel PJ’s on flannel panels.

I am not going to go into a long tutorial on “how to make a quilt”…as I have said time and again, I am not good at tutorials and there are THOUSANDS of tutorials out there on how to make all kinds of different quilts. Find one that makes sense to YOU!!!! I’m just here to “inspire” you!

So my next step was to gather up all the PJs we have. I sent out a message to all the family to gather up their old PJs and send them to me….

These are just a handful!

We have had this tradition for over 20 years but most of the older ones are long gone. I was able to gather about 15 different plaids from years past. The little guys (my two grandsons) had to wear different PJs up until about 4 years ago and my daughter actually had some of their older PJs stored away….SCORE!!!

I decided (based on some complicated math and chintzy fabric widths) to make the panels 10 1/2” x 10 1/2”. For the little guy’s throws the panels are 9 1/2” x 9 1/2”.

Easy peasy, right?

OH MY GOSH!!!! WHAT HAVE I DONE TO MYSELF!

The queen size quilt requires 72 panels, the full size 56 and the twin 48. The two throws will take 24 each…and each panel has THREE trees! That is a total of 672 trees…so not only did I have to cut out 224 panels, but then I had to cut out 672 trees and 672 tree stumps…and then I had to applique’ three trees and stumps on each panel.

THIS product has been an absolute life saver for me!!!!

Back in the day you would have to iron on a fusible backing. With this stuff, I just cut out the trees on the webbing, peeled one side, stick it on the fabric, then cut it out. Then I peeled the other side, and stuck the tree onto the panel. This stuff allowed me to peel the tree off and reposition it if needed. Not easy to do with iron on fusible backing.

I did use an iron on fusible webbing on the back of each panel…flannel is “stretchy” and this made sewing the trees on a bit easier. It is a “tear away” webbing so when I am done I can just tear away the backing and have a nice soft panel!

Actually, I stuck all the little trunks on the panels, sewed those on with a satin stitch, then went back and added the trees.

Again, it is waaaay more complicated than I make it sound, but this is the end result….

A total of 176 big panels and 48 panels for the little guys.

It only took me two weeks and a big bottle of ibuprofen.

Soooo, now I wait for the flannel I ordered for the stripes that will go between each panel. I got the cute white flannel with little stars for the panels from a local craft store but I read reviews on their flannel and it didn’t score high marks. So I decided to buy a different brand from a different source for the stripes and backing. It was a bit more expensive, but if you are going to put in this kind of time and money, I say go with the best. I want these quilts to last a looooong time!!!!

I decided to go with plain ole’ red…very Christmasy. My plan is to connect each panel with 1 1/2” red stripes and back the quilt with red or maybe another plaid flannel…then bind it with a red and white striped fabric…kind of “candy canish.”

Truthfully, I am grateful for the time off while waiting on the flannel. I need the break!

I am very fortunate. My daughter’s boyfriend’s mother quilts and he knows how to do the top stitch quilting…so he has agreed to do that for me. That is an expensive part of this project so I am grateful he is willing to do it!

AGAIN….find a tutorial that makes sense to you for the type of quilt you want to make. My quilt is a tad more complicated because of the applique’ work, but you can do a simple patch work quilt if you have no other skill than the ability to sew a straight stitch! Don’t let the complicated and beautiful quilt projects intimidate you…they are amazing and I envy the women who have that ability, but you can make a simple keepsake without all the fuss!

I have seen keepsake quilts made out of baby cloths, old jeans and athletic tshirts. My neighbor saw this and decided it would be a great way to preserve a bunch of her father’s old flannel shirts she kept.

This is definitely a “labor of love.”

It is also a prime example of doing something I dislike because I know I will love the end result!

Twiddling my thumbs...

Sometimes I feel like I am just sitting around twiddling my thumbs…waiting.

Right now I am waiting on the brick guy to come cut the brick so I can install operable windows in the master bath.

Relatively easy project…until I removed the sheetrock and the insulation and discovered that plumbing will have to be moved on one side and a whole bunch of electric wires have to be moved on the other. CURSES!!!!

Always something.

Okay, I’m not really sitting around twiddling my thumbs…while I wait I have been chipping away at a few other little projects, like the little patriotic bow I made for my welcome sign….

Whatever it is, the way you tell your story online can make all the difference.

I shared THIS funky bow tutorial when I shared my Christmas decor. I am going to decorate a tad for every holiday so I made another seasonal “funky bow” for this little Welcome sign.

I also spotted this patriotic wreath online…

Whatever it is, the way you tell your story online can make all the difference.

I really like it but I learned the hard way,..don’t order ANYTHING from an “unknown” online company. And pay attention to the reviews on others…this one got horrible reviews on Amazon.

So I decided to tackle this one myself. I have already started the “bunting”…

Whatever it is, the way you tell your story online can make all the difference.

…which of course entailed by LEAST favorite DIY chore…sewing.

I’ve bought the ribbon and the floral stems and now I am just waiting on Hobby Lobby to have their grapevine wreaths on sale.

Another project is my screened porch. I absolutely LOVE Tasha’s screened in porch! Just stunning!

Mine is much smaller and way less WOW! But that doesn’t mean it has to be a neglected space.

We really only use this space for two purposes…sometimes we sit at the little outdoor table and eat or drink coffee and sometimes I sit out there and read.

I decided to go “fun and funky” and since flamingos are “fun and funky” and all the rage right now, I decided to go with them.

Now keep in mind I think pink flamingos will be kind of like watermelons, burlap and chevron was 5 years ago…EVERYWHERE. Now not so much. So I want to keep that in mind when decorating…don’t spend a lot of money on something that is just a “passing fad.”

Another “funky bow”….

Whatever it is, the way you tell your story online can make all the difference.

Some “fun and funky” throw pillows for my reading chairs…

Whatever it is, the way you tell your story online can make all the difference.

We installed a new paddle fan, painted the little metal table and chair, made a wood top for a metal base I am going to use as a side table and I am waiting on cushions and fabric for the lounge chairs.

Nothing as grand as Tasha’s porch but a few little changes that will spruce it up just a tad.

When I get it all done I promise to share…both the porch and the patriotic wreath.

Until then I shall sit and twiddle my thumbs…..

static1.squarespace.png