Another Holiday Challenge!

I posted on this subject on my Facebook page and then I remembered, I HAVE A BLOG!!!

So here is ANOTHER holiday challenge!

This year we lost two precious family pets.

Ginger, our black lab....

Christmas 2014

And Molly, my beautiful Siamese kitty...

Molly was 18 and Ginger was 13.

In memory of both, Cleo donated to Hope for Paws, an AMAZING animal rescue organization (watch some of their rescue videos ...with a tissue!) We also donated some supplies to our local shelter! 

I am not rich. I can not donate "a lot." But every tiny bit helps and if everyone would drop off a blanket or old towels or food or maybe a toy to their local shelter, or take a minute and donate just a few dollars to a rescue organization, so many animals could be helped! 

I love my Annual Holiday Challenge of giving when "moved" to do so...and there is soooo much joy in giving to children and families in need. But PLEASE do not forget about all the animals who did NOTHING wrong but will spend their Christmas on concrete floors in a cage! 

Parents, start a tradition THIS year by donating to your local shelter in honor of your pet or children...what an amazing stocking stuffer! Or take your child to the dollar store and buy an inexpensive blanket or a bag of animal food and take it to the local shelter together! 

Trust me...they will forget most of the "stuff" you buy them every year...but they NEVER forget the traditions!

A simple TV cabinet makeover...

This is the second year in a row I have been sick around Christmas. Fortunately, last year it was AFTER Christmas. This year it was BEFORE Christmas. Not good when I have so much to do the week before Christmas! I knew I felt bad Tuesday when I was out building fence (the wind did a number on my privacy fence at the apartments) but I didn't realize how bad I felt until I came home and sat down.

Now I have a list of things to do...presents to buy, a few things to return, wrapping boxes to hunt down, presents to ship, grocery shopping....and I feel to cruddy to even drag myself into the shower! Fortunately I THINK the worst is over so hopefully I'll feel like getting around later today!

In the meantime, I thought I would share another simple little makeover.

Remember all that dated, uninteresting furniture I keep harping on you to paint or do SOMETHING with! Well, this is just another example of a piece of furniture that no longer has a place or a purpose in our homes...unless you roll up your sleeves and give it a little makeover.

The dreaded old "tv cabinet" ...or "hutch"....or whatever you want to call it!

Here I shared how I acquired this less-than-interesting piece and how I used beaded craft board to start this simple transformation!

I gave the inside a KSTP treatment with my "go to" off-white and gave the outside a little plaster paint/dristress treatment. But it still lacked "character" so I wiped down the entire cabinet with walnut stain. That changed the color from a soft "teal" to almost a "greenish" color but it also added depth to the finish! Kind of a "patina"....

I sealed it all with poly and changed out the hardware. Actually I painted the original round knobs black and added black cup pulls to the bottom drawer! Remember, if you are changing out hardware, you may have to patch some holes BEFORE you paint. In this case I had to do just that since the holes on the bottom drawer were 3" apart and the holes for the cup pulls are 2 1/2"...no biggy! Just patch them with wood filler, sand and then paint....then just drill new holes for the new hardware!

It would be simple to reinstall the doors...but in this case I decided to go with an "open shelf" look! 

Simple little update! Now this little cabinet is ready for another season of life! 


Another day, another project....and a new venture! And my annual HOLIDAY CHALLENGE!

My neighbors, Kenny and MaryAnn, bought a beautiful antique dresser. The problem with beautiful antique dressers is they usually need a little work. Ever watch the tv show "Botched?" I should do a show about "botched" repairs on old furniture because 9 times out of 10 someone else has already tried to "fix" little problems, only to create much bigger problems.

In exchange for a few hours of work and a few choice curse words, MaryAnn gave me this little pine cabinet....

IMG_7489.JPG

At some point Kenny had removed the back and like me, had NO idea where he put it. That is okay...I have "repurposed" little cabinets like this before and one of the first things I do is remove the back and replace it with something with a little more "character."

This tung and groove "craft board" is perfect for adding a little "pop" to otherwise boring or dated cabinets. Since I decided to remove the doors and turn this into an "open shelving" unit, I knew it needed a little something....

Rather than paint the boards a solid color, I usually do a little "white wash" treatment on them in whatever paint color I plan on using on the exterior. I painted the inside of this cabinet my favorite off-white color and plan on painting the outside a soft teal. 

The first thing I did was cut the boards down to the size I need for this project. Then I just dip my paint brush in water, then dip it in the paint, brush the boards, then wipe them with a damp cloth....

This allows the grain to show while still giving the boards a little color. After the boards dry, I spray them with a clear coat. 

I put a tiny bit of glue in the "groove" of each board. Not a lot or it will ooze out and make a mess...a little glue goes a long way...and fit them together one at a time across the back! 

I use my pneumatic stapler to attach them to the cabinet....

This board is so thin you could probably attach it with a manual stapler if that is what you have handy!

This bead board really does dress up and update these old cabinets..

IMG_7529.JPG

Now all I have left to do is paint the exterior and replace the hardware...I will make sure I share the transformation when I get it finished!

I recently used this same treatment on a huge old ugly (but very solid oak) cabinet I hauled home from the apartments. 

I decided to use it for display in my new "room" at 410 Vintage

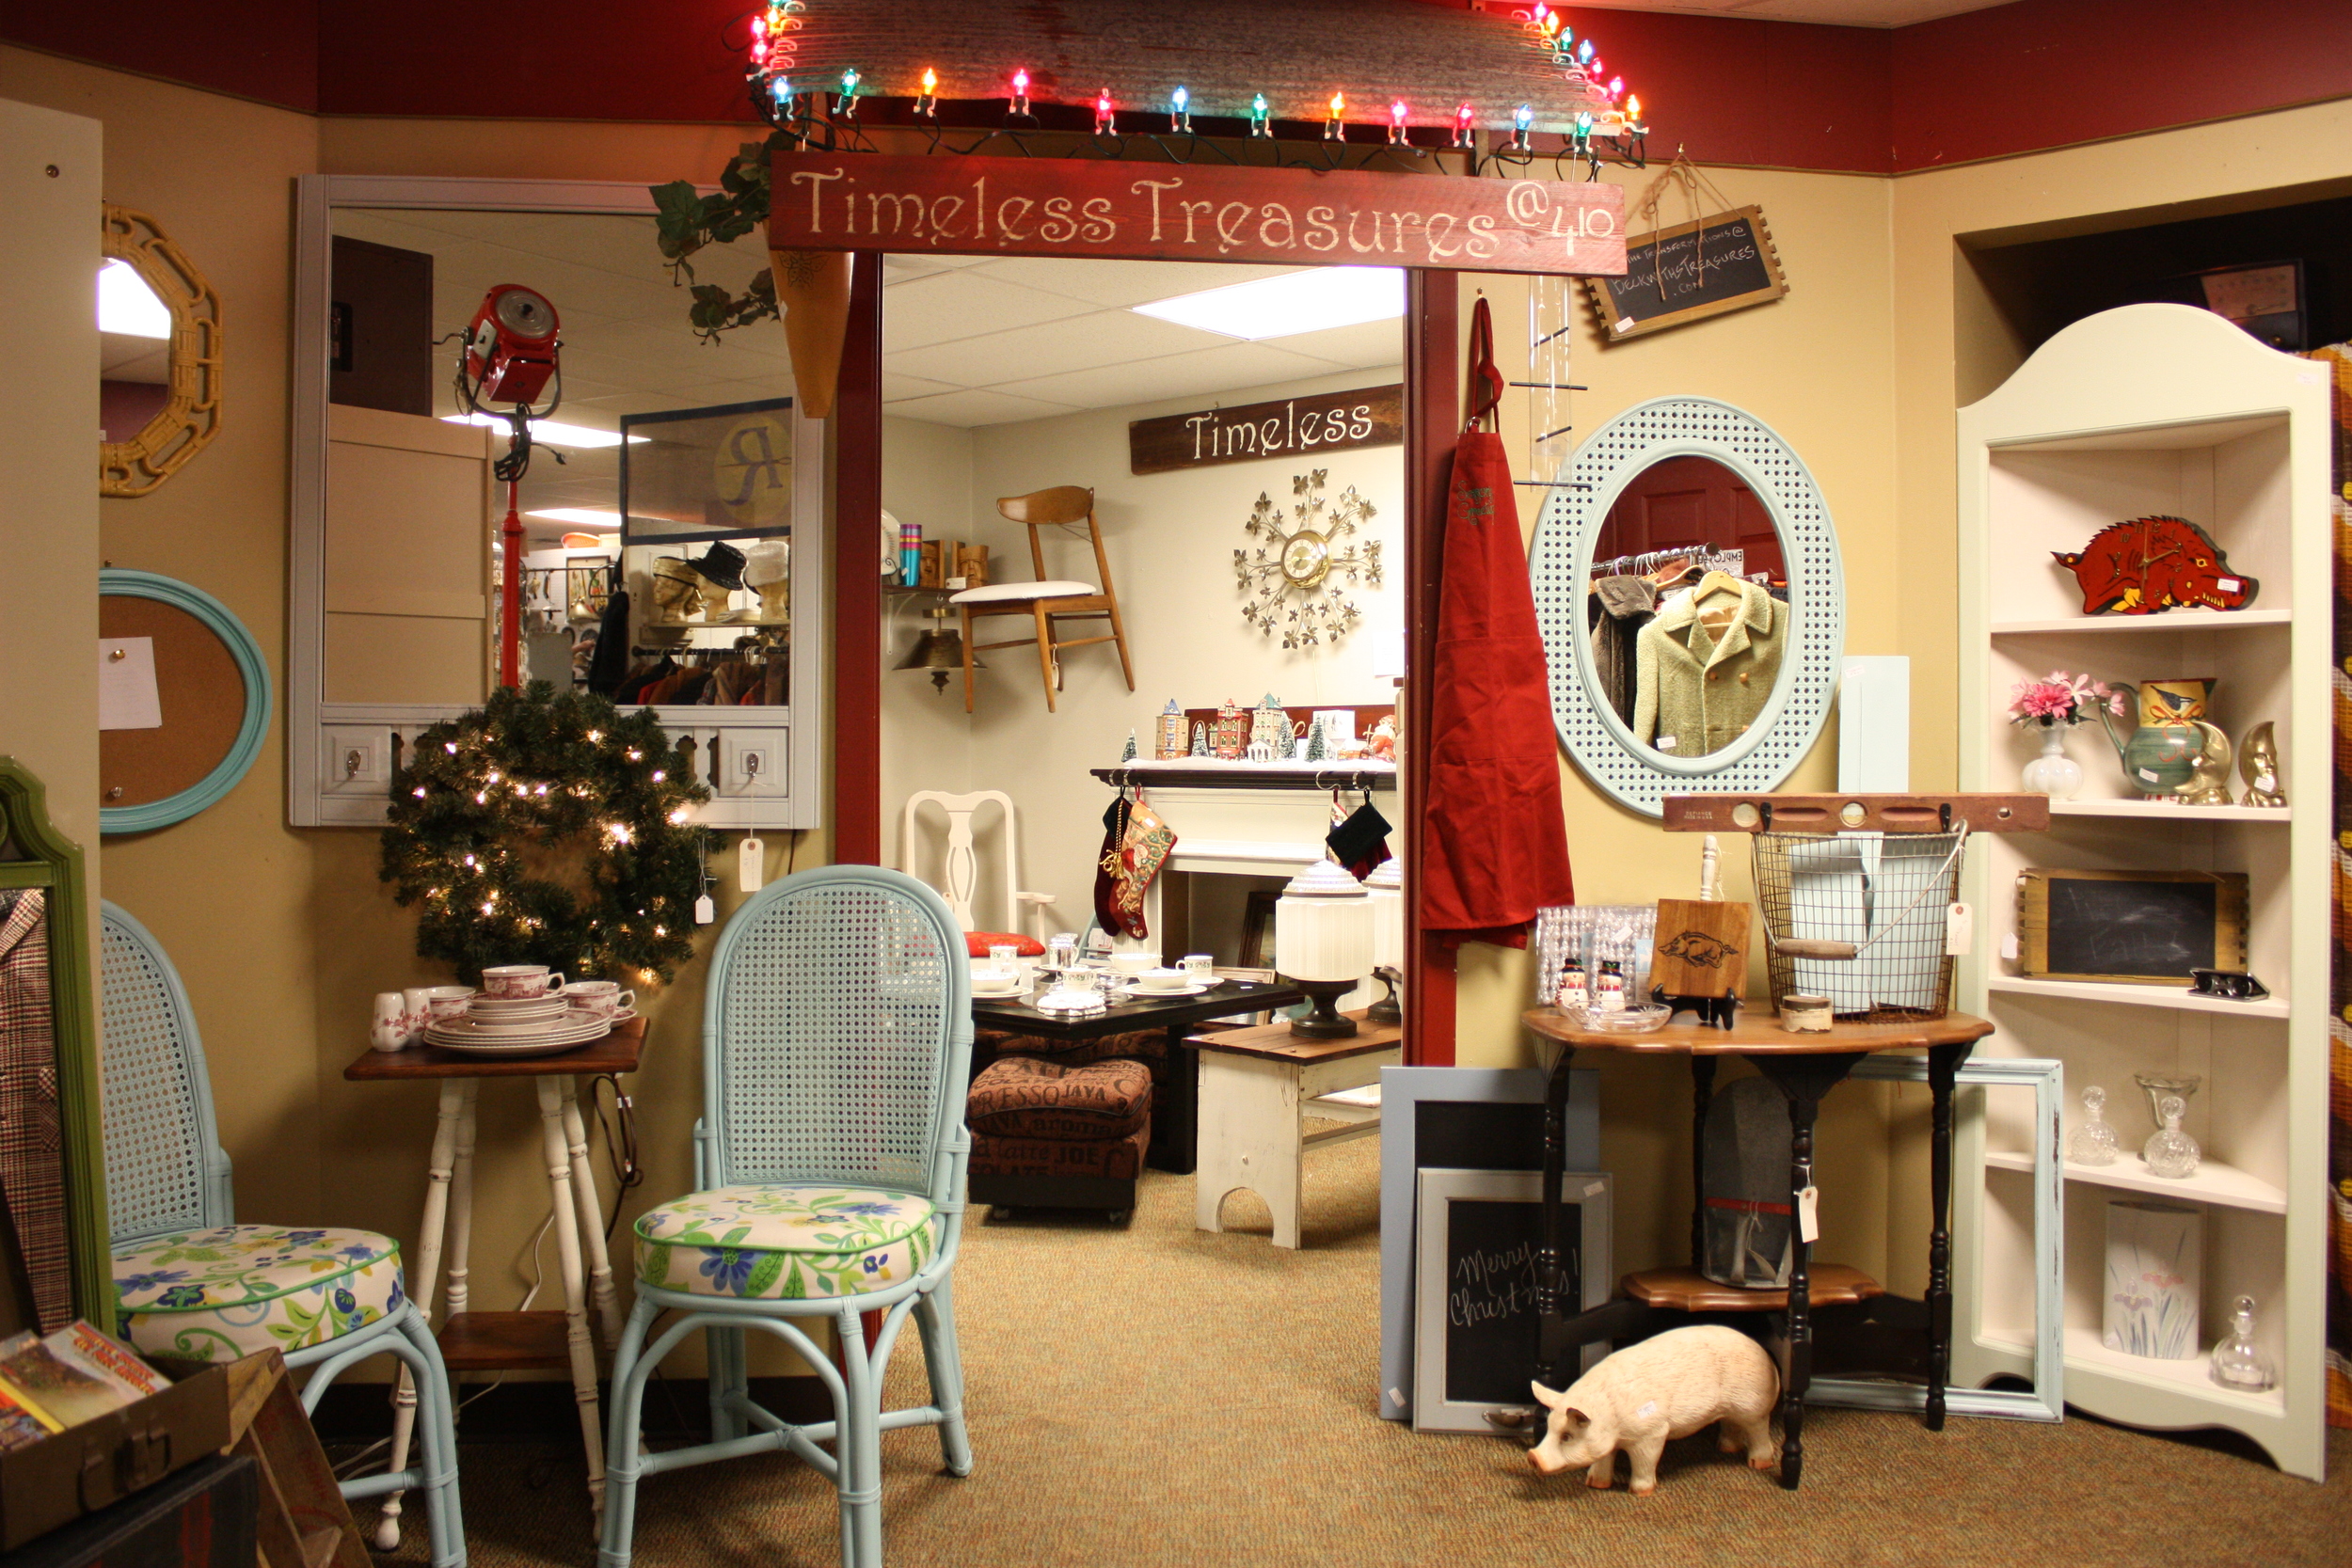
Yep, this is my "new venture." An entire room at 410 Vintage, rather than just a booth!

IMG_7466.JPG

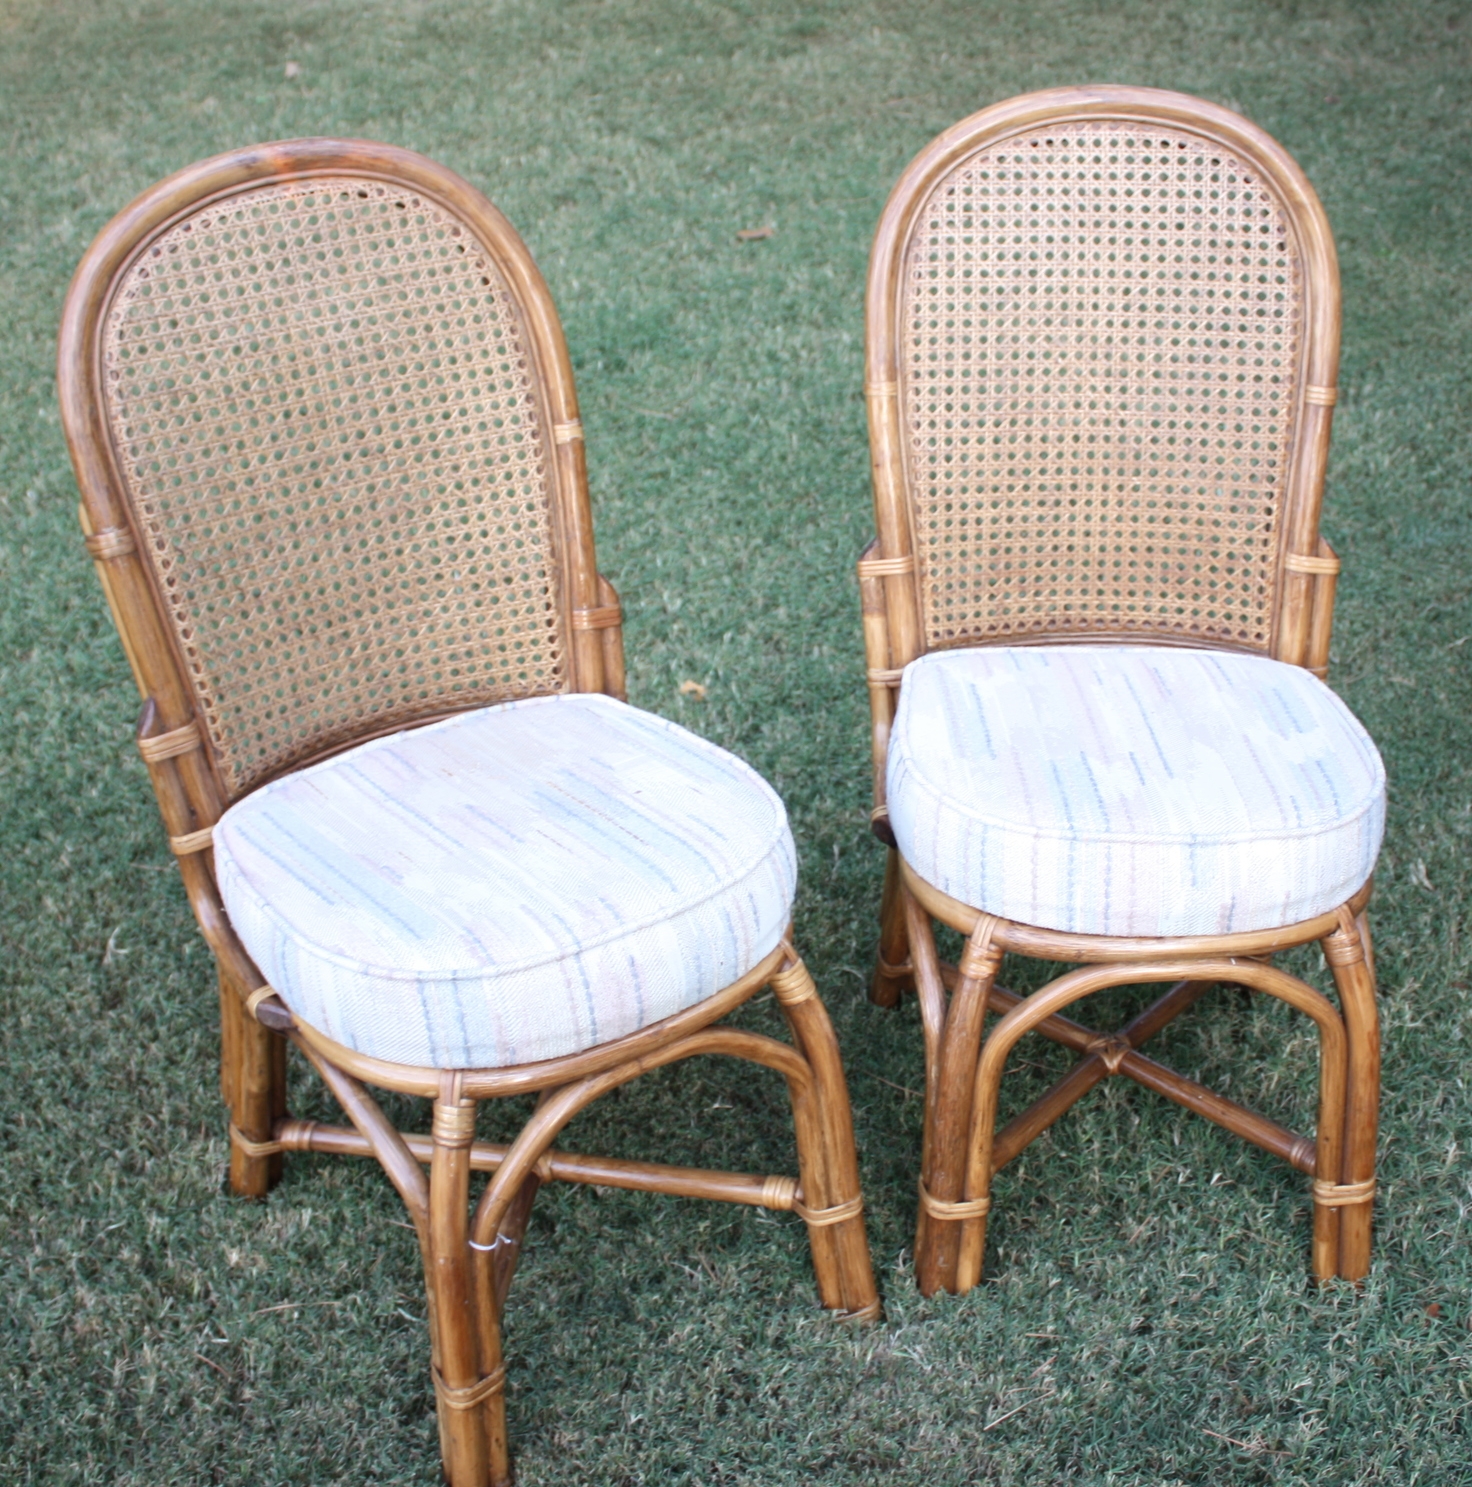
This is just a little sneak peak at my new room...you can see the amazing ratan chairs that started out in a total state of FIX ME!!!!

(I had several dining room tables that where set all pretty for Christmas...neither lasted a day!)

IMG_6625.JPG

A couple of little side tables that had a bad case of the uglies...

They both just needed a little TLC...

I have filled this room with my auction treasures and furniture rehabs...its is a fun space!

If you are local and have not checked out 410 Vintage in Fayetteville, you really should drop in! The owner has one side filled with "mid century" awesomeness and the other side of the building are spaces filled with anything and everything vintage, retro, antique and wonderful! They have an Instagram page that is updated several times a day with new arrivals. I don't have an Instagram page but if you do, you might want to check it out!

HOLIDAY CHALLENGE!

This is the time of the year when I want to remind you of my "HOLIDAY CHALLENGE!" Our family use to do the Angel Tree every year and always enjoyed buying gifts for our "angel." But as the kids have grown and have less time to shop with Mom, I have encouraged them to find their own way of giving. For me, it is random giving. Every year I set aside 5 $20 bills...and I wait. At some point during the season, I will run across someone who will have a "need." Maybe at the grocery store...or the car hop at Sonic. One time I was getting gas and I felt the person at the pump next to me could probably use gas money. You never know...if you open your heart, you will know when to give! 

If you don't have a lot of cash to give, give of your time!

We may not have everything we WANT, but we always had what we NEEDED! It feels wonderful to be able to give back...even if it is just a tiny bit!