Are you thinking about retirement?

I hope you had an amazing Christmas! (HERE I shared my Christmas decor )

So many of us are looking towards the New Year so this week I want to “muse” a tad.

I want to talk specifically to those contemplating retirement.

So often everyone focuses on the “financial aspect” of retirement.

Do I have enough in savings? Will my pension be enough? Will I have my house paid off or can I afford a payment? When will social security kick in and how much will it be? What kind of medical insurance will I need?

All valid questions. Ones AARP, retirement gurus and financial institutions are more than happy to help you answer and navigate.

But there are a few aspects to retirement few discuss or focus on.

In my opinion, they are as important or maybe even more important than your financial well-being.

Your emotional and psychological well-being when you no longer have “a purpose.” A job or career that gets you out of bed and on the clock 8-10 hours a day, 4-5 days a week, 365 days a year…less of course vacations and holidays.

The commitments that a career or job requires…the social network it provides.

I want to paint the living room. I need to clean out the garage. I want to play more golf or fish or travel. I want to spend more time with my grandkids. I want to learn to paint/bake/knit.

All very valid “wants.”

But do the math.

Lets say you are just a typical 9 to 5er…5 days a week. So you basically work 40 hours a week. That is 2,080 hours a year…less vacations and holidays…so lets say 160 hours of PTO and 11 national holidays (88 hours). All said and done maybe 1,830 hours a year. That means you have somewhere in the neighborhood of, on average, 35 hours a week that is no longer dedicated to “earning a living.”

Keep in mind, that 35 hours a week you have to fill up doesn’t include commute time you no longer need or time prepping lunches or clothes for the week. Your weekends aren’t filled with grocery shopping, running errands or housework because now you have ALL week to do those things!

So you have 35+ hours a week to golf or fish or spend time with grandkids. You have all the free time in the world to paint the living room or clean out the garage. You have time to learn to paint or bake or knit. You can finally take that trip to Yellowstone or go on an Alaskan cruise. You can finally read a few good books. Maybe you even want to write a book!

Sweet.

So you think.

In reality, let me tell you what happens.

You wake up the first Monday morning and you are LOVING not having to jump up and hit the day with your hair on fire.

The week after you return from your dream vacation to Alaska or Europe you open the garage door and start cleaning out that disaster or start painting the living room…that will take a good week or two. But then it’s done.

Course there are always other “honey-dos” around the house you haven’t had time to tackle because of busy work weeks. Clean out the gutters, repair and paint the exterior of the house, purge and organize all your closets. Realistically how many weeks or months would it take to get it ALL done?

Maybe you plan golf or fishing dates with your buddies (IF they aren’t still working)….that eats up a good 8-10-12 hours a week.

You sign up for those painting or baking classes…there’s another few hours a week

Maybe you schedule ”play dates” with your grands a few hours a week.

So you spend a few months, or even a year, enjoying your retirement…doing the things you WANT to do rather than working.

Remember, if we are lucky we have another 20-30 years to fill up.

Then reality sets in.

You no longer have to hustle to make a paycheck.

You spent so much time with the people at work that they really became your primary “social network.” But they are all still working so they don’t have the time or energy you have to “socialize.”

Your “identity” was so wrapped up in WHAT you were for 20-30-40 years…now you are what?

“Retired?”

All the things you WANT to do….golf, fishing, baking, knitting, reading, grands…they may take up some of your day but not a full 40+ hours a week that use to be dedicated to your job/career.

Suddenly you find yourself feeling “guilty” that you aren’t running around with your hair on fire. You are in your pajamas at 10 a.m. still drinking coffee and watching the morning news while your spouse, friends, ex-coworkers are out there “doing.”

Suddenly you find yourself without a “purpose.”

“Purpose.” That was the word that hit me like a ton of bricks when I found myself really floundering a few months after my “retirement.”

What exactly is my purpose…and what does that even mean?

For most of our lives our “purpose” (and by default our “identity”) is wrapped up in our careers (I’m a doctor/business owner/secretary) and of course our families…I am so and so’s wife, husband, mother.

Then our kids grow up and get their own lives…we are still parents but they don’t demand as much of our time and attention.

We retire and we no longer see ourselves as “what we do.”

Suddenly we are faced with the reality that we have to find a new identity…a new purpose. Because if we are lucky we have another 20-30-40 years left on this earth.

I didn’t plan well for the “emotional/social/psychological” aspects of retirement….and what I discovered is that I really struggled with a lot of negative feelings.

Guilt. Everyone else is still working and I am doing nothing or I’m not making the kind of money I made before so I am no longer contributing to the household like I use to.

Loneliness/lack of a social life. I am stuck at home alone. I can’t travel like I wanted because my partner is still working. Most of my friends are still working so I have no one to play with.

Boredom. The garage is clean, the living room is painted, I read/knitted/baked for two hours today and played golf for 4 hours…now what!?

I could volunteer! Yes, I will volunteer! Let’s see…I can''t volunteer at the animal shelter because I would bring home every stray animal. Sick kids make me sad so I can’t volunteer at Children’s. I’m way to close to THAT so I don’t want to work with elderly people.

So what advise can I give to those who are contemplating retirement?

Finances…of course. You have to make sure you are financially sound. There are so many resources to help you prepare financially for retirement…find them and use them.

In my opinion, don’t go into retirement with debt…house payment, car payments, personal loans, credit card debt. If you need to work a few extra years to pay those things off…do it. Those debts will drain the resources you will need! Use your income to pay off debt…not your retirement funds.

Your health. Do not fool yourself into believing you will eat better, exercise, or stop smoking AFTER you retire. Do it NOW…develop healthy habits NOW. Start getting as healthy as you can NOW so that it will be easier to face the health issue that may arise because of aging.

Be realistic about your need for health insurance and make sure that factors into the “financial preparation” you do.

No, we don’t get to control every aspect of our health…but take control of the things you can control…your diet and exercise and stop the bad habits that can negatively affect your health long term. (HERE I shared my journey to stop smoking)

Mental health…whatever that means to you. For me, it meant getting rid of the “negative” thoughts in my brain.

I also use exercise (biking and walking) and eating better as part of my mental health regiment.

I did not want the negative…hatred, bitterness, envy, anger, frustration, fear, regret…to have ANY affect on my life. Let’s be honest…it’s dang near impossible to banish ALL negative from our lives. After all there are still stupid people all around us…lol!

But finding a way to manage those negative feelings and thoughts and replacing them with healthy positives is a “must do” regardless of your age. If you can’t do it on your own, find someone who can help you…NOW!

Find your purpose….When I realized I had to fill 30-40 hours a week with something other than work, I really began to search for a “purpose.” Something I could do that would be fulfilling and fill my days with positive, uplifting things.

Truthfully…unless you are just a “golf freak” or fishing fanatic, or unless you can sit and read or paint for 8 hours a day, 7 days a week, 365 days a year….you are going to have some serious down time.

Waiting til you retire is not the time to “find your purpose” or recreate a new identity.

REMIND YOURSELF DAILY…YOU DESERVE THIS!!! You worked your entire adult life. You deserve this. The only way I finally banished the “guilt” was reminding myself daily that I deserved to be in my pajamas at 10 a.m. drinking coffee. I deserved the leisurely walks with my dogs. I deserved long lunches with my friends and naps with my grandkids.

I worked my whole life to save enough to retire. I am certainly not on the “wealthy” spectrum and I don’t have the luxury of spending willy-nilly. But I have far fewer financial demands than I had while I was raising kids and I have enough to live relatively comfortable in my retirement years.

HERE I shared part of my journey to finding purpose. As I noted, it took me a good two years to figure it out. Don’t go into retirement without a purpose and spend two years floundering like I did.

So BEFORE you retire, find your “purpose.” Find what truly fulfills you before retirement and be realistic about how much time it will require.

Not hobbies, or travel plans, or projects around the house…but something you can do that will take up all the free time you will have AFTER you do those fun things.

Something that will give you real “purpose.” Something that will make you wake up every Monday morning with a plan…something you can feel good about and look forward to!

Get happy, get healthy, and really prepare yourself MENTALLY for this dramatic change in your life.

If you want to go into retirement and just putter around with a few hobbies here and there…go for it. But honestly, if you have been a busy bee for the last 40 years of your life, I can almost guarantee you won’t be happy.

Worse, you will not be physically or mentally healthy. The negatives of not having a real purpose….not having something constructive and positive to do…not having a good social support group….those will drain the physical and mental life out of you.

You will find yourself having a miserable, unhealthy last chapter of life.

You can have a great financial portfolio going into retirement….but if you are bogged down with negatives of regret, loneliness, anger or you are unhealthy mentally or physically…you will truly suffer.

Retirement can be a fulfilling time in your life….IF you plan for it!!!!


Another Christmas....

Ever year I feature my Christmas decor…every year I think not much has changed.

But it does change…a tad here and there.

Last year I shared a few little changes…same this year…a few things here and there.

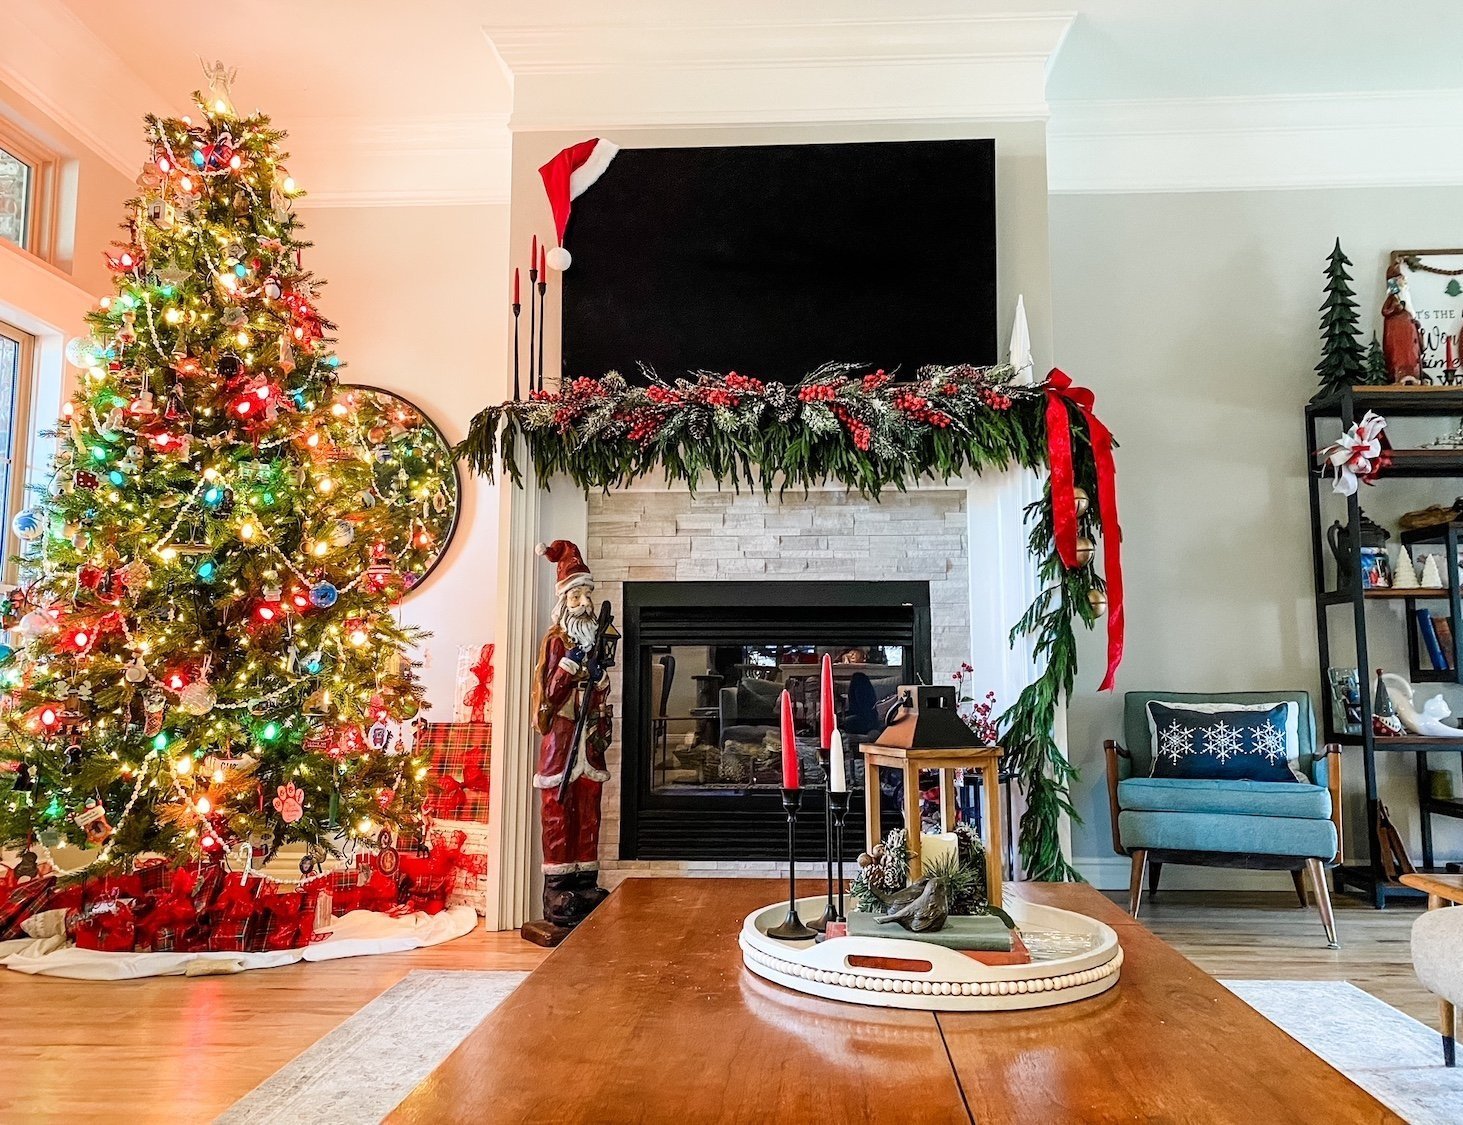
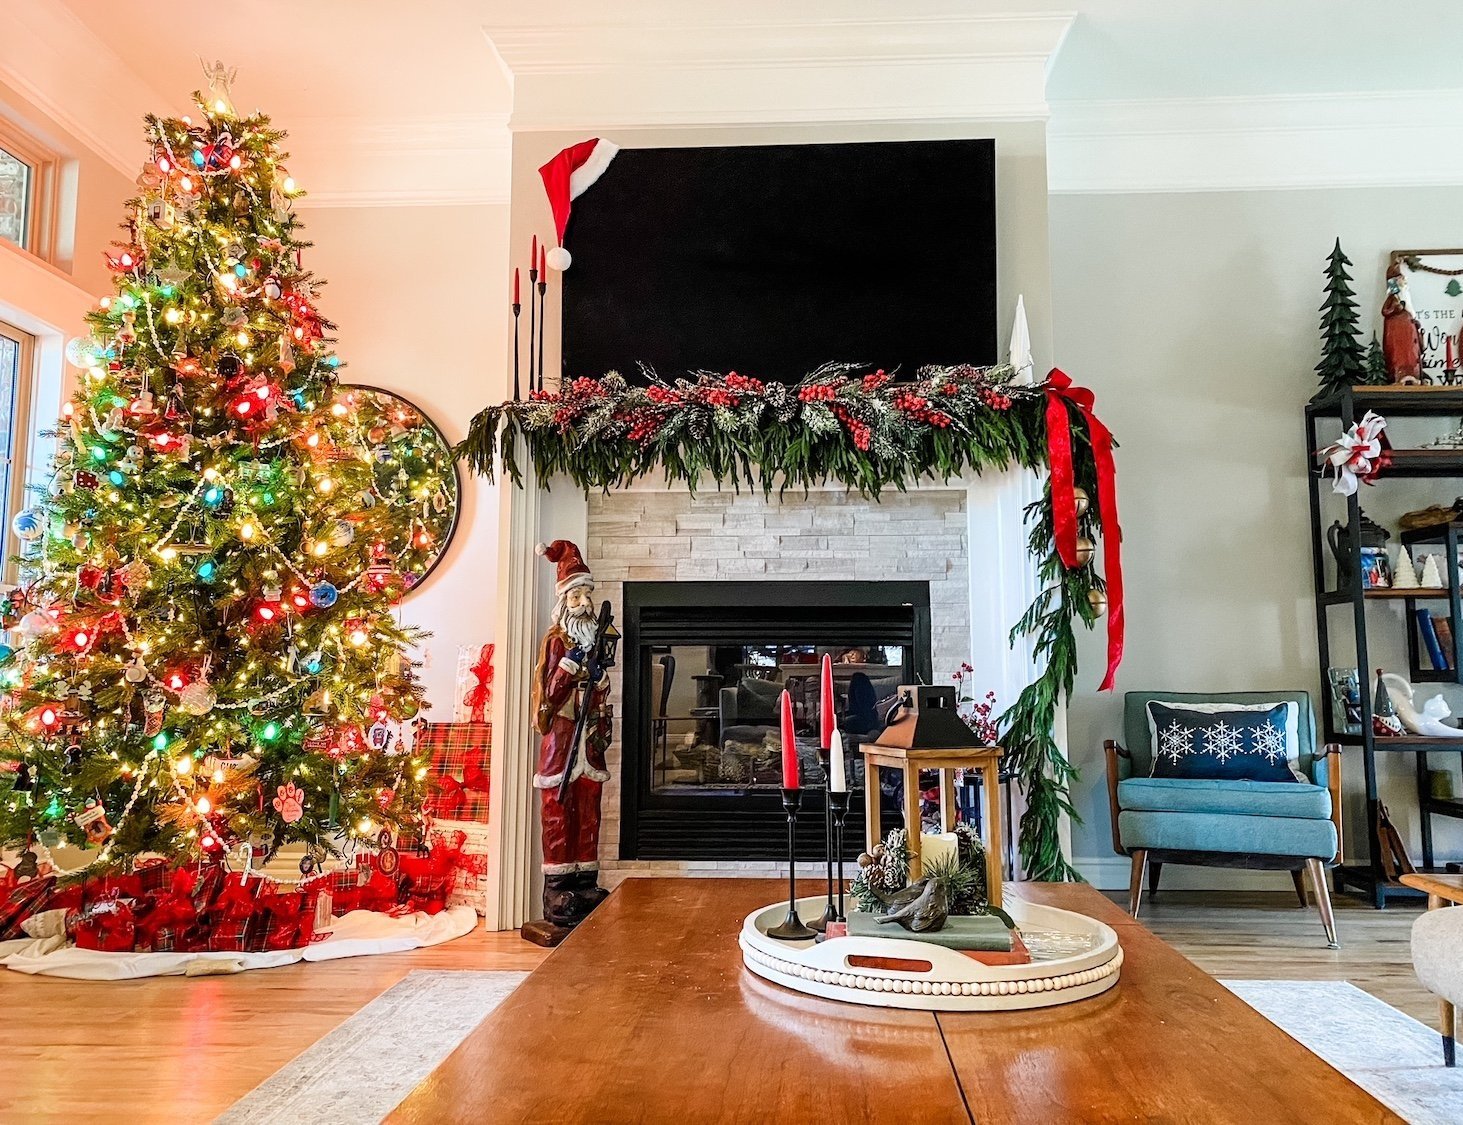
So what did I change this year? Probably the biggest change is the mantel decor….

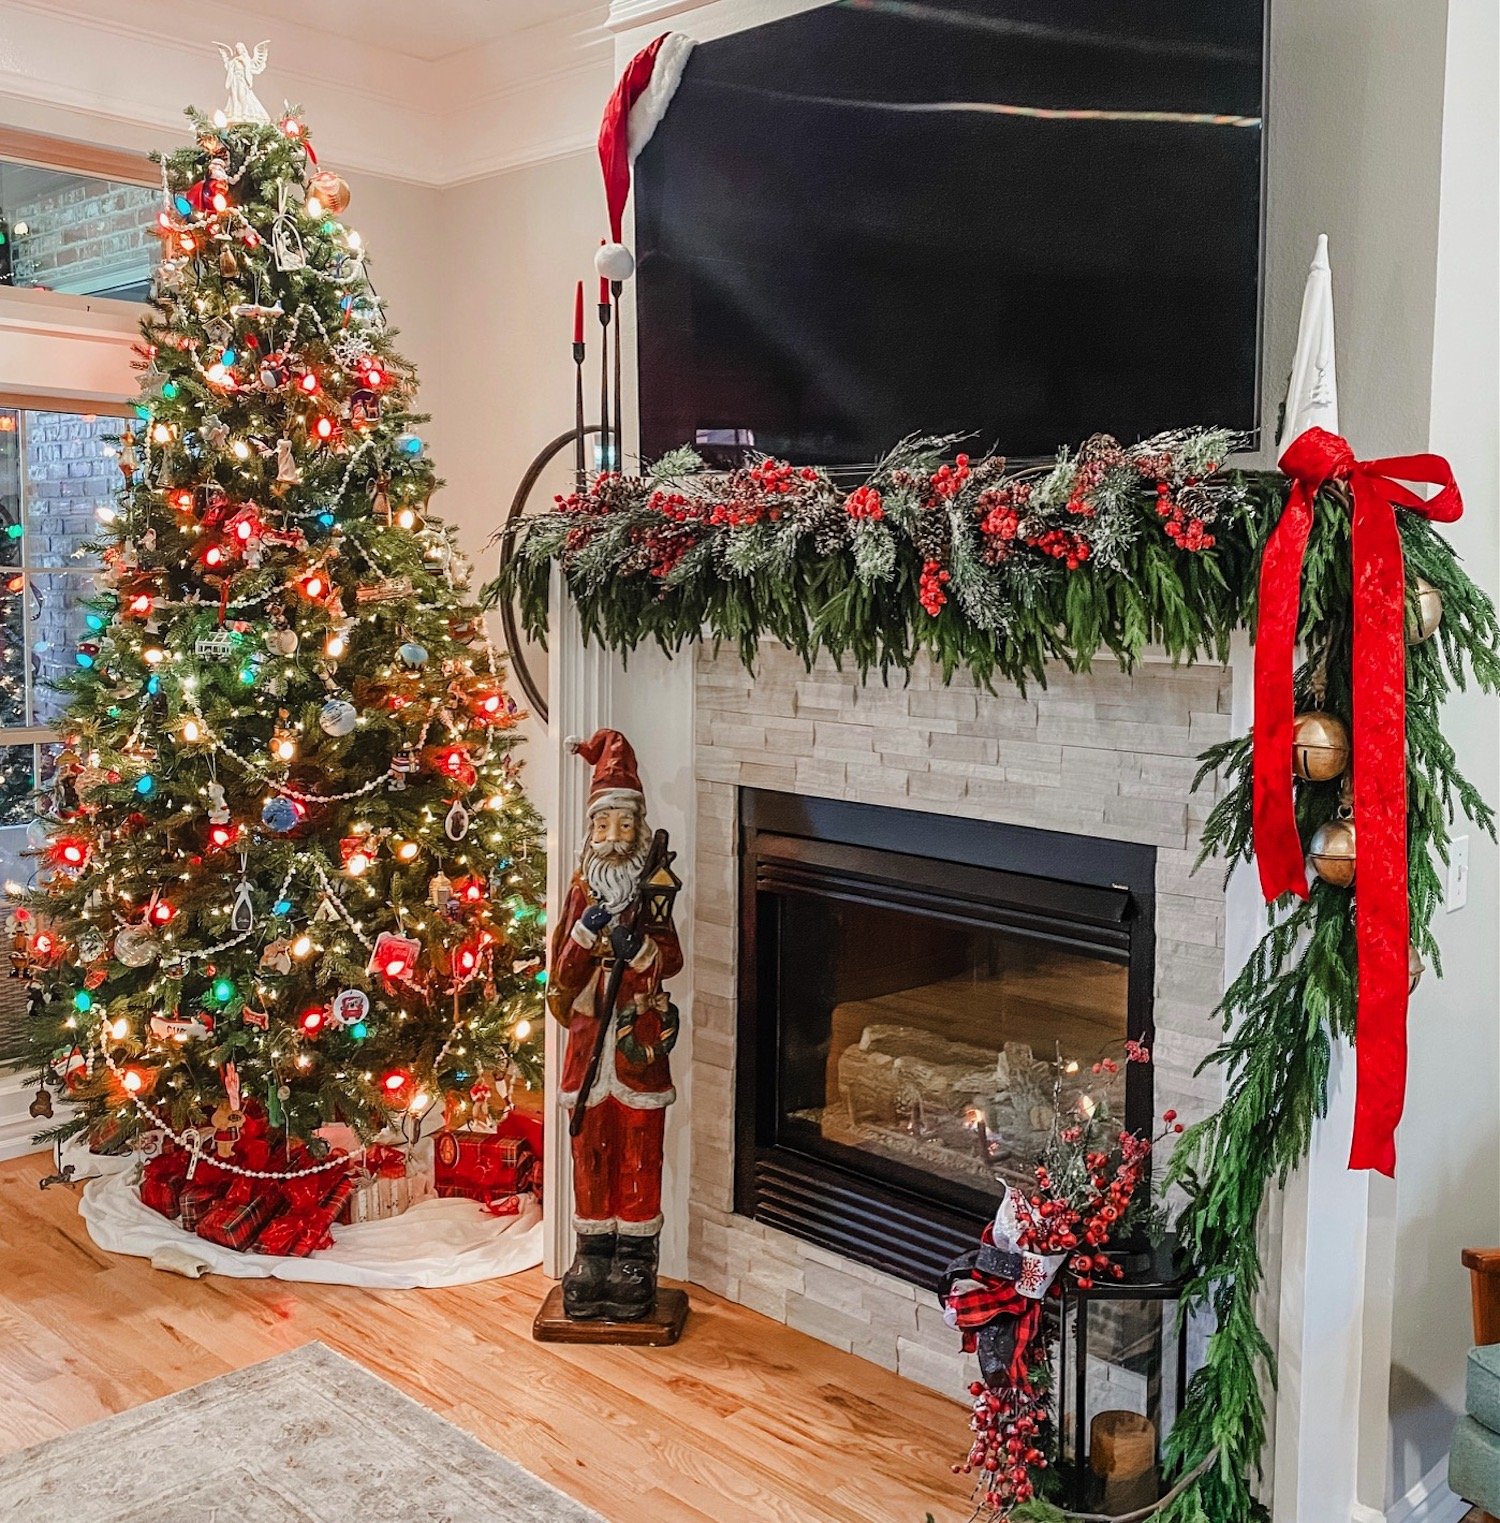
Last year THIS soft touch garland was ALL the rage…everyone wanted it. Which is why it was sold out and on Ebay for mega bucks. So I waited until after Christmas and bought it when it was back in stock. Problem was, I forgot I bought it, several times, and by the time I brought down all my Christmas decor I had 10 strands of it along with three soft touch wreaths I have NO idea what to do with!

No biggy…while it is a beautiful garland, you really have to layer it to get a good thickness. On my living room mantel I have 4 5’ strands and 1 15’ strand.

In the den I layered 5 5’ strands….

I used Command hooks about every 1-1 1'/2’ and floral wire to secure it.

I added a red velvet ribbon and these awesome bells….

I would love to link to the bells but as usual I have NO idea where I got them. I know I ordered them but from where? Not a clue!

Last year I layered the berry picks on the mantel…this year I layered them on top of the garland…just plain ole’ picks you can get at Hobby Lobby…four on each mantel.

Another new addition is this wood Santa….

I know WHO influenced me to buy it but have no idea WHERE he came from. I follow a couple of great ladies on Instagram…Deb and Danelle…and as influencers go they get me every time. Their style isn’t necessarily my style but they feature elements I love. Truthfully I think that is where the bell inspiration came from!

What drew me to this Santa was his “girth.” He’a skinny.

Okay, so here is the deal…ALL my Santas are skinny. I have NO idea what that is all about but it seems like every time I am drawn to a Santa he is on the anorexic side.

I kid you not.

Another element I added to my decor this year are the cabinets wreaths….

For several years I have wanted to add “mini” wreaths to my upper cabinets. I finally found am inspiration for what I wanted, but honestly, when I put it all together they came out a hair too big. Hardly “mini.”

So be it…maybe next year I’ll try again…for this year it is what it is….

The precious train!

This train was a gift from Brian’s grandfather to his dad in the 40’s…it was used then. Last year we displayed it above the dining room. This year we got it up and running and put it around the tree in the office.

We didn’t put it around the main tree in the living room because 1) too many gifts under that tree and 2) the SLIGHTEST bump derails it and the living room is a high traffic area.

Not sure Callum is really old enough to appreciate it but I sure love it!!!!

And now the pièce de résistance…the final tree in my life long dream of having a tree in every room!!!

For years I swore if I had the time AND the money, I would put a tree in every room of my house. Last year the goal was complete.

The master bedroom tree!

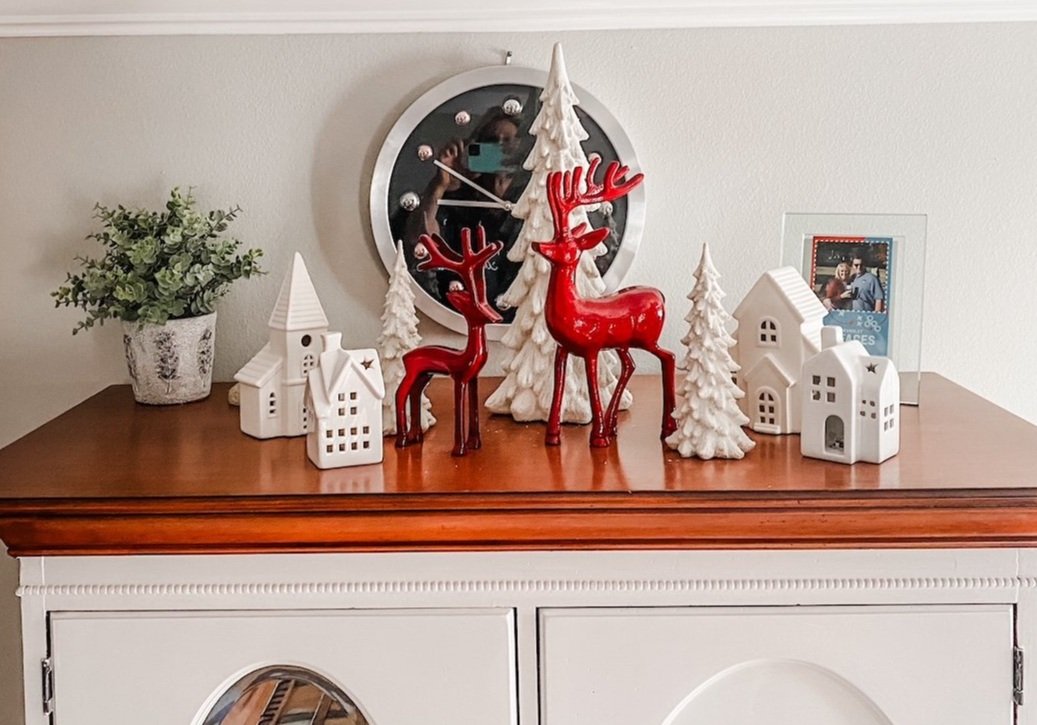
I added a few little knick knacks on the highboy. Just a few little things from Home Goods…nothing fancy.

The office….

The wreath is new…a tad over powering. Again, I tend to “go big” and then I’m not so thrilled with the result. Meh…next year I’ll change it!

The dining room….

This is always one of my favorite rooms to decorate.. I love the neutrals even though I am drawn to all the vibrant holiday colors in the other rooms.

I like to keep the place settings out even though we don’t usually use these dishes because they have to be hand washed. Simple but elegant.

The sunroom….

I have shared this room before. It is my “Stewart plaid” room in honor of my “Stewart family.” Love it and I am always looking for more Stewart plaid elements to put in here. This year my sweet friend Carrie brought me this precious decoration from Italy!

The den…

The breakfast room….

Not all the trees have decorations…some just have lights. That’s okay. They are still pretty and the four that are decorated take enough time!

The entry…

Little has changed here…added some little wooden trees and a Christmas sign on the trim…another PJ pillow. Love the view into the office!

The screened porch….

And of course the main tree in the living room….

All these trees are connected to remotes (THIS is one I use and LOVE) and are turned on every day. I don’t even want to tell you what my electric bill is for the month of December. Suffice it to say it is cheaper to cool this 3500 s.f. house than to light it up…lol!!!

But I love it and as long as I am physically able to do it, I will. Then I may hire it done!

I love this holiday and it seems that year after year I do indeed add something new. I hope something I did will inspire you to add a little more to your home.

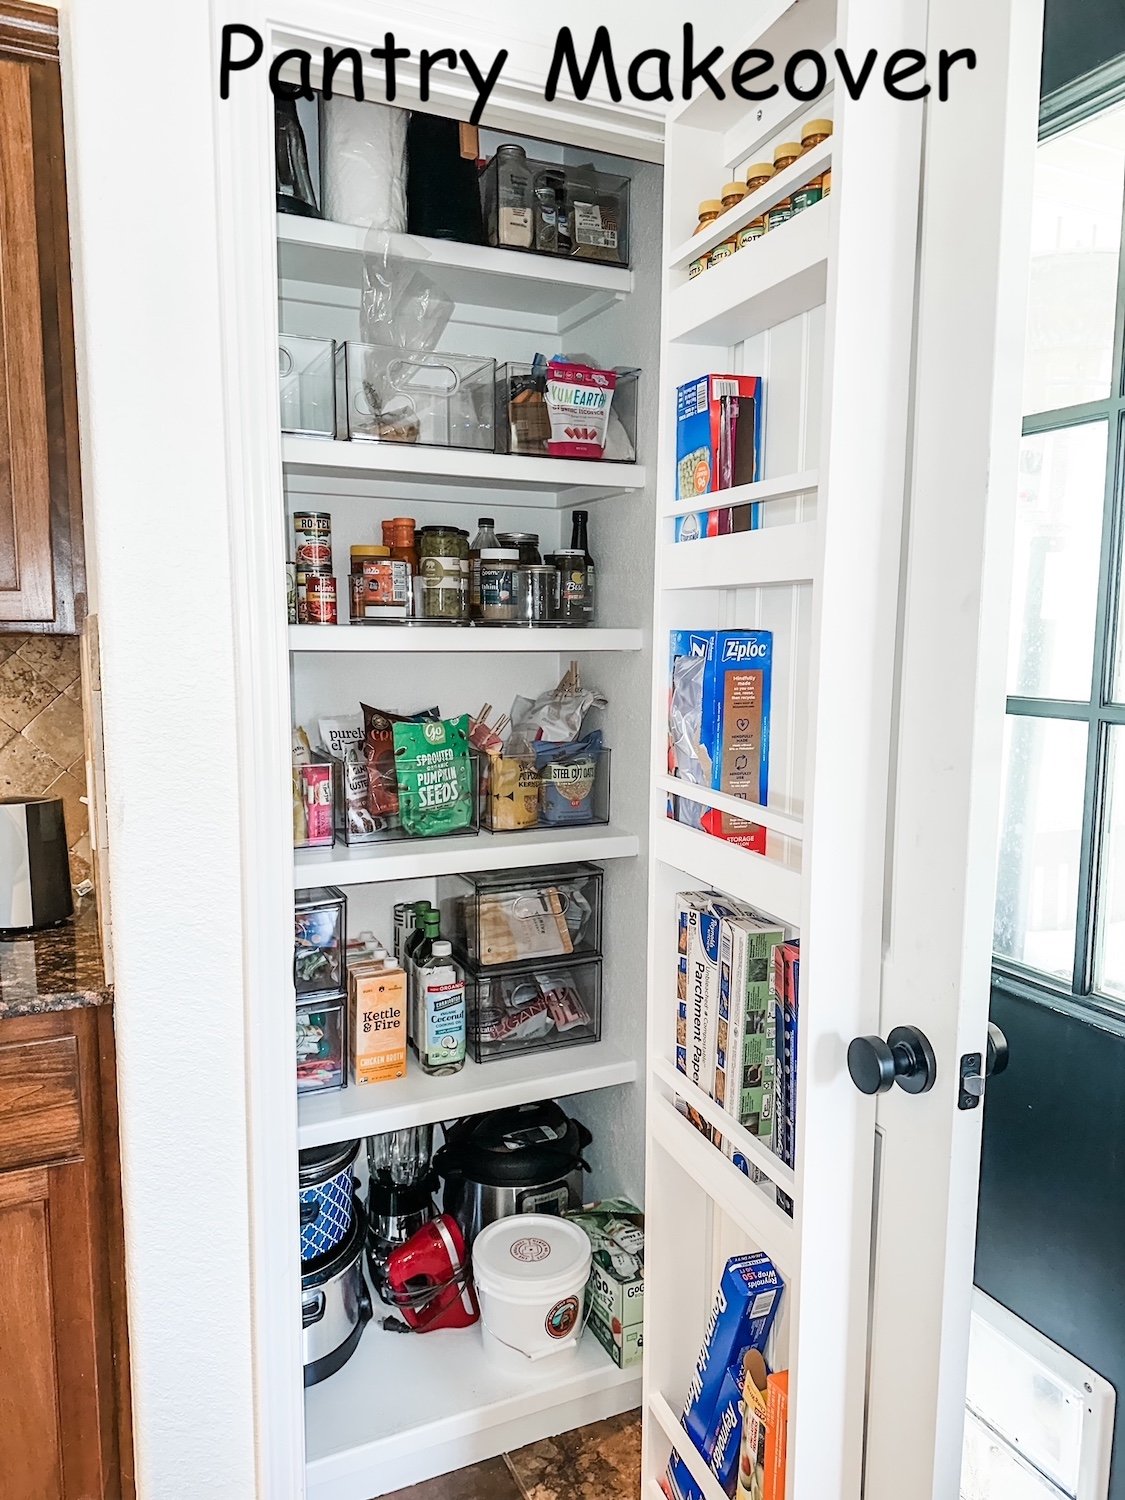
A small pantry makeover....

I love pantry projects…HERE I shared mine!

There is no shortage of inspiration on Pinterest for pantry makeovers…you will find one for every possible size and configuration!

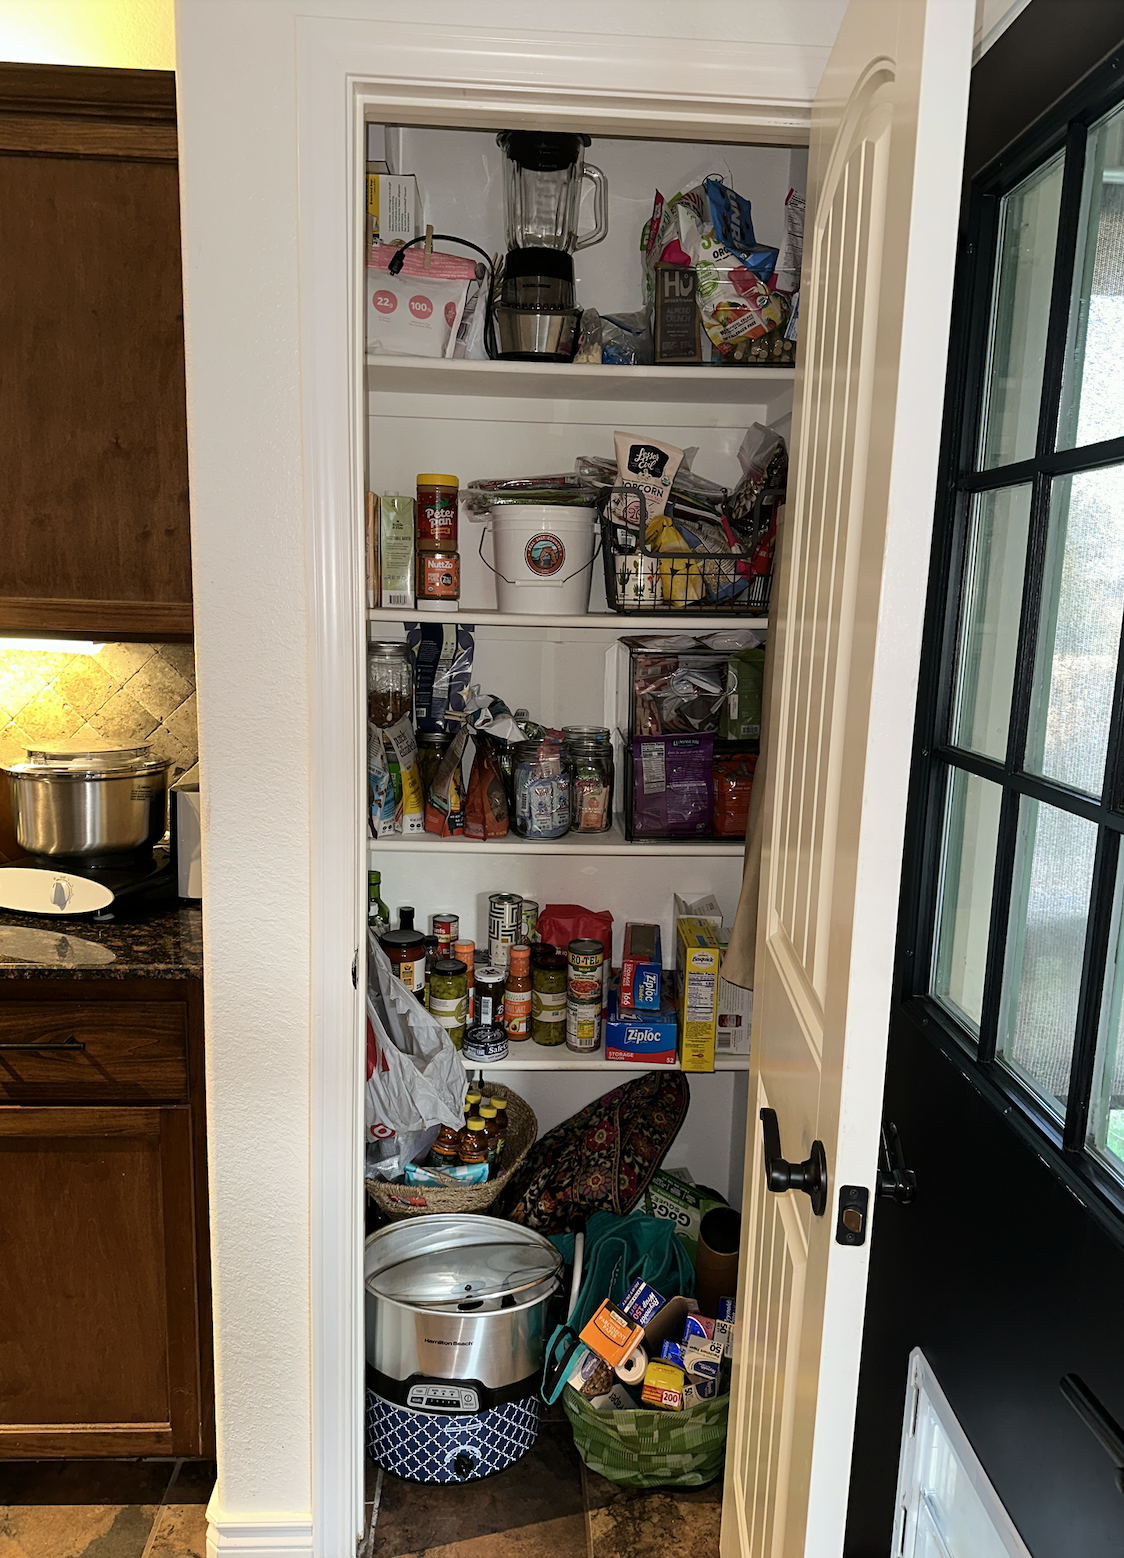
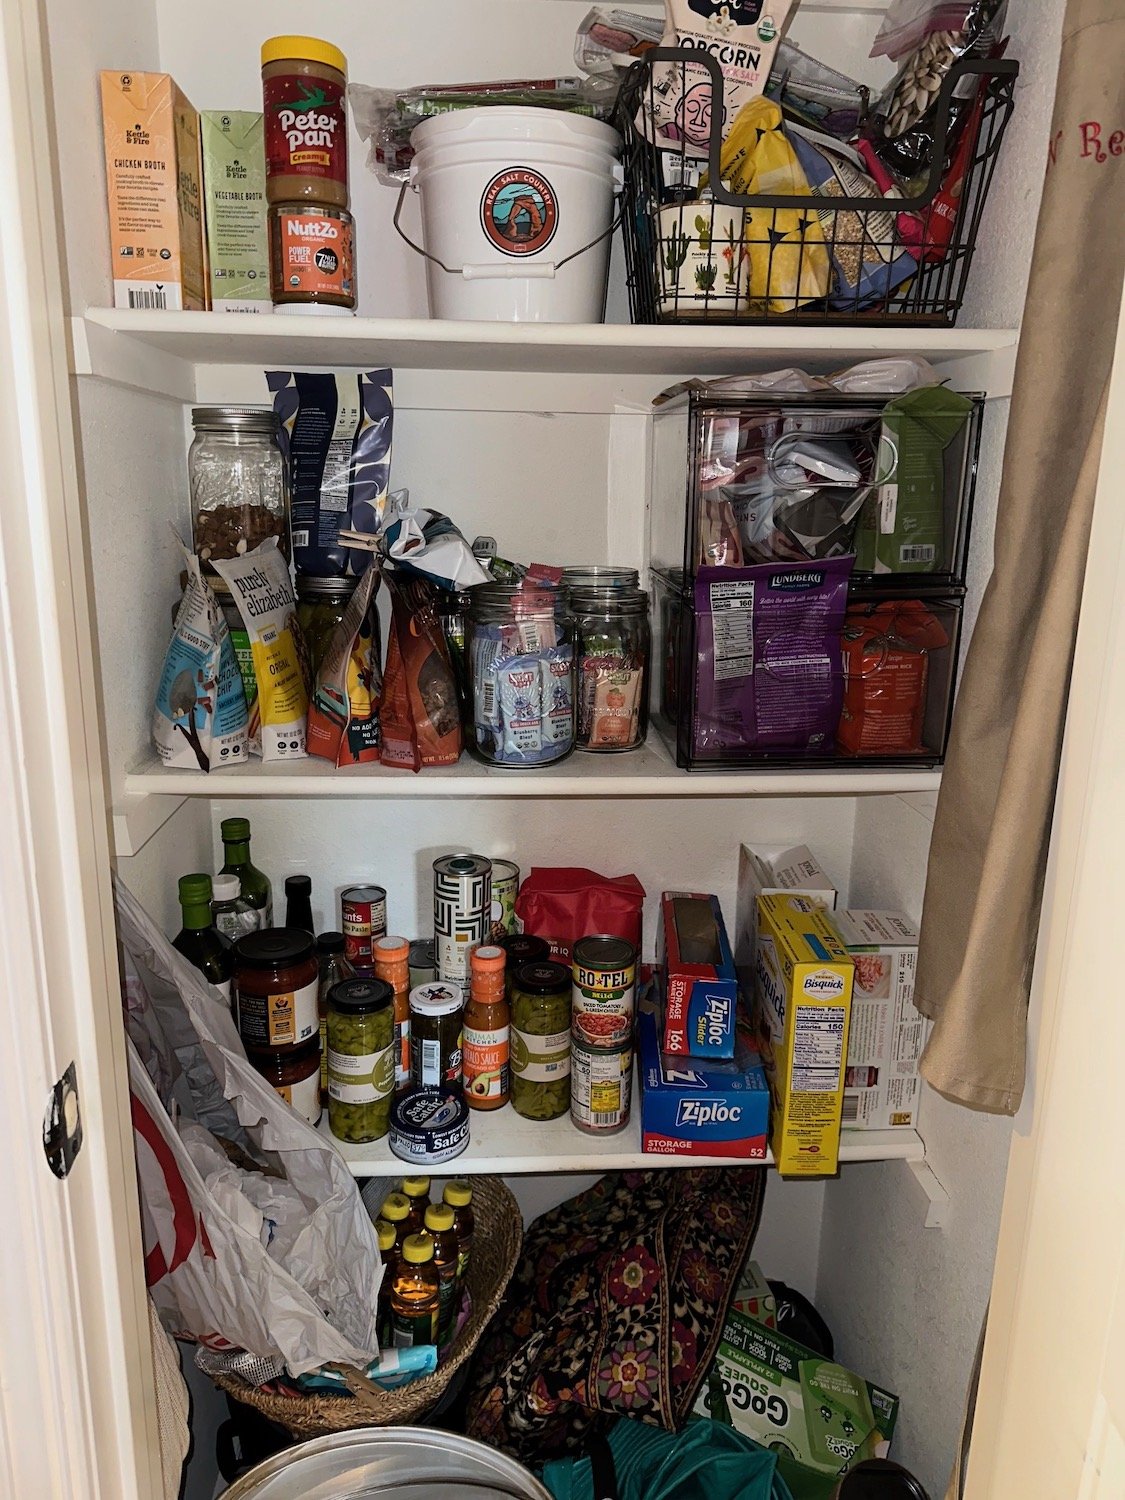
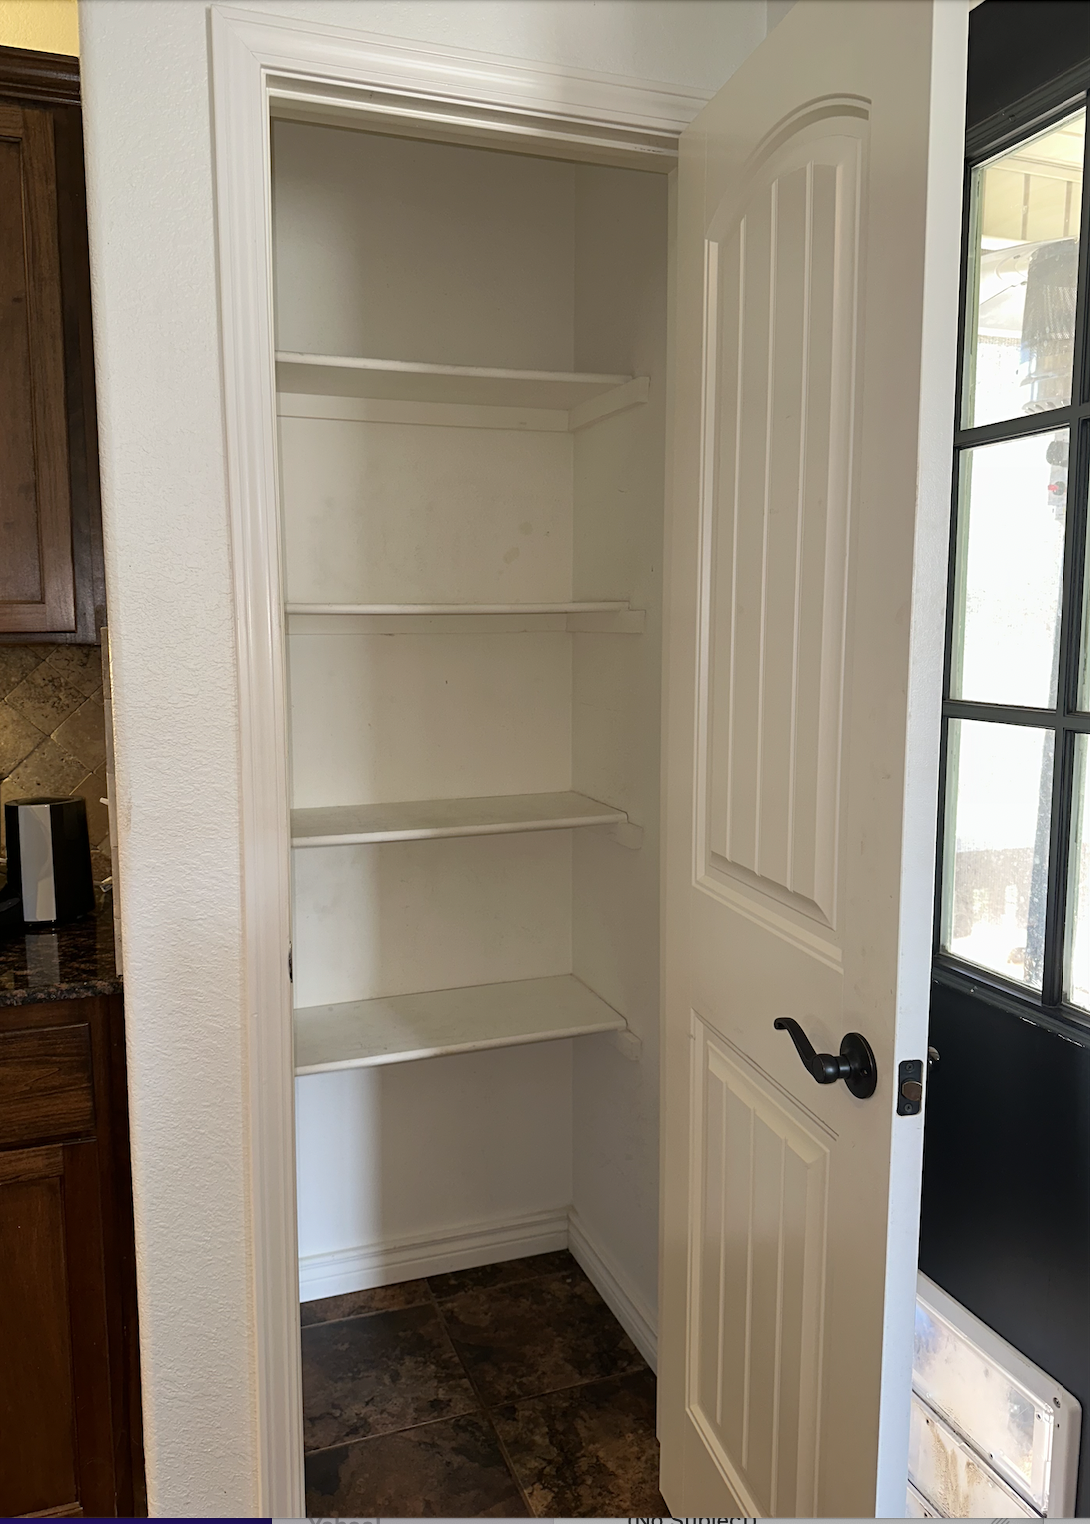
My son and daughter-in-law, Hannah, have a great kitchen but a small pantry with typical poorly designed shelving placement…it was a MESS!

Soooo much wasted space!

For months we discussed giving it a little makeover, but they really wanted a house that is a tad bigger on a few acres further south. So there was a chance they would not be staying in this house.

Several months ago they found one, made an offer, got it accepted and were all set to rent their current home!

So the pantry project got nixed.

Unfortunately, the deal fell through because of a boundary dispute.

Hannah was bummed. (She had already started packing!)

So the pantry project was back on and a few weeks ago we tackled it!

The first thing we did was empty everything that was in the pantry and took measurements.

After emptying the pantry, we “demoed” EVERYTHING…shelving, supports, trim.

I usually repair and paint the walls, install the new shelving, caulk, putty, lightly sand, then paint the shelving. All the shelving is already primed and sanded before I install it so that I don’t have to do any heavy sanding in the house.

When designing the shelving placement in a pantry it is super important that you identify EVERYTHING you may want to store in the space and then measure it.

If you think you want baskets, bins or jars, figure out what will go in what and how many will fit in your space BEFORE you go buy them…or at the very least keep your receipt!

Take measurements of EVERYTHING!

These measurements are important because you can then design your shelving placement based on how tall everything is. You don’t want a bunch of wasted space.

Case in point…can goods stacked two high are less than 9” tall…why would you dedicate a shelf with 12” clearance for canned goods. Paper towels are generally 12” tall…why dedicate a 15” shelf for them.

Add up 3-4 shelves that are 3-4” taller than they need to be and next thing you know you have lost an entire shelf…critical storage space for a small pantry!

In this case we gained an entire shelf. Crock pots and the insta pot are stored low because they are heavy…the extra coffee pot and extra paper towels are stored up high.

We built a shelf 4” off the floor…not necessary for actual storage but they have a dog and her hair inevitably blew under the door and ended up all over everything that was sitting on the floor.

I made the shelving out of 1/2” plywood, the bullnose and supports out of pre-primed 1x2s. All the shelves were 14” deep, except the top…it was 12” deep.

We also built a door shelf system that is perfect for aluminum foil, plastic wrap, storage bags, etc. (HERE I shared one I made for my house on Lankford…I built two for this house! One is in the garage and the other is used for my cake pans and baking supplies.)

You can buy wire door storage system but building one allowed us to place shelves as needed for specific items.

The end result is amazing! Neat, clean and organized!

I am a big fan of clear plastic bins vs. baskets. I use both since there is some stuff I don’t want to see that can be stored in pretty baskets (open chip bags, storage containers, etc) but the baskets are labeled. (Again, check out my pantry HERE!)

She loved it so much she tackled her kitchen cabinets and organized them with storage bins and jars.

Organizing a space (whether it be a pantry, closet or drawer) not only frees up space, but I have learned that if a space is pretty, clean and organized I tend to want to keep it that way.

When everything has a place and everything is where it belongs it makes my life so much easier!

(HERE I share my trips and tricks to getting and staying organized!)

And remember, you don’t have to take on a big DIY project to get a space cleaned and organized…and not every space in your house needs to be done in a day, a week or a month.

Commit to take one space a month…or even every other month….purge, clean, organize. I think once you get started and realize how much easier it makes your life, you will want to keep organizing every space in your house…just like Hannah!

I may not be around for several weeks…this is our vacation month and this year we are going to take a VERY special vacations! Can’t wait to share!


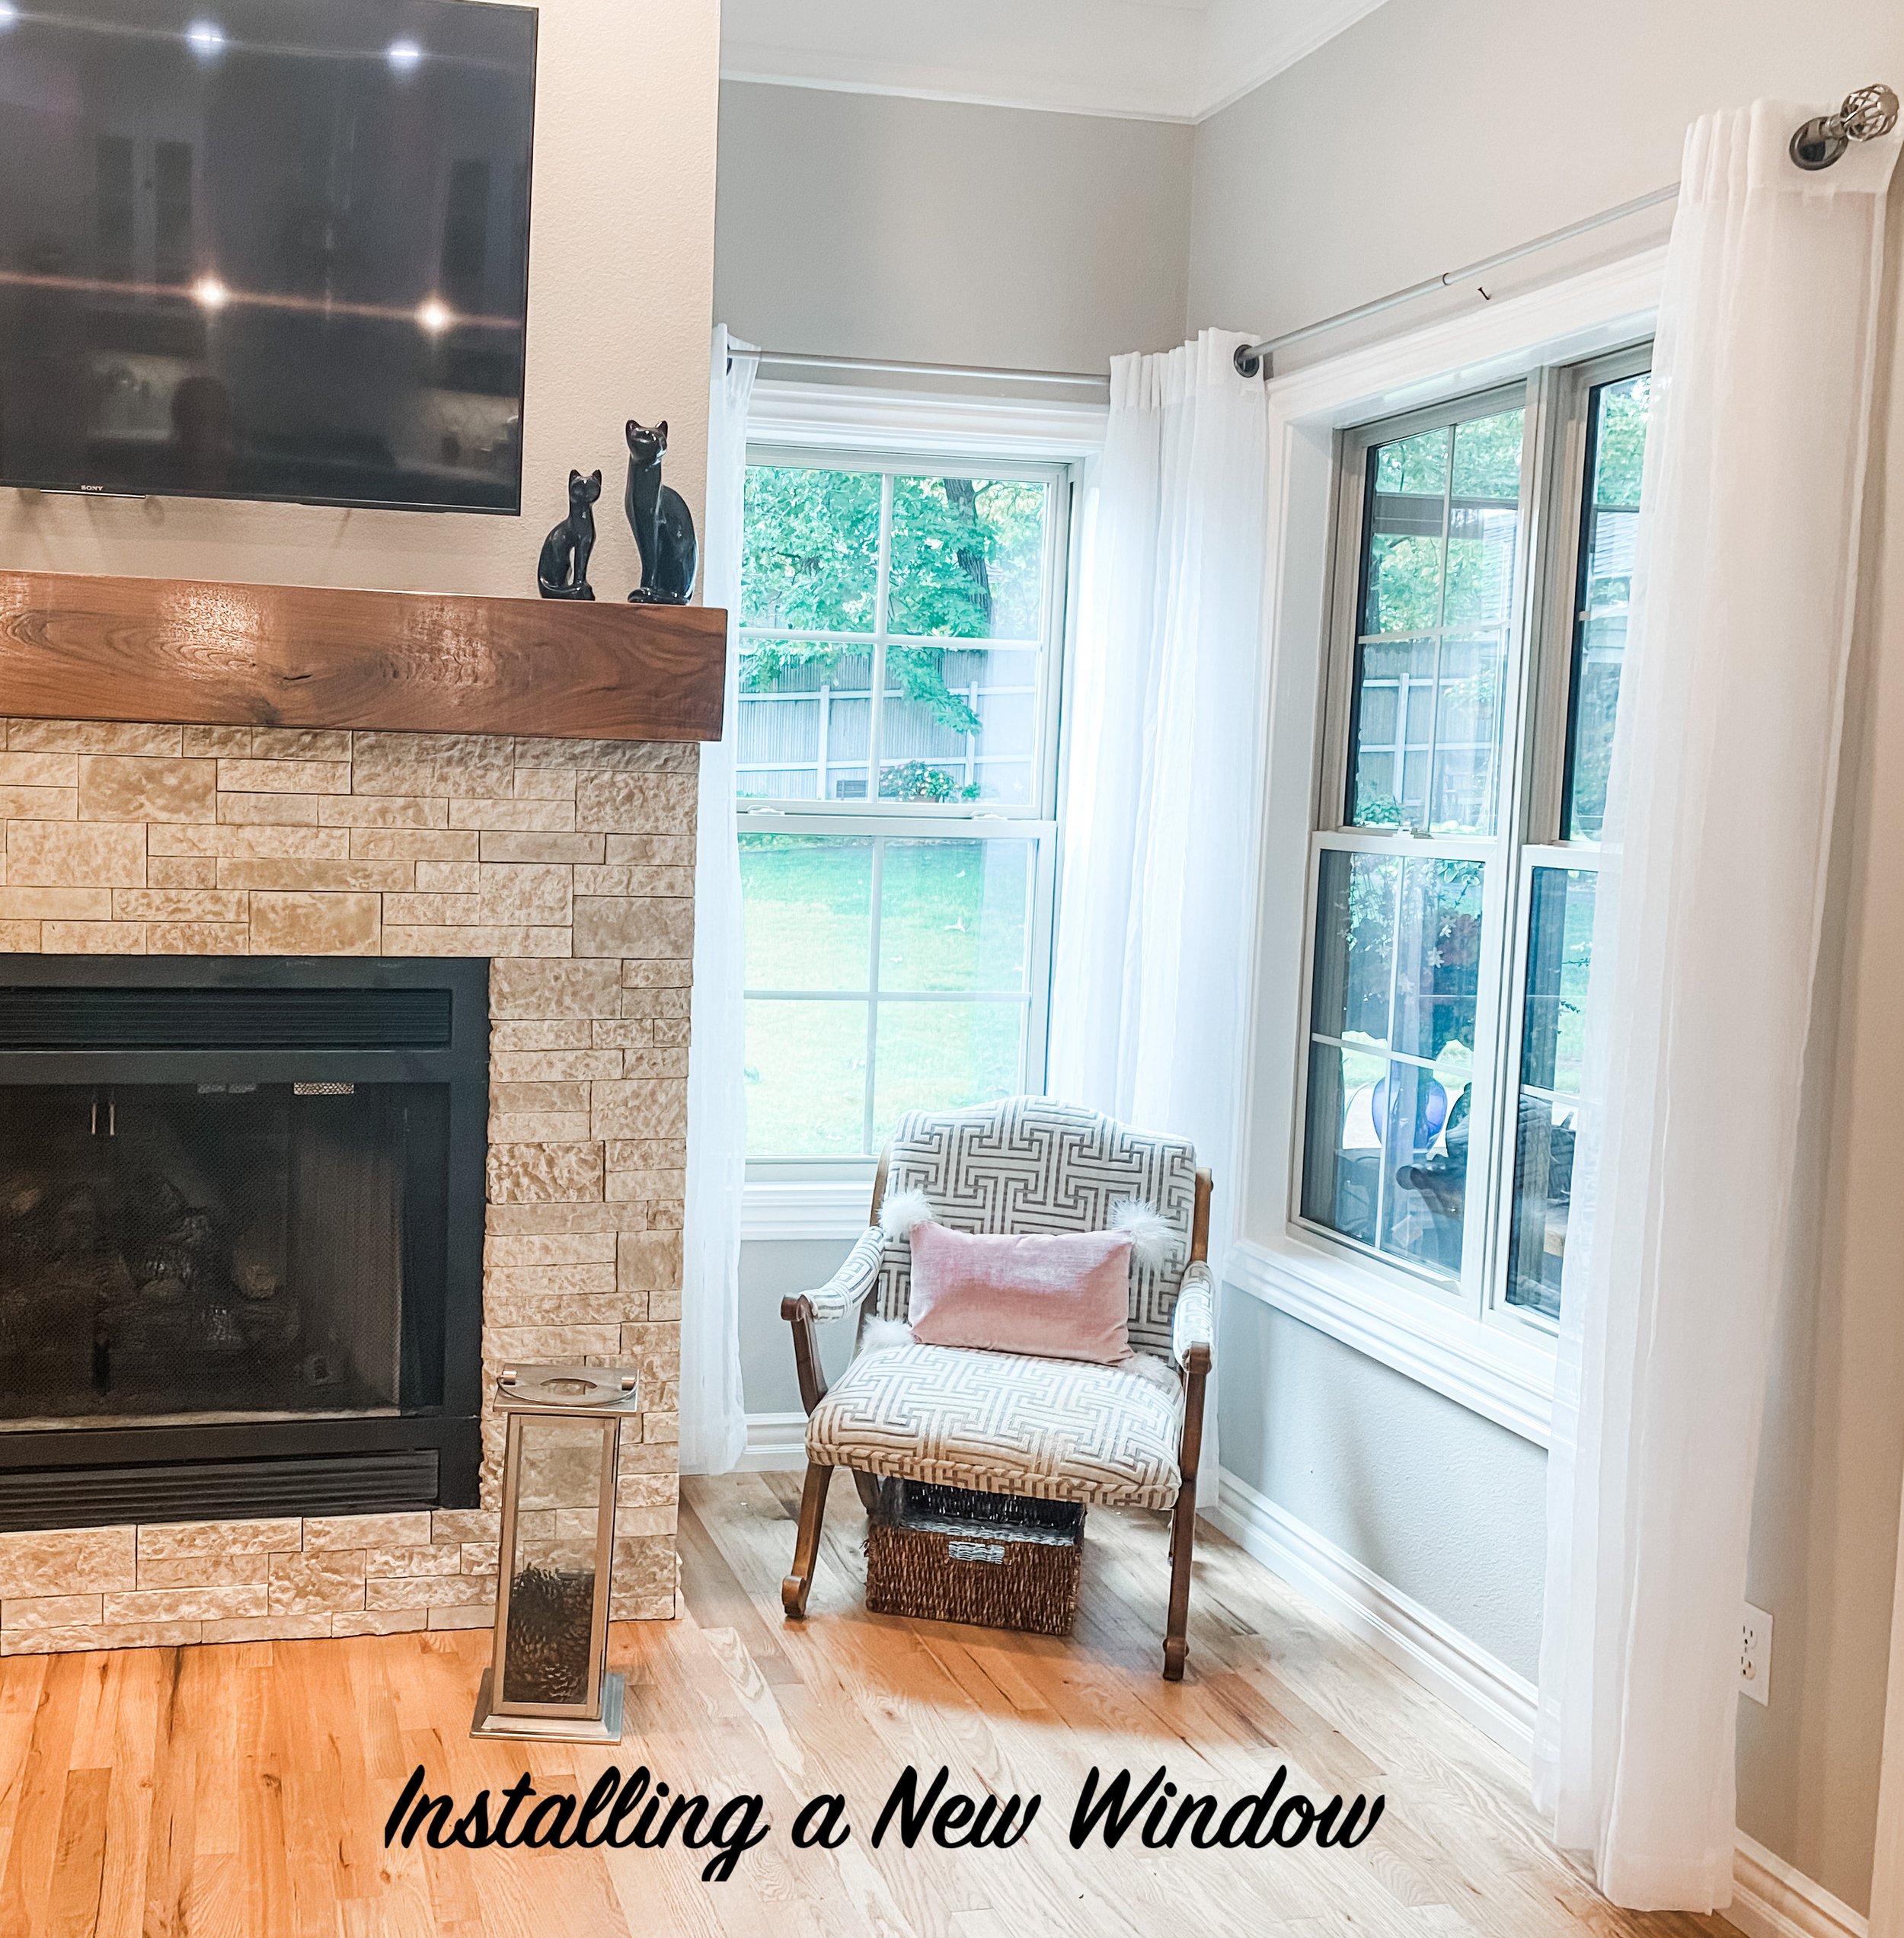
The den window reveal!

From day one…three years. That is how long I have wanted to put a window in this room!

It was a cave. There are windows and a door on one wall but they are covered by the enclosed sunroom so the natural light is seriously defused. (HERE I swore I was through with major projecting on the house…HA!)

I crave natural light. This house has TONS of windows, but the majority are adjacent to a sunporch, screened porch and covered front porch. All which I am grateful for…I just wanted a hair more light in the den.

My original thought was to put a window on both sides of the fireplace. Unfortunately, the guest room closet extends out behind the bookcase to the left of the fireplace…so that is a no-go. That’s okay…I need the built in bookcase. (HERE you can check out how I refaced the fireplace!)

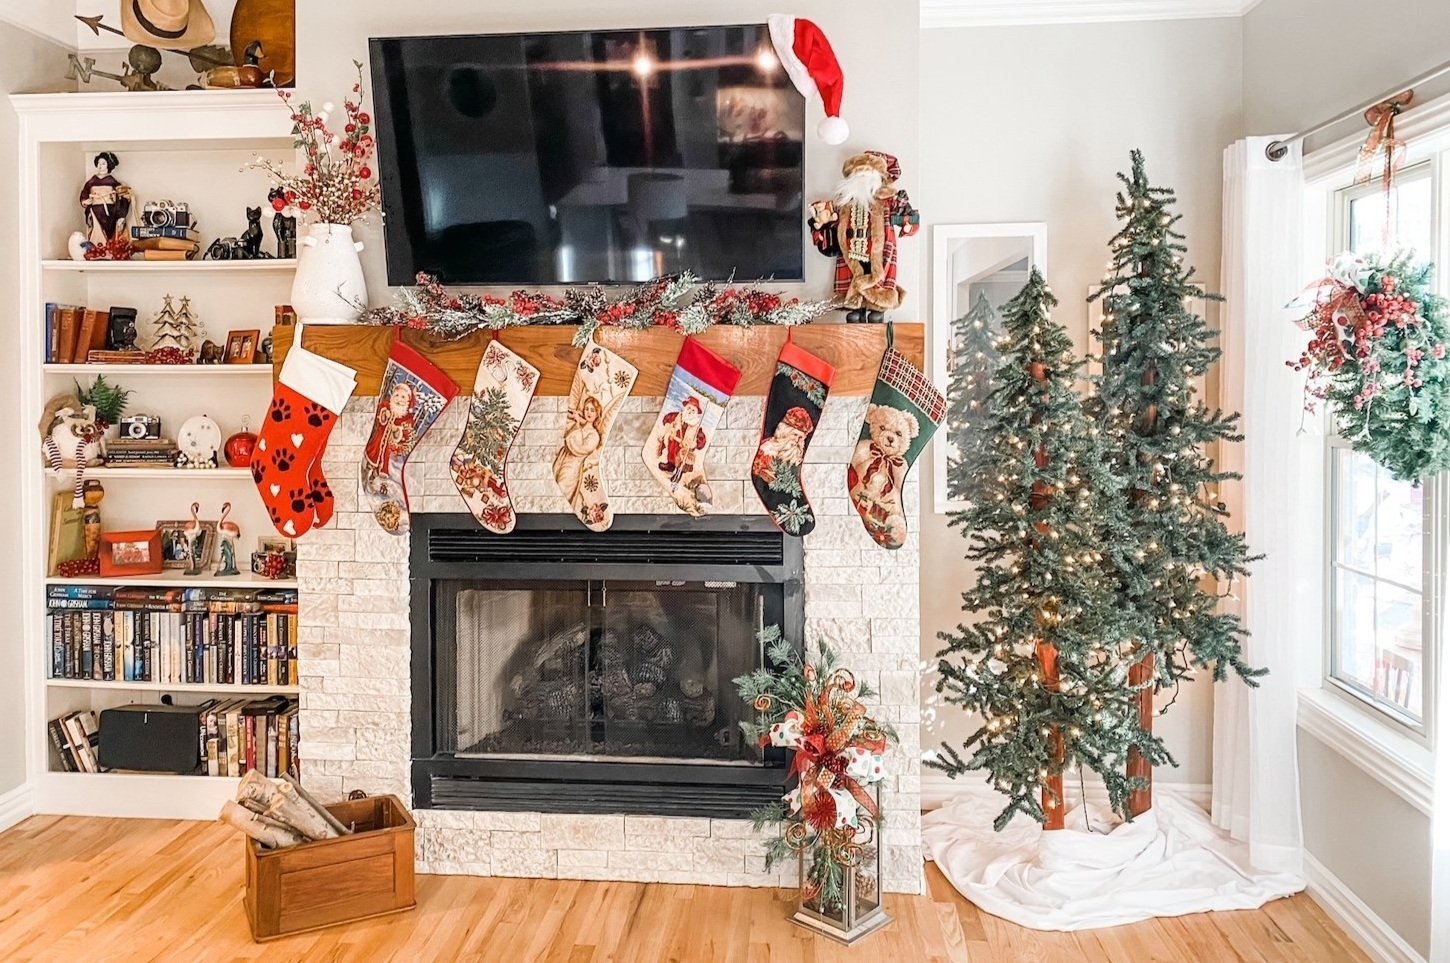
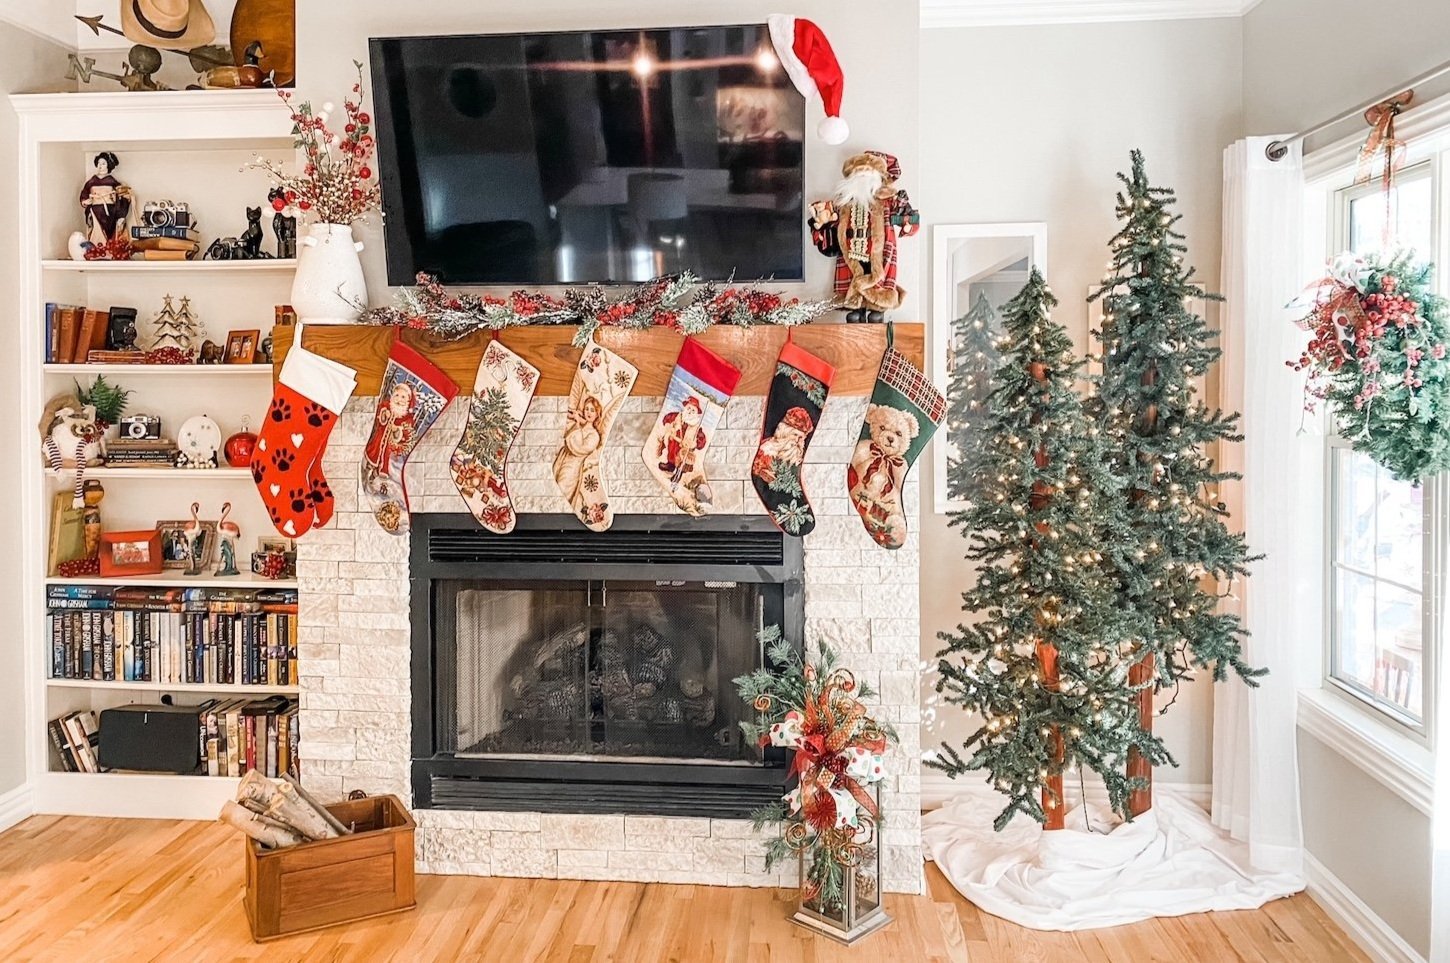
(Obviously I did not take “before pics” and the only picture I have of this space is from Christmas!)

A window on the right of the fireplace is doable….for someone like me with a bit of experience. Personally, I don’t think this is a “novice DIYer” project. If you are hell-bent, watch TONS of tutorials first and be prepared with a stand-by sheetrocker, framer, electrician, trim carpenter and brick/siding expert just in case you find yourself in over your head.

Even then, if you don’t have a basic understanding of how a home is constructed, I wouldn’t even attempt it. (HERE I posted a little bit about framing for a door or window)

Also, I highly suggest you check your local codes. You may need to pull a permit to modify framing.

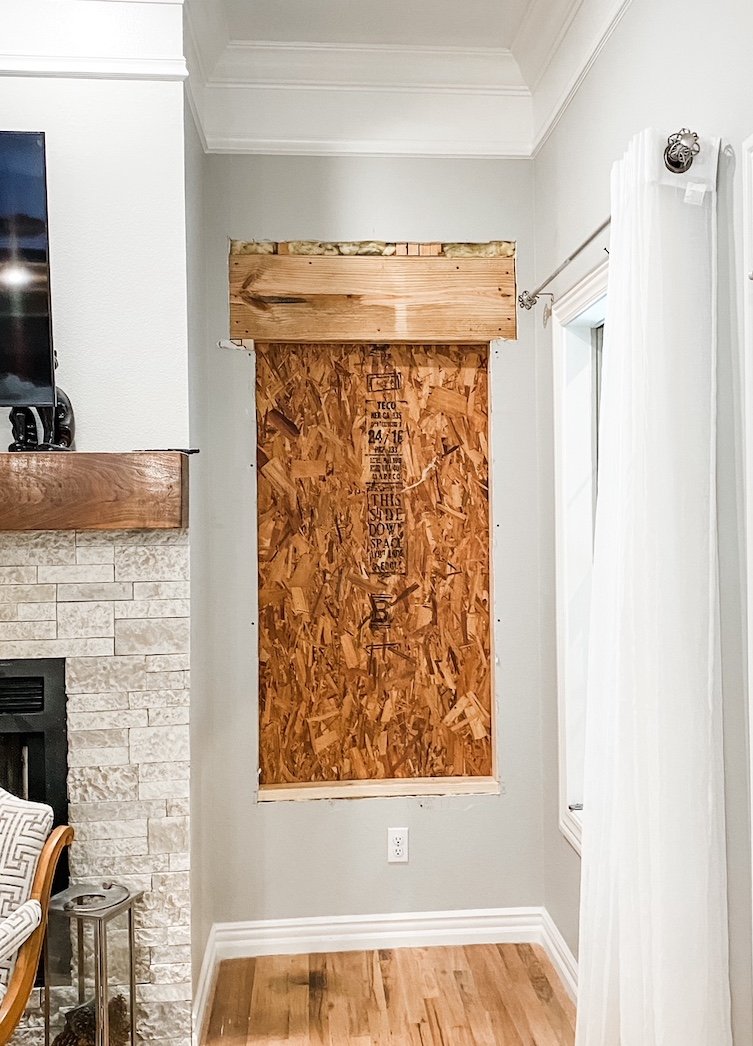
As you can see from the post when I modified the laundry room opening I knew I was going to have to put in a header and maybe a few extra studs. Since I was only installing a 32” window, I figured I could just get by with a 2x4 or 2x6 (at the most) header.

Nope. When I opened the wall I found a support that was FOUR 2x4 sandwiched together…have no idea what that was all about. I went into the attic to see if maybe they loaded the roof rafters or something onto that area…not as far as I could tell. But what is there is there and I wasn’t about to assume it was just over kill.

Which meant I needed to put in a 12” header which meant I had to move the exterior light to make room for a bigger header, cut out way more sheetrock than I anticipated and add more stud supports.

CURSES!

All that being said, again it is doable. So if like me, you just HAVE to have a window (or even a door), go for it!!!

And go for it I did.

Again, I am not really a tutorial kinda person…there are tons out there, why reinvent the wheel. And honestly, every project will be different depending on what is behind the sheetrock.

Case in point.

After all this “rough in” framing was done, I drilled through the corners of the opening (using a wood bit to drill through the plywood and a masonry bit to drill through the brick) and marked where the actual opening would be.

My brick guy then came and cut out the existing brick 3” from the mark where the actual window opening would be….

You can see in this picture where I had to move the existing exterior light!

While I was waiting on the brick guy I was able to get the sheetrock repair done…HERE I shared a little tip about sanding sheetrock in the house!

When the window finally came in, I cut out the plywood…MAN OH MAN!!!!

If it weren’t 100 degrees out I would have just left a big ole’ hole in the wall.

There are TONS of tutorials on how to properly install a window…read them and follow them to a T. Find one that makes sense to you!

After the window was installed, trim and paint! The brick guy came back and installed a window “casing” with new brick around the window ….

This house is 23 years old so I can’t find the exact brick to match but I found one that was pretty close! (HERE I shared how I used this “good enough” brick on my shop!) This is why he cut the brick 3” around the actual rough in opening.

What a difference this little project made!

I LOVE IT!

Fortunately I originally bought matching sheers for the breakfast window and the den window. I couldn’t find sheers that matched them so I took the sheers from the breakfast window and used them for the new window and bought new for the breakfast window.

I love all the the wonderful light and the view of my flowerbeds! Blooming dogwoods in the spring and fall foliage in the few months!

Lovely!

How to sand sheetrock without a big mess!

My recent big project is one I have been eyeballing since day one.

Windows in the den next to the fireplace.

(Naturally I neglected to take a “before” picture so this is the only one I could find of the space…Christmas!)

My original plan was to remove the bookcase to the left of the fireplace but I discovered that the closet in the guest bedroom extends out so that part of the exterior wall is partially covered by that guest closet….poo.

So the only option was to leave the bookcase, which I honestly need, and just add a window to the right of the fireplace.

Why?

Well first, I love natural light…one thing I love about this house is the abundance of exterior windows.

The only problem is MOST are adjacent to a covered patio, a sunroom and a screened porch. So MOST of the natural light is seriously filtered.

Great for heating and cooling, not so great if you like natural light.

The den has windows and an exterior door, unfortunately both are on the wall adjacent to the sunporch.

Nice windows, but again the light is seriously defused. So the den was basically a cave.

ANYWHO, I wanted a window in the den…for light and for fresh air.

So, I busted out the sheetrock, removed the exterior brick, moved some electrical outlets and fixtures and framed in for a new window.

Sounds so simple. It was NOT!

First, you never know what is behind your sheetrock. In my case there was serious framing. Then there was the electric outlets and exterior light fixture. Of course insulation and brick and Lord I can’t even remember it all.

One a scale of 1-10 this is a 10 DIY project. For me, not that huge of a deal because I know electrical, I understand basic framing and I have a great brick guy. But for your average Joe, my suggestion is hire it done! And expect to pay dearly.

But even this old dog can learn a new trick. I saw this suggestion somewhere on the interweb but have no idea when or where. I had never tried it but because of some serious sanding needed on the sheetrock I decided to give it a shot!

Just duct tape your palm sander to a shop vac…then turn the shop vac on while running the sander.

(Palm smacking forehead!)

Boy did it work! I would say 95% of the sheetrock dust went into the Shopvac vs. all over every piece of furniture in my house.

A FEW TIPS.

Make sure the holes on the sand paper line up with the holes on the sander…that is where the dust goes.

Tape well between the sander and the Shopvac hose to prevent dust from creeping out. I used duct tape.

Make sure your Shopvac has a clean (preferably new) filter.

I have never used an electric sander on sheetrock in the house before…just waaaaay too much dust. This time, due to circumstances I won’t go in to, I knew a light hand sanding wasn’t going to cut it. Hooking the sander to the shop vac was a game changer!

Adding a window, whether you have brick or siding exterior, is doable. Just know that it is not a project for a novice DIYer!

Next time I’ll share the transformation! HUGE difference!


Changing dated can lights!

My wing is broken.

Poo.

It’s my elbow…it is still boogered. I am trying to “heal” it by resting it but after about a month I’m ready to give up and see what a ortho dude can do for me.

While “resting” I pretty much sit around and look for stuff to do.

Laying on the couch, looking at the ceiling, I began to obsess about my dated can lights

SUPER simple fix and on a scale of 1-10 it is pretty much a 1.

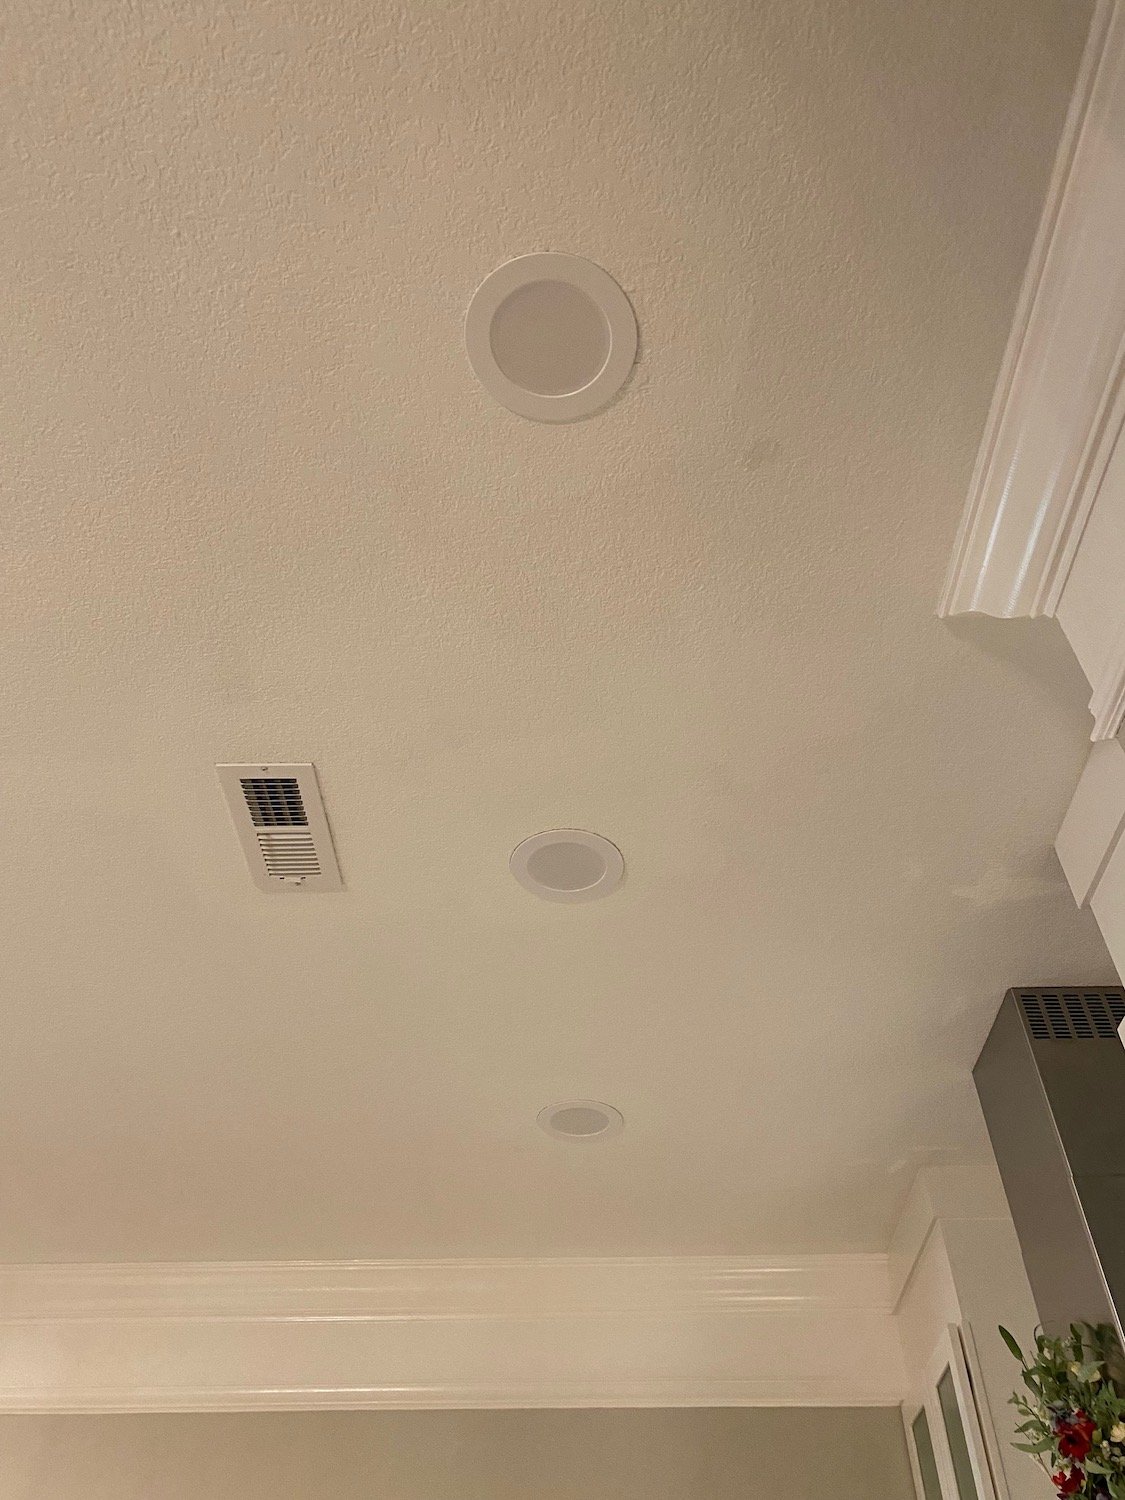
This is what I have….

…an ugly old can light with a bulb. It had obviously been painted over when the prior owner painted the ceiling. I have five in the kitchen, two in the den, four in the living room, two in the bedroom and four in the bathroom…so yes, they annoy me. But truthfully only when I am laying on the couch or in the bed looking at the ceiling.

While they are “dated,” truth be told no one really pays attention to them except of course when a bulb goes out.

This is where I want to say that when “they” say an LED bulb lasts 10 years, “they” lie.

Beside the point…point is, it is cheap and easy to replace these “dated” fixtures.

So off to Lowes I went and THIS is what I found….

When I say it was easy to replace, I am not kidding. The hardest part was climbing up and down the ladder. Just remove the existing bulb and trim piece. The trim piece is usually held in place by little springs or pinch clips.

Then just screw the new fixture into the socket (like a light bulb) then slip the little pinch clips into the existing brackets on the side of the can. Simple!!!!

The fixture has five different light settings on the back…from bright white to soft “yellowish.” I set all my living space lights on a soft setting and the three in my kitchen on a brighter white for task lighting. Perfect.

TIP! If one of these eventually goes out you can’t just replace a bulb. My suggestion is to get an extra 1-2 in case one goes out in the future and this style or brand is no longer available…that way you won’t have to replace multiples if one goes out!

Again, one of the simplest and most impactful DIY projects you can do. Don’t know why I haven’t done this in the last three years.

Oh, yeah, I know why. Rarely do I lay on the couch and look at my ceiling lights.

A CUTE GARDEN BENCH...

I saw a precious little “mud bench” on Instagram….

Cute as a bug’s ear. Only one problem…I don’t have any grandgirls…just boys. Two are too old to appreciate something like this and one isn’t old enough to sit up by himself sooooo……

What to do?

As I mentioned before there is a precious little girl next door….I borrowed her to bake Christmas cookies!

She will be 8 this summer. She LOVES to make mud pies and has a raised vegetable garden. She had a little make shift “mud table” in her back yard so I knew she would love something like this!

They were on vacation a few weeks ago so it was the perfect time to build and stage a little surprise…so off to Lowe’s to TRY to find some decent wood. Not an easy task these days!

The inspiration bench looks like it is made out of regular wood and painted. I built mine out of treated wood so it would weather well. Unfortunately that means I have to wait a few months to paint it or stain it…no biggy.

For this bench I needed the following lumber (all treated):

2-4x4x6

5-2x4x6

5-1x4x10

2-8’ deck boards (they are around 3/4” x 5 1/2”)

1-1x2x8

1 plastic storage bin with a lid

I used a skill saw, chop saw, a kreg jig and my screw driver.

Remember, 2x4s are actually 1 1/2 x 3 1/2”….and 1” thick boards are actually only 3/4” thick…it’s a racket! The lengths are what they say they are….

I had all the screws and hardware so no need to buy any but you will want 2 1/2” Kreg jig screws and 1 1/2” and 2” deck screws…and some random hooks!

I decided to make the entire bench about 29-30” tall, 4’ wide and about 2’ deep. I think it may be a tad tall for a little one so I built a little “walk bench” for the front of it until she grows a tad.

I can pretty much construct something like this in my head, but if you are a novice, make sure you draw everything out on paper using the actual measurements of the lumber. Or better yet find a plan online THAT MAKES SENSE TO YOU!

The first thing I did was cut the 4x4x6s down to 4-29” pieces for the legs (remember the top will be about 3/4” thick). I used a skill saw to cut them down.

I used the 2x4x6 for the front/back frames and the side frames. The width will be 48” wide so the front frame is 48”, less 1” so the top can hang over by about 1/2” on each side, less 7”(two side posts/legs…remember they are actually 3 1/2” wide) …so the front and back frame pieces are 40”. For the sides…24” less 1” (for the overhang) less 7” (for the posts)…those are 16”. You will cut 4 of each length…2 for the top frame and 2 for the bottom.

To attach the front and side frames to the posts/legs I used my Kreg jig…love that thing. A little glue and then two screws on each end.

Just a reminder…ALWAYS attach boards with the “cup side” down…this applies to any project. To find the “cup” look at the grain at the end of the board. In other words you want the “hump” of the grain to face out. This is important to pay attention to when selecting wood…if the side that will face out is all scarred or knotted you will want to pass.

I put a frame at the top and also 2” from the bottom of the posts/legs so I could add a bottom shelf.

After I got the frame constructed using glue and the Kreg screws, I attached 47 1/2” 2x4 boards cut in 1/2, 3/4” from the top of the bottom front and back frames, on the inside…I did that so I could use 1”x4” boards as the shelving for the bottom. I just laid the 1x4s on the cut down boards then attached them with screws.

I made the top back by attaching two 2x4 boards vertically to the back frame, then attached 3 1x4x48” boards across them with screws. I laid a 1x4x48” board on top for a little shelf and trimmed it with a 1x2. Not on the inspiration bench but something that was simple to add and gave me a space for plants and such.

For the top I used deck boards. I used my jig saw to cut out a hole for the storage bin with a lid so she would have a little “sink” to mix her mud pies!

I made sure to leave gaps between the boards like you would for decking so water could run off.

As I said, we can’t paint or stain it just yet since it is all treated wood but it was super fun to stage…some cute little containers for little plants, some plastic bins for her pots and pans (all from the Dollar Store!)…a few hooks for more pots and spoons. Even a hook on the side for a little watering can.

My neighbor has a Cricket so she made a little sign so everyone will know it is her bench!

CUTE AS A BUG’S EAR!!!
I love it, she LOVES it, and the entire neighborhood loves it and now all want their own garden bench.

Super simple to make and it will not be hard to customize it if someone wants one bigger or even smaller!

I’ll let you know how the mud pies turn out!


Another flower bed...

I’m pretty much through with major projecting on this house…at least until I find something else to tear up!

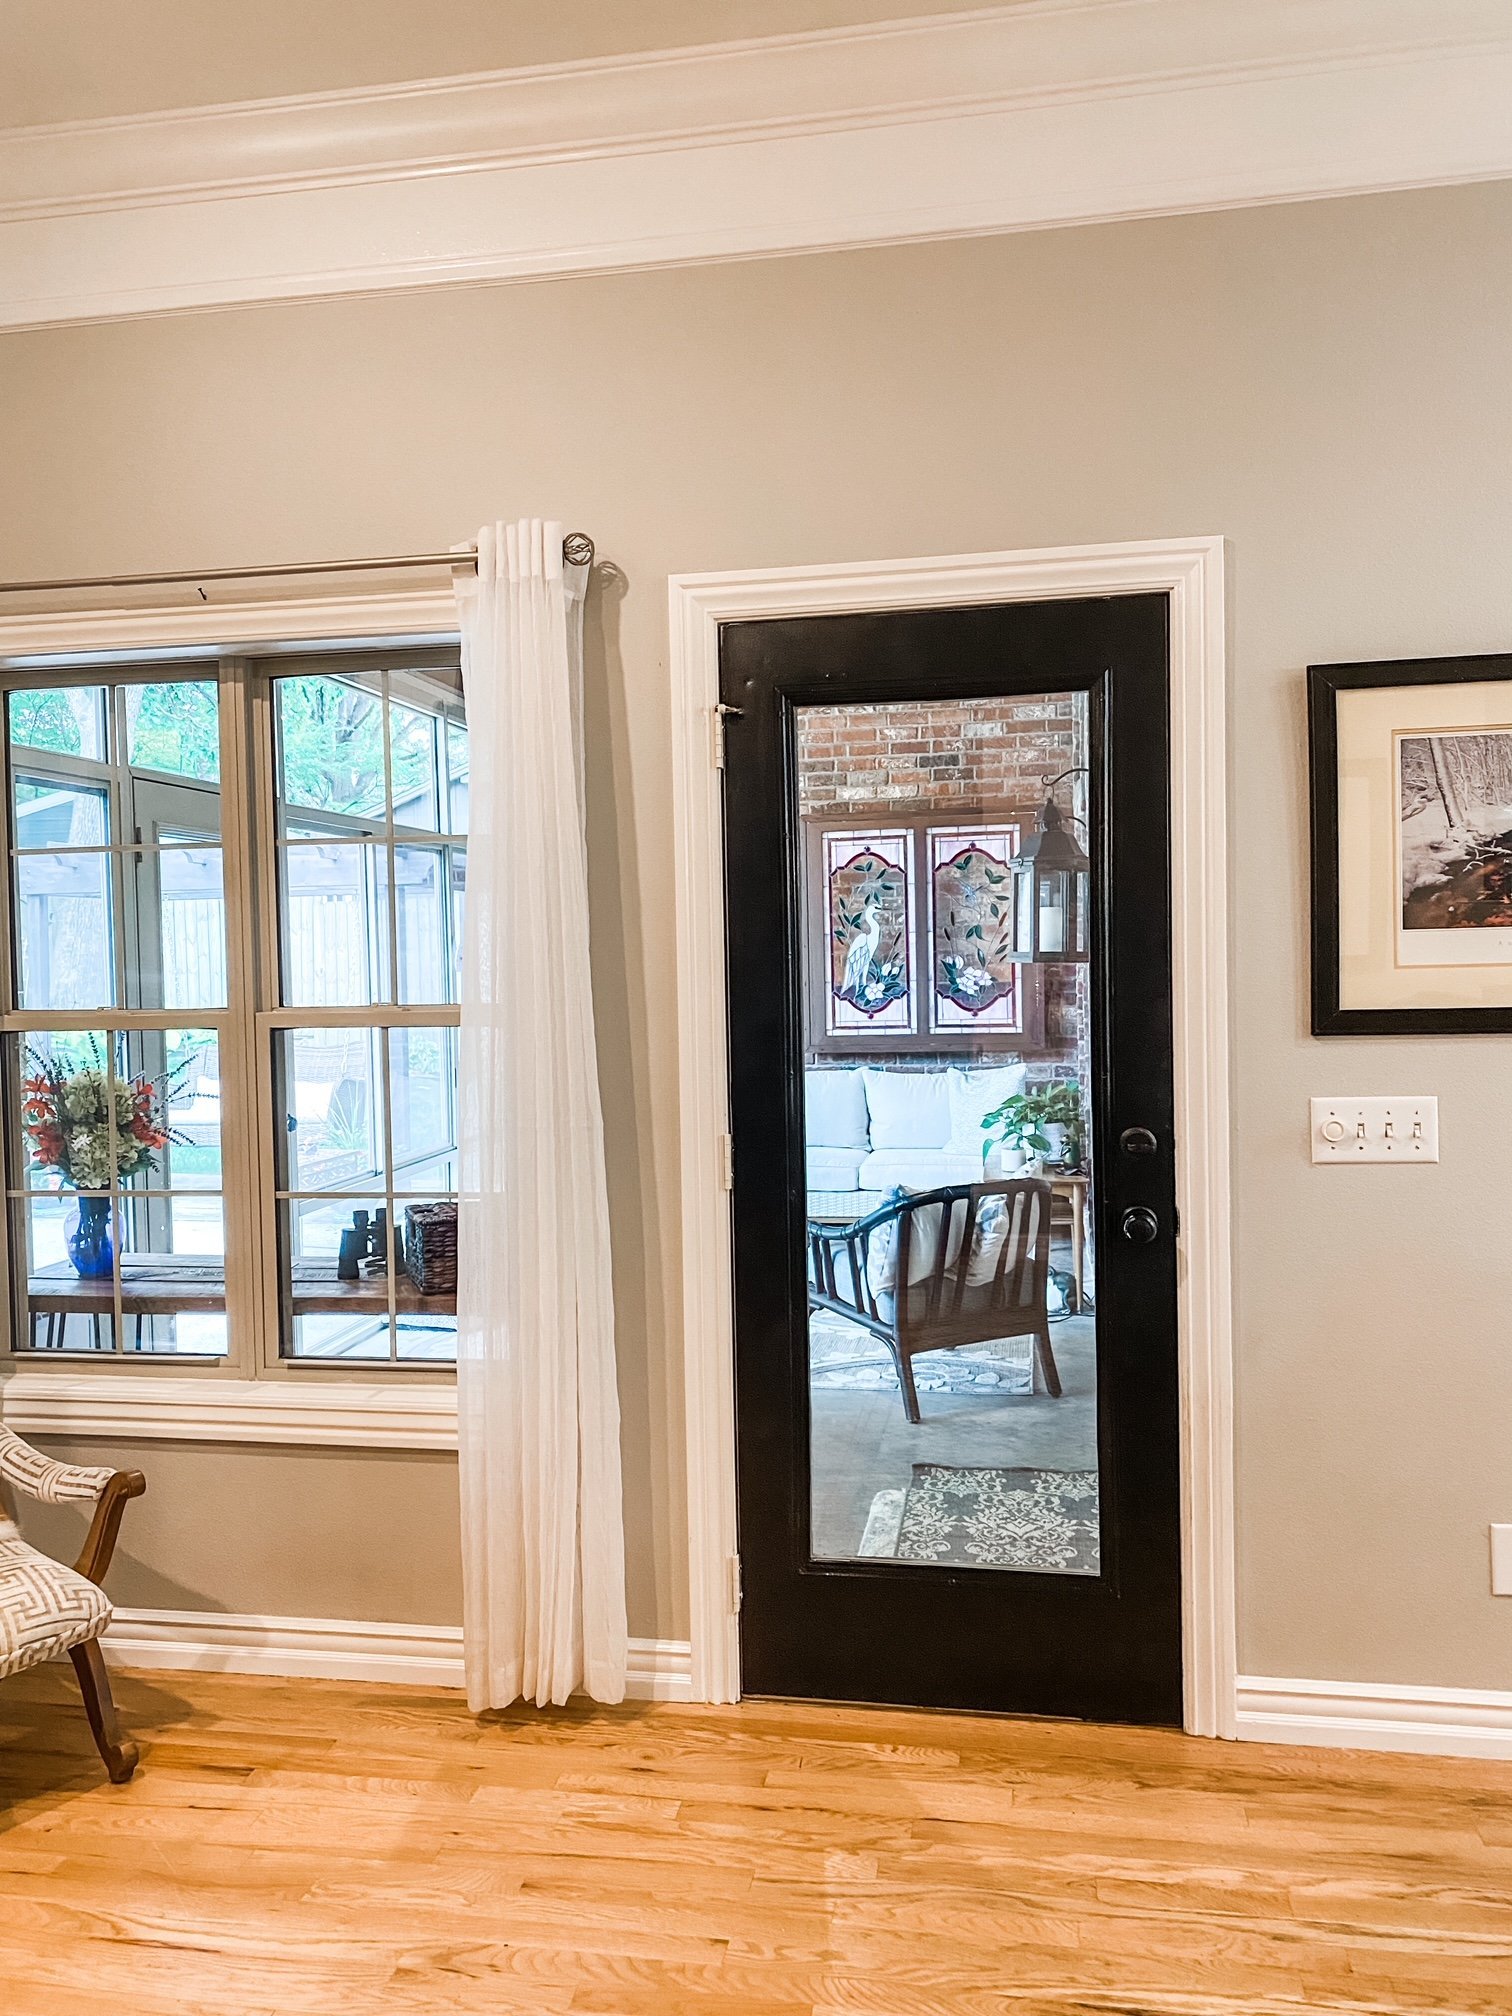
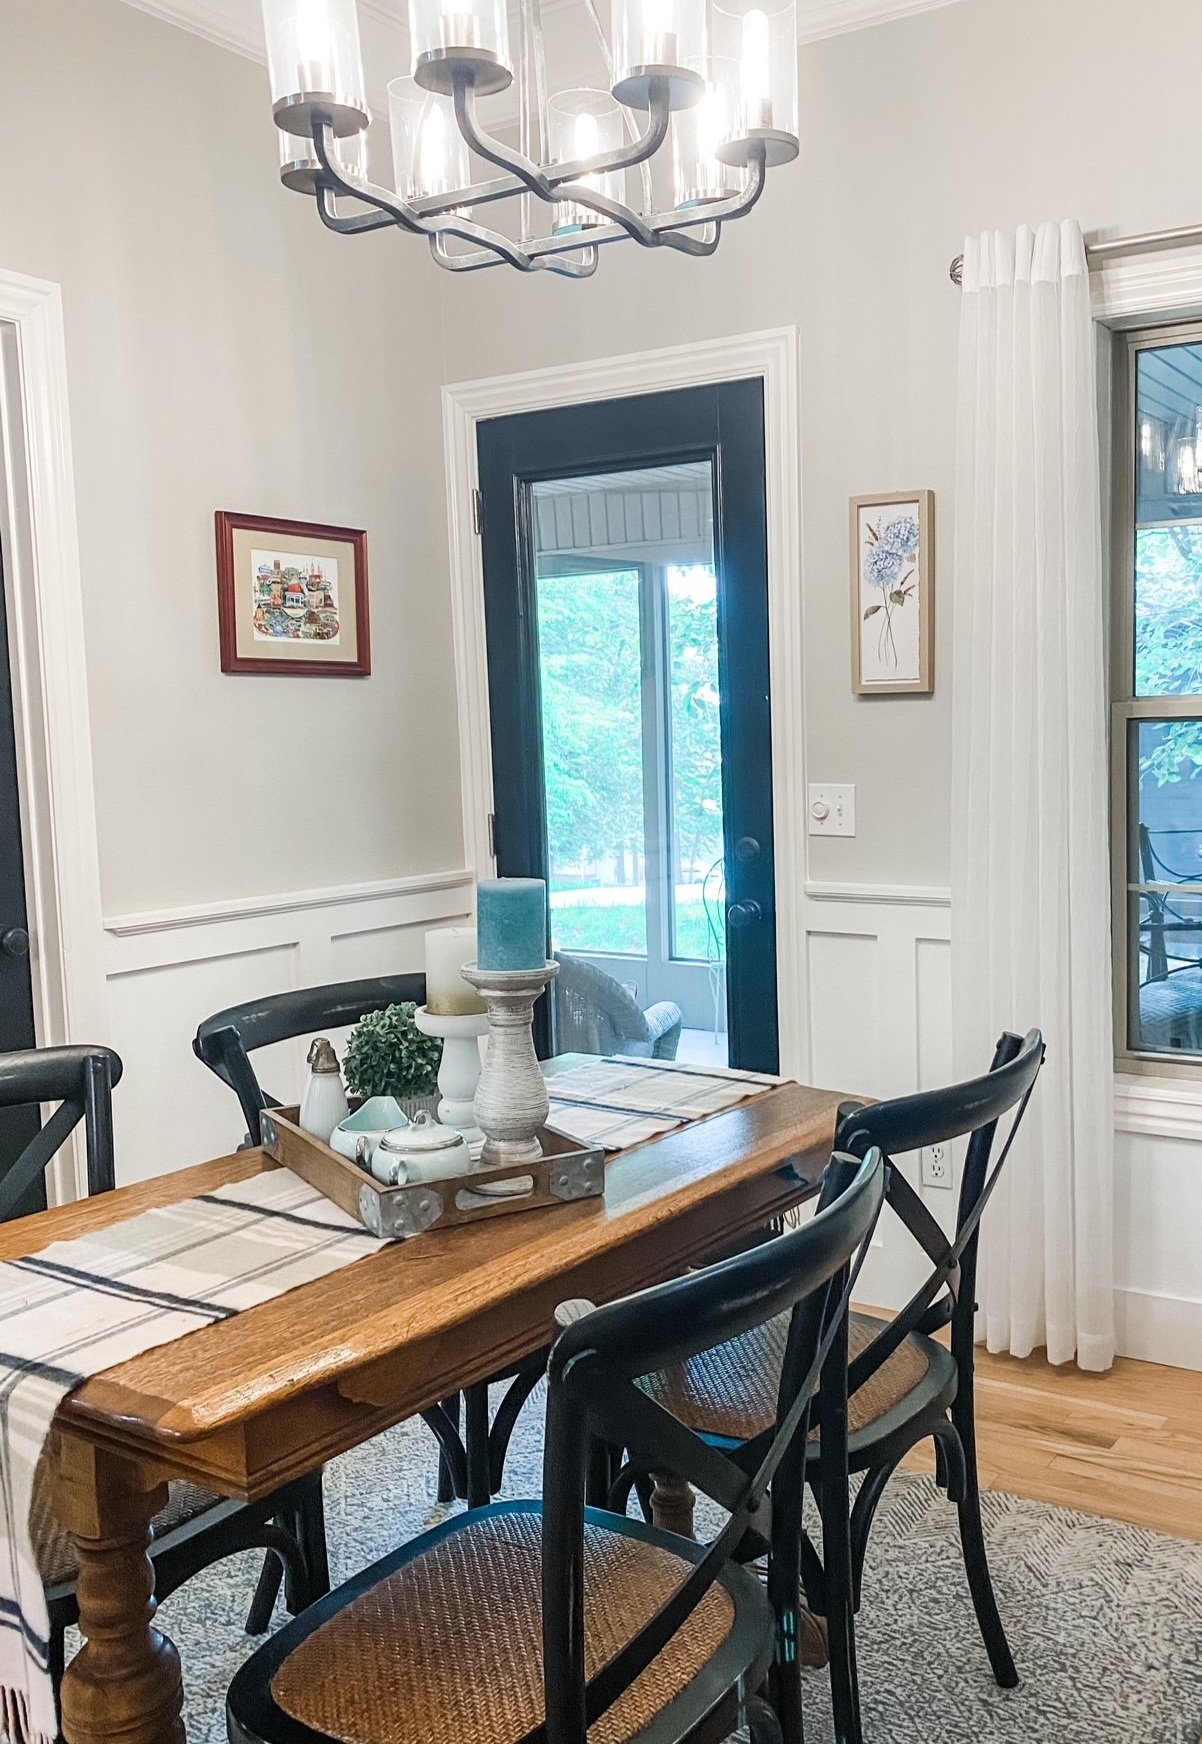
I did replace the door between the screen porch and the breakfast room.

It was set a tad low and over time the “sweep” has begun to scar the wood…so I took out the old door and “lifted” the new door by adding a piece of 1/2” wood beneath the threshold. The door is also 25 years old and metal. I went with a newer, more energy efficient fiberglass door. Not a difficult project and one you can find a TON of tutorials for.

(You can see the old door with a divided light HERE.)

When I ordered the new door I decided I no longer want “divided light” …in other words “grids.” Which meant I had to replace the glass in the den door since it is divided light as well…and of course they have to match. That door is fine and I really only needed to replace the glass insert. Again, not a big deal…love the look!

As I mentioned before, one of the ways I stay busy and “give back” is to help my neighbors with their projects. In the past few months I have helped one build a wood screen around her AC units, installed a water line for a back yard faucet, hunted plants for landscape projects, help set a large pole for a hose reel, modified a metal fence to keep dogs from escaping a back yard and did some fiberglass repair on a garden fountain.

And this week I built a “garden bench” for my neighbor…I will share that soon. Too stinking cute!

Have wagon and tools, will travel!

In between dragging my wagon around the neighborhood, I managed to get a little yard work done.

I absolutely love my back flower bed and love this time of the year when it comes to life! Every time I look out my bathroom window I am so grateful for it!

This is the view from my bathroom window! When the dogwoods are in bloom…WOW!

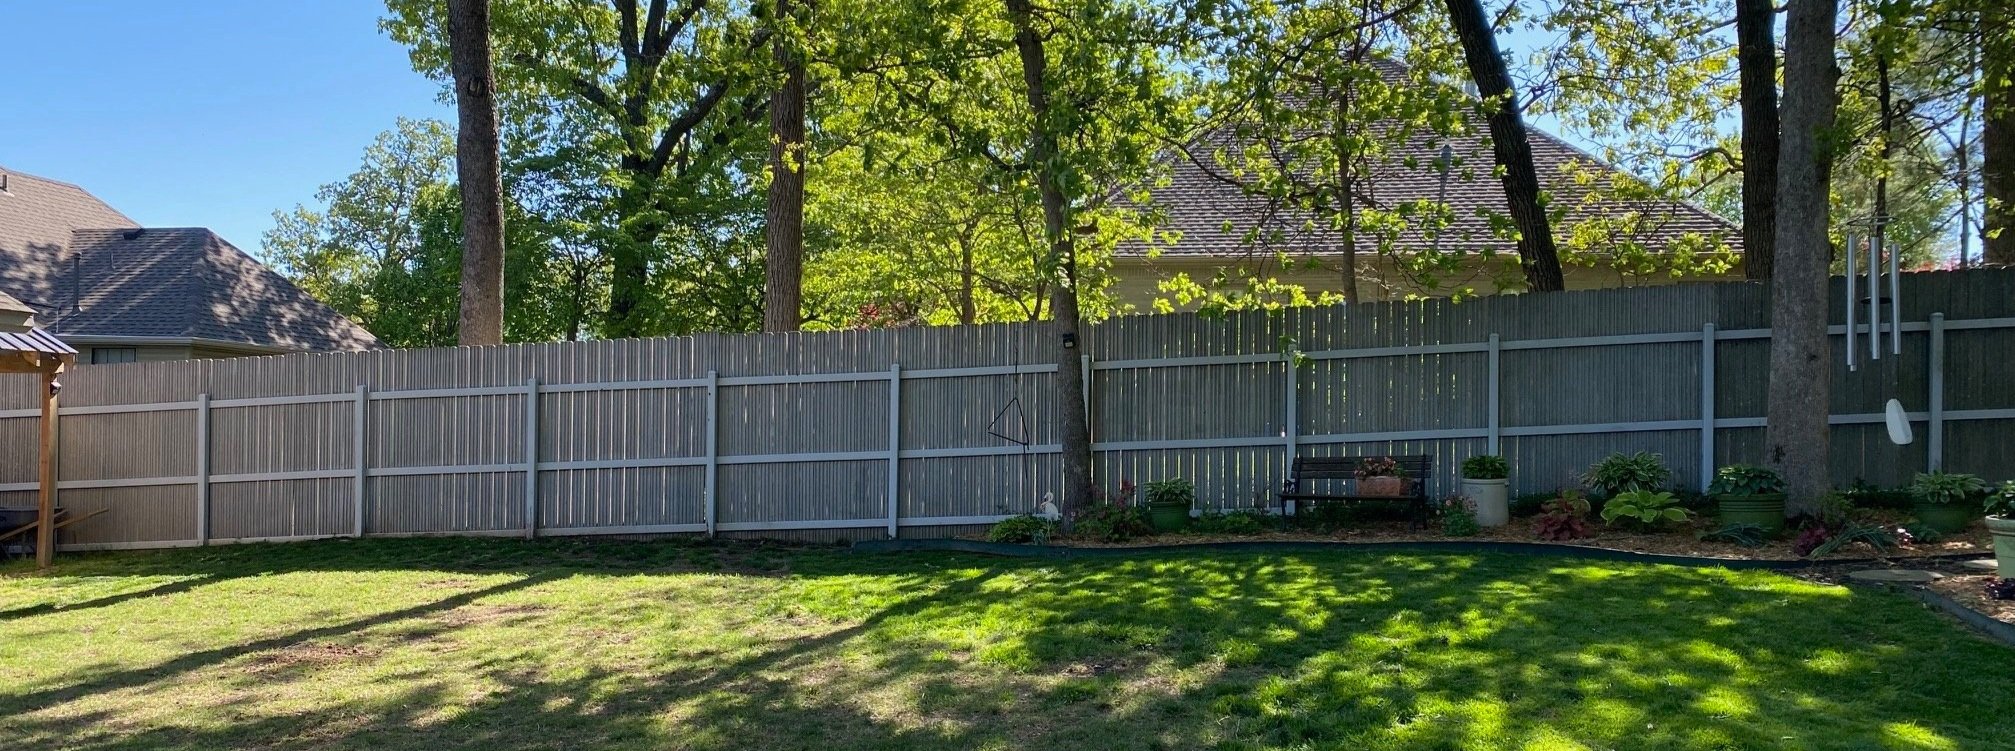
But I have one area in my yard that bugs me…rocky and wouldn’t grow decent grass.

Since I have transitioned to perennials and don’t have to do as much spring planting, I decide to tackle this area and extend my back flower bed.

Why do I convince myself that ANYTHING is easy? In my mind I think, oh, I’ll just put down a little landscape edging, throw in some compost and add some plants.

Silly me.

First, this area has some massive tree roots that needed to be taken out. So I had to dig the dirt and rocks (more rocks than dirt) away from them, take a reciprocating saw and cut the roots and take them out. Sounds easy…it is not.

Oh, and I cut a buried wire while I was hacking on the tree roots. Don’t know what it is but I cut it and had to repair it.

Then I had to install the metal edging. Okay, first, that stuff use to be around $8 for an 8’ piece…it is now $30 for one piece. What the heck? Second, again, this area of the yard is really rocky so creating a little trench to set the metal edging in unearthed about 4 five gallon buckets of rocks. CURSES!!!!!

So then I decided I really should use what grass was there to fill in a few bare spots around the yard…kind of like “sod plugs.” That took two days and I think I have destroyed my elbow. Don’t ask, I don’t know.

Again, rocks. LOTS of rock. I think I raked up another 4-5 buckets and honestly I don’t think I put a dent in it. I just got it down low enough to top it with about 5-6” of compost. The booger was digging holes for new plants…AUGH!

And of course the whole irrigation thing, which will now not really work well with the new bed addition. So of course that had to be moved which entailed digging MORE rock…what a pain!

I carefully researched plants to make sure I put in perennials that can take full shade during the day with full evening sun.

Another issue…this area is under a huge black walnut. Black walnuts put off a chemical called “juglone.” Some plants can grow under their canopy but others can not! Research, research, research!

The only thing I knew for certain I wanted to plant is a pink dogwood…found a decent one at a local nursery. They didn’t bother to tell me that a tree can suffer “wind burn” if you transport it in the back of a pickup truck without a tarp.

Half the leaves are all shriveled and “dead” but they swore it will rebound next year. Guess I will find out.

I added a serviceberry, some coral bells, a few flowering bushes, and a few annuals just for summer long color. I transplanted some Stella lilies from another area of my yard where they didn’t get enough sun.

All in all I am pretty happy with it…only one regret…I should have made it bigger! But it’s done for now and maybe next year I can play with it some more…right now I am too busy icing my elbow and knees!

ANOTHER COLLEGE GRADUATE!

A few weekends ago we will celebrated my oldest grandson who is graduating from college. Hard to believe! CONGRATS CAMDEN! We are all so proud of you!

Just breathe....

If you can…I am struggling to breathe because of my stinking allergies.

Still, this is a wonderful time of the year to “breathe”…at least for me. In years past, when my kids played baseball, football and softball, this was a hectic time of the year. Practices, games, scrimmages…every evening, every weekend.

But now I can take this time, between the super busy holidays from fall to Easter that seem to be never ending, and breathe.

I still have a lot to do. Clean out and purge a few closets, clean the windows, clear out the flower beds in preparation for mulch, split hostas, power wash rugs.

But my favorite thing to do in the spring is sit on the porch and soak in the beautiful dogwoods and spring flowers…and breathe.

Monday all the bunnies and Easter decor were packed up and put away and for the first time in seven months there is no seasonal or holiday decor.

The next big seasonal explosion will be for Memorial Day and 4th of July.

Until then, just breathe….sit on your porch and drink your coffee. Take a walk around your neighborhood or local park and take in all the beautiful spring flowers and blooming trees. If you are like me and suffer from severe allergies, take your meds and get out and enjoy the season!!! It is so short!

Let your house breathe also…open the windows. Keep your decor simple and focus more on purging than filling space. Pick a drawer, closet or cabinet, purge and clean. Then go out and enjoy this beautiful time of the year!

In a few weeks it will be time to start my summer planting…I need this down time!

Easter garland....

I have mentioned many times my obsession with decorating for EVERY holiday.

Christmas was a given for years….

And of course fall….

Up until a few years ago, that was pretty much the extent of it…maybe a few knick knacks here and there for a few holidays like Valentine’s Day or Easter, but nothing major.

Then I “retired”…and decorating EVERYTHING for EVERY holiday has become my thing. A wreath on the porch, entry and kitchen, a tablescape, special candles, special dishes…every event. I even bought “Easter” champagne glasses this year and we don’t even drink! But they matched the Easter dinnerware so ……!

Anywho…I think the little holiday banners and garland I see on Pinterest are just too stinking cute. This year I decided I wanted an Easter garland…you know, with carrots and eggs….for the fireplace.

So I went searching.

First I ordered THIS carrot garland from Amazon.

Cute but it wasn’t really tripping my trigger.

So I went on Pinterest and started looking for a little inspiration.

All said and done, this was the final look I came up with.

I had a little extra of every thing so I even made one for the dining room hutch.

This was super simple to make…the little carrots slid right off the jute they were on. I threaded the jute on a big upholstery needle I had on hand, then strung the beads, carrots and foam eggs onto the jute.

Garland…too cute!

As you can see, i have a thing for bunnies…just scattered around the house. Lots of pink, blue and green candles…spring wreaths…Easter pillows. Foam eggs here and there!

It may not be “the most wonderful time of the year” but fun none the less!