Simple fall decor....
I am a "warm" person so I love the traditional colors of fall and it is my favorite time of the year!
I know a lot of people are decorating with blue and white pumpkins...tablescapes, vignettes (that's a fancy way of saying a "grouping" of decor), mantles, etc...but I like the orange, burnt reds and yellows of a traditional fall! Warm tones....and I have TONS of natural light in my house so it makes it a lot easier to decorate with "warm" holiday colors!
Several years ago I decided I wanted to remake my bannister Christmas wreaths in blue and silver....a touch of "cool." Katie quickly reminded me that "red and gold" were our TRADITIONAL colors and she didn't want that messed with. So I obliged and stuck with the "traditional" colors of the season. Occasionally I sneak in something a little "non-traditional," but very little.
So very little changes from year to year...except maybe a few little "additions."
Traditional decorating is, in my opinion, the way to go. I said last year that I thought it unwise to spend a great deal on burlap and chevron Christmas decor only because I knew it was a "fad" and would eventually fall by the wayside. As I predicted, we are seeing less and less of that this year.
So find a style or decor elements that you truly LOVE and make that the bulk of your "traditional" seasonal decor. No harm in infusing a few "faddish" elements here and there, but if you try to go all out with the newest fad, you may find yourself with an attic full of outdated seasonal decorations. (A few of us are old enough to remember Santa ducks and "mauve" Christmas ribbon...ouch!)
The BEST time to buy seasonal decor is AFTER the season. I know it is tough to buy things you are going to immediately stick in storage, but it is soooo much fun to discover all your new goodies year after year...and it is a great way to build a stockpile without spending a lot of money. MOST of my seasonal decor was purchased on sale for 80-90% off after the season!
Another tip...you are going to get older and there will come a time when a lot of fluffing and froofing and climbing up and down ladders is hazardous...to both your physical well-being and your pets (yes, I have stepped on a few coming off the ladder!) So years ago I started transitioning to things that were easy for me to "set out." It is much simpler to tie wreaths to the bannister than it is to struggle with yards of garland and ribbon...and I am not consumed for days every year painting and sewing and making wreaths and garland with the newest fads.
So this is my "traditional" fall decor....
The den is the perfect template for fall decor. The fireplace wall is "burnt red" and it makes a beautiful back-drop for both my fall and Christmas vignettes. Years ago I bought new fall garland for the front door...the old garland had gotten a little "aged" looking but I didn't want to toss it, so now I just lay it across the mantel....takes all of 10 seconds. The white owl is a new addition I shared here. I bought 4 identical wreaths and hang them in the windows from ribbon. Fall leaf floral in the urn, pumpkins and scarecrows and knick-knacks here and there...
I shared how I dress up these simple outdoor lanterns for Christmas here. For the fall, they get a "fall" ribbon and floral pick, pine cones or a seasonal candle.
Outdoor lanterns are great for all seasons. After the holidays I just remove all the ribbon and seasonal stuff and place a candle in them! I love that they are simple to decorate and don't have to be stored from one season to the next!
The den side table gets a little fall vignette as well....
I shared the branch box on the floor here. Years ago I made two "table wreaths" with a round floral form, a grapevine wreath and fall picks. I put a candle in one and I found a nifty little grapevine pumpkin at a garage sale for pennies for the dining table! Both are simple to set out and store!
A few little knick-knacks here and there. (I bought the silly turkey at an auction for a few dollars! Garage sales, thrift stores and auctions are great places to find holiday decor for next to nothing!)
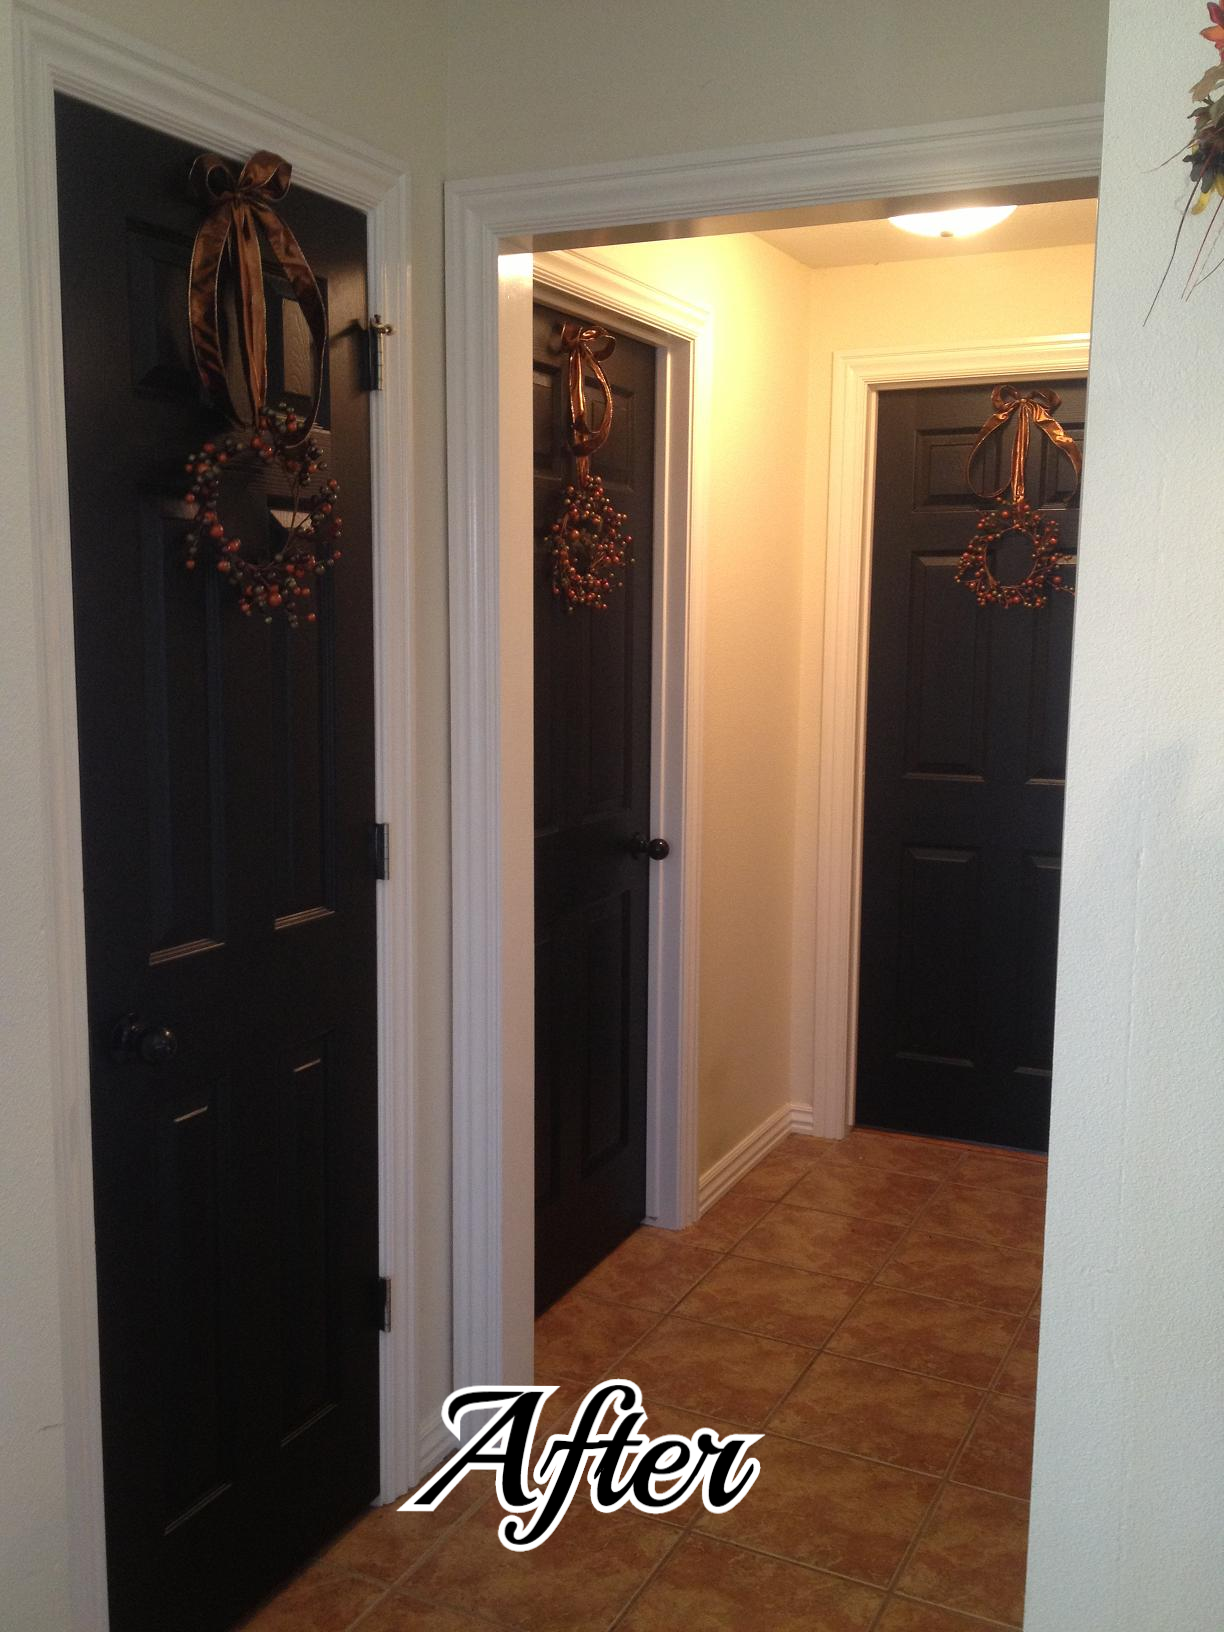
I bought a bunch of candle holder "berry wreaths" several years ago. I hang them on all the downstairs doors and on a few frames and cabinets with seasonal ribbon...super simple and when I decorate for Christmas, I just replace them with holiday wreaths!

This wreath I hung on my new living room mirror is a little larger. I think I found it in a box of seasonal goodies I bought at an auction for next to nothing! For Christmas I have the perfect crystal wreath I shared here and I think I will pick up a boxwood wreath for after the holidays! Wreaths are super simple to decorate with and store after the holidays! I just drop mine in plastic bags for storage!
Inexpensive (especially on clearance) floral picks and sprays are ideal for vases and urns...it usually doesn't take a lot to dress them up and they make a huge impact. I just replace the fall floral for Christmas floral every year!
Seasonal garland is super simple to lay on top of hutches, wrap around light fixtures, hang around doors and lay on tables. I love fall garland...but if you have ever priced it, you know it can be super expensive!!! And that, my friends, is where "after holiday" sales are great. Every year, I hit Hobby Lobby the weekend after Thanksgiving and snag their 80% off decor!
I lay inexpensive garland in the dining and den transoms and then mix in a few real pumpkins and gourds....well, usually but this year I didn't quite get around to picking up pumpkins and gourds...but it is still pretty!
Last but not least, the "kiddo scarecrows." I hesitate to even share these because it is so hard to get a good picture because of the glare (as I have said MANY times, I am NOT one of those bloggers that has killer photog skills!) I originally put these up when my two boys and youngest daughter were little...now they and the pumpkins are a tad faded and tired looking. I intend to change this little vignette every year, but a busy life always seems to get in the way. So, someday! In the meantime, they take their place every year and are replaced the day after Thanksgiving with Santa and the pine forrest!
Building a cache of seasonal decor can take time. But if you keep your eyes open at thrift stores and garage sales, shop the after season sales and stick with "traditional" decorating, you don't have to break the bank. Save the "fad" vignettes for one or two special places in your home and avoid the frustration and stress of having to decorate your entire house every year in a "Pinterest theme."
Enjoy the season!!!!