Making a table or bench top...

One tool I wanted for years was a “biscuit joiner.”

Screen Shot 2021-08-11 at 4.43.53 AM.png

One of the many things I love about my kids….when I ask for a specific tool for Chirstmas/birthday/Mom’s Day, they listen. So several years ago I got a biscuit joiner for Christmas!

This little tool has allowed me to make a few things I otherwise wouldn’t have been able to make. It allows me to join together several boards to make a larger board. A necessity if you want to make benches or table tops.

Let me give you a few examples….

The first was this bench….

I was able to join together the three 1”x6” boards and the ends to make a strong top.

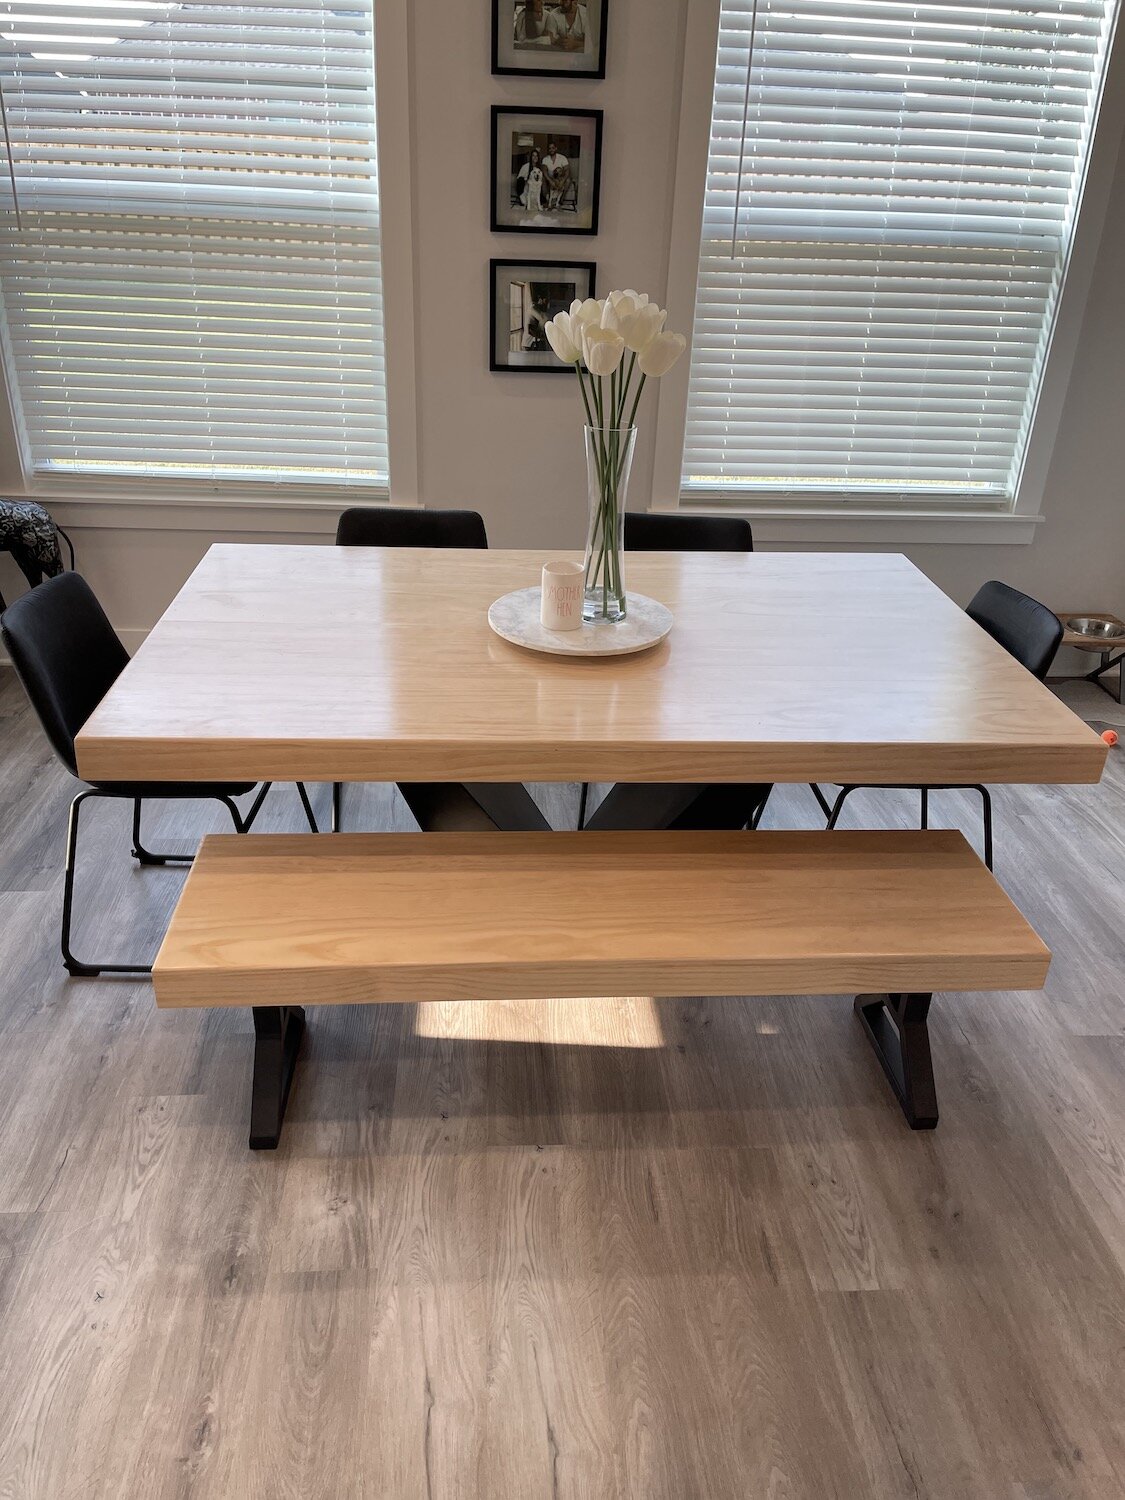
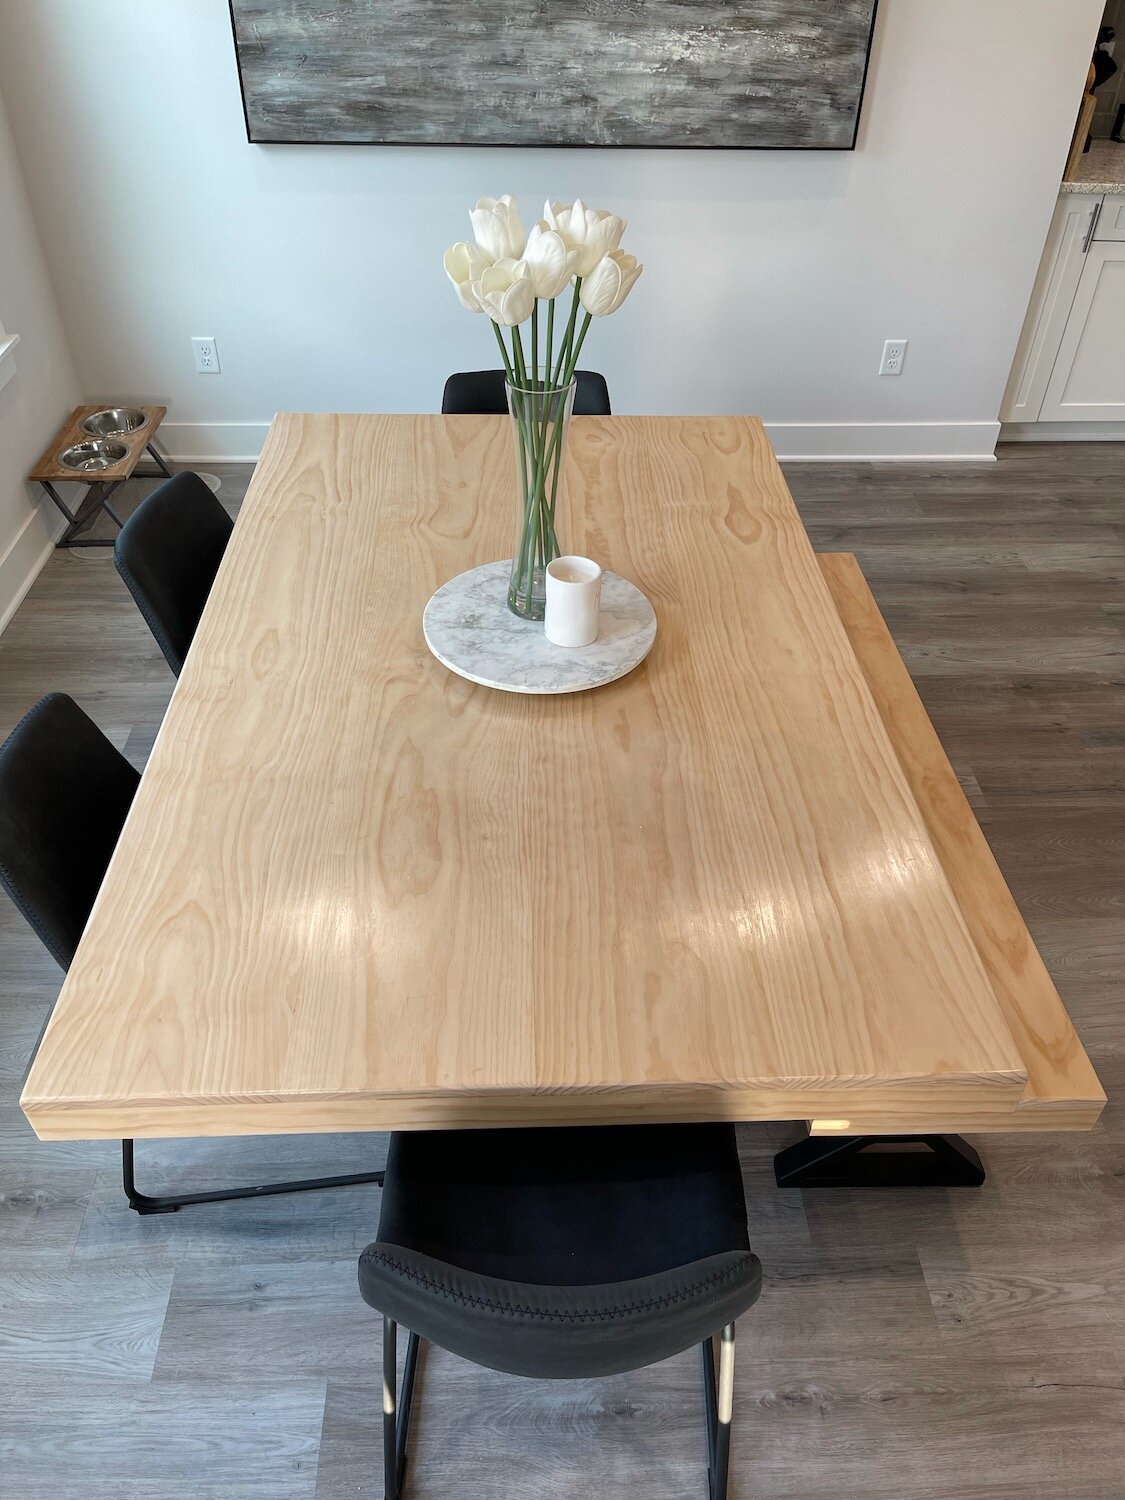
Brandon and Taylor wanted a plain pine table and bench for their new house. I guess they could have spent a fortune like we did for a custom made table but that isn’t really an option for a young couple.

So we went to Lowes, picked out some straight, nice boards with good grain and used the biscuit joiner, glue and clamps to create a table top and bench top.

IMG_1329.jpg

After some serious construction, a LOT of sanding, a polycrylic clear coat, and some nifty bases, they have an AMAZING table and bench!

IMG_1146.jpeg
IMG_1148.jpeg
IMG_1149.jpeg

Last year I went looking for some shelving…I found one I absolutely LOVE. It was from the same company that built our dining table so I knew the quality would be amazing….but the price tag was just a tad too steep!

I love everything about this shelving unit….the look, the style, the quality.

So I went looking for a less expensive option. I found one I thought was okay on Overstock.

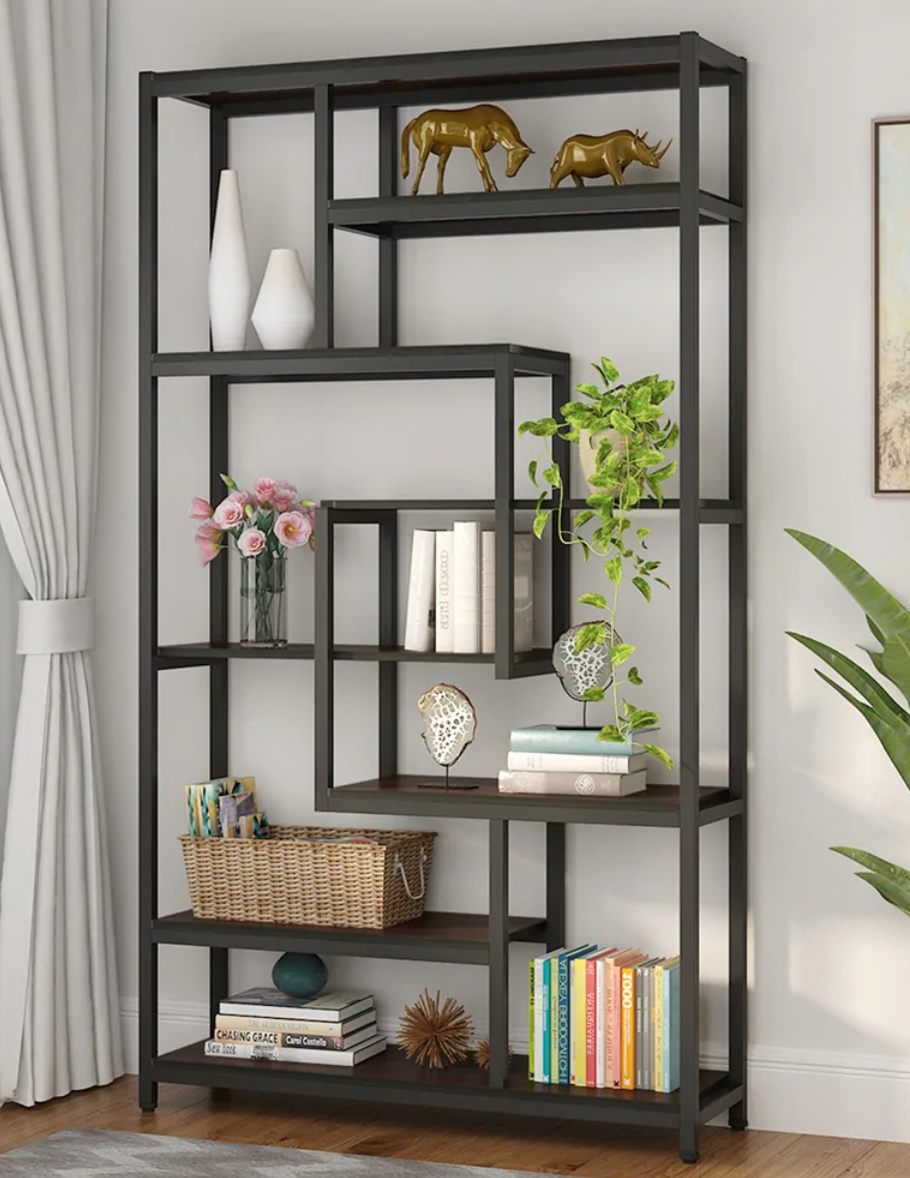
Waaaay less expensive…and for obvious reasons. The frame is metal vs welded steel and the shelving material is MDF vs. beefy solid wood.

The look and style is very similar…almost identical sizing…but the MDF shelving HAD to go. I knew immediately I wanted to replace them with solid walnut.

It has only taken five months to get around to this project.

The biscuit joiner was a life saver.

Walnut is a pretty expensive wood…and finding pieces wide enough for the needed 12” shelving was pretty much impossible (without a serious outlay of cash.) What I did find were 7”ish board we ran through my son’s table saw and joined together….

IMG_1740.jpg

Using a biscuit joiner is NOT difficult…just take your time and follow the directions.

One little trick I did learn was how to mark the joints so they lined up perfectly. Just put your two boards together then run a mark across the joint….

IMG_1742.jpg

Then just line the joiner up with the mark and plunge away…the joints will line up perfectly!

Always dry fit everything to make sure it all lines up perfectly before you apply glue….

Apply glue and clamp….

IMG_1745.jpg

Joiners are NOT difficult to use. Just follow the directions and watch lots of YouTube tutorials.

I sanded each piece with 220 grit sand paper, tack cloth and sealer.

I used Waterlox as a sealer…no stain…same stuff I used on my kitchen cabinets and I have been extremely pleased with it!

BEFORE

BEFORE

AFTER

AFTER

BEFORE

BEFORE

AFTER

AFTER

BEFORE

BEFORE

AFTER

AFTER

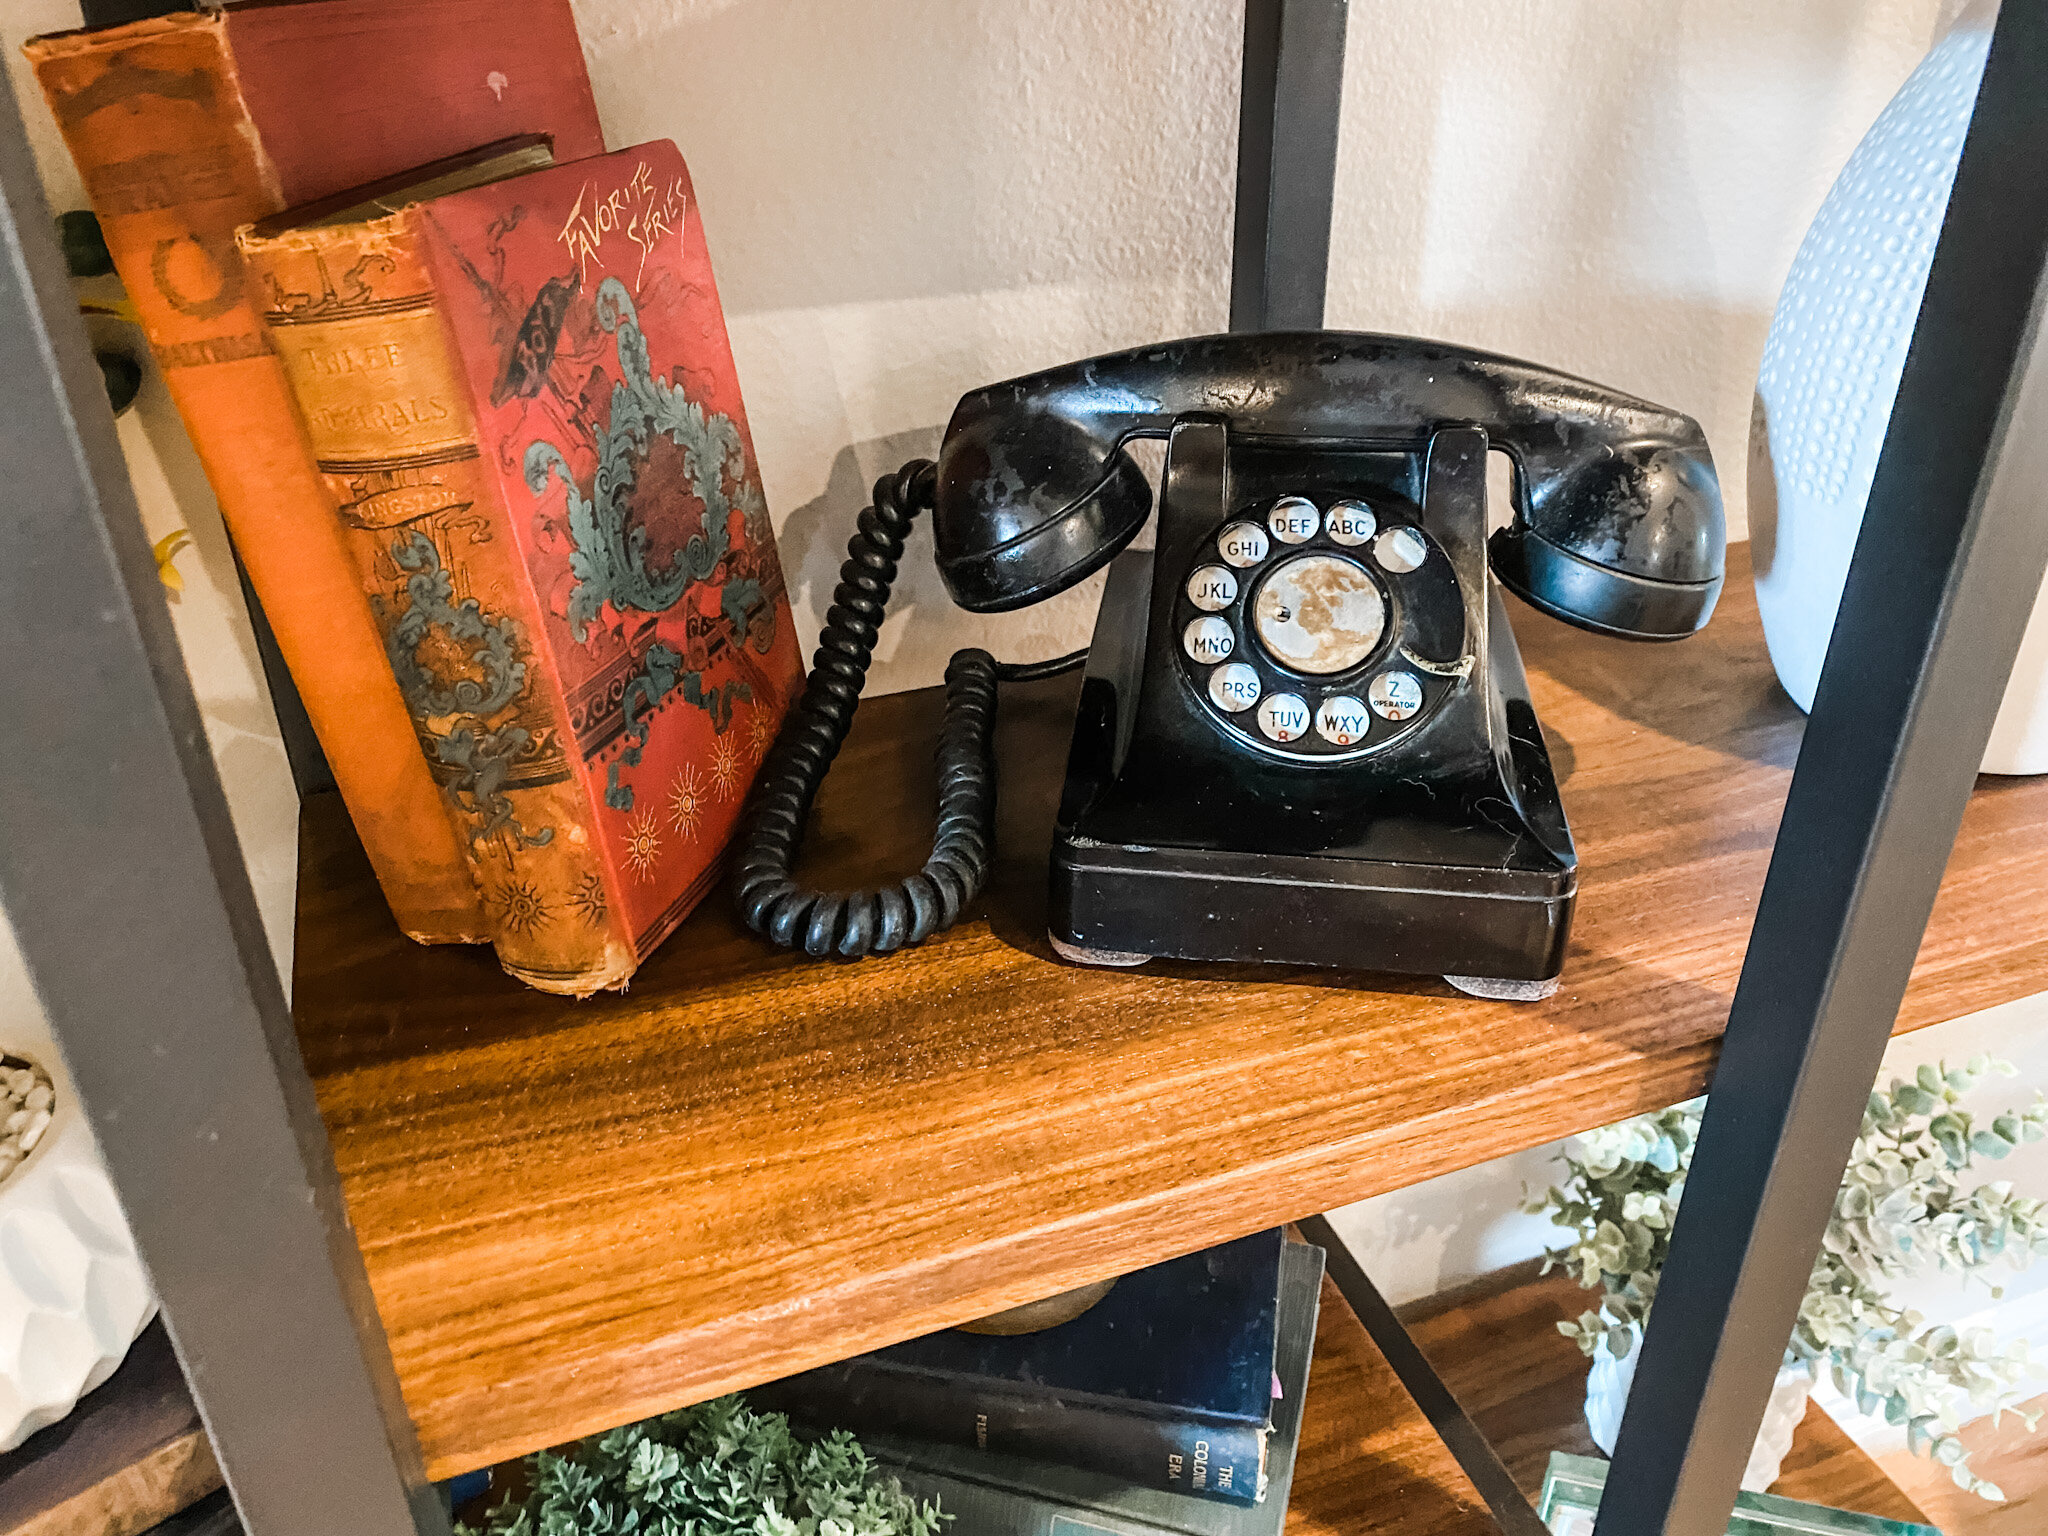
I was able to take a shelving unit fit for a dorm room and turn it into a beautiful accent piece!

LOVE!

Comment
Share

How to build a shop or garden cart...

I’m kinda bad at posting “tutorials.” There are SOOO many tutorials online for just about anything you want to do and my motto is to FIND THE ONE THAT MAKES THE MOST SENSE FOR YOU!!!!

That being said, I am going to TRY to post a tutorial for building a cart…for either your “shop” or maybe a deck or garden cart…or even a little portable kitchen island.

I shared here how I took an old shop cart I bought at an auction and cleaned it up for use as a kitchen island.

The function will dictate the materials you will want to use. If it is something that will be outdoors, you want to use pressure treated wood or even cedar. If it is something that will be in your garage or “shop” you can use plain ole’ pine…if you want something a little fancier, like maybe a kitchen island, you want to find some nicer wood that can be stained and oiled and used in food prep.

In this case, my daughter Katie, wanted something she could put her chop saw and tools on and roll in and out of the house. Kind of like my old shop cart….

…another auction find that I fixed up a tad to use in my garage. It holds my chop saw so when I need to use it I can just wheel it outside so sawdust doesn’t get all over the garage. And the bottom shelf holds many of my tools! Not pretty but super functional!

Since her cart won’t be stored outside, I decided to build the bulk of her cart out of pine 2 x 4s. The tops are 1 x 6 treated decking, but only because it is the perfect sizing…not because I necessarily needed the pressure treated wood.

So my shop cart is my “inspiration.”

The next thing I did was “make a plan.”

Again, whether you are building something simple, refinishing a dresser, or giving a room a makeover, you have to first find your inspiration, then make a plan.

In this case, “the plan” is a simple little drawing with dimensions and a material list.

Originally the plan was based on my cart dimensions…but Katie decided she wanted her’s a tad smaller, 20 x 30, so that altered the dimensions and materials just a tad. I ended up using only 1 of the 2x4x10s and 3 of the 1x6x8s.

Important reminder: a 2 x 4 is actually only 1 1/2 x 3 1/2…2x6 material is actually only 1 1/2 x 5 1/2….only the length is actual. This is important when designing any build so make sure you know what the actual dimensions are of any wood you buy. This chart can be super helpful….

I could have bought 4x4 material to make the “legs” but decided to just “stack” two 2x4s…personal preference. If you decided to use 4x4 material, skip this step and buy 2- 4x4x6 posts and cut them down to 31” each.

The legs will be 31” because I wanted the height of the finished cart to be around 35”. The wheels I used are 3” high and the top is 1” thick.

Again, I used 2 x4s to construct the legs….

I cut 8 pieces 31”, glued (SUPER important to glue ALL joints)….

….stacked, nailed with my new Mother’s Day gift (LOVE!)….

…then screwed them together with 2 1/2” screws.

I nailed them first just to hold them in place…then I added screws.

After each leg was built, I attached the wheels to one end of each using 2” screws!

Next I built the top and shelf “frames.” Since Katie wanted it to be 20” x 30”, I cut 4 boards 29” (the face) and four boards 16”….the 16” boards are the sides. (1 1/2” thickness of each of the face boards = 3”…basically a 19x29 frame allowing 1/2” for overhang on the top)

IMG_6447 copy.jpg

I used my kreg jig to construct the tops….

…if you don’t have a Kreg jig, get one! Or you can just glue and screw the top together.

Then it was time to attach the frames to the legs.

I used screws and glue to attach them and since I wanted the screw holes on the front to be a tad fancier, I used my little “hide the screw” trick.

In this case I used 3/8” wood plugs to cover each screw hole…first I drilled a hole with a 3/8” bit about 1/4” deep, then I used a 1/16” bit to finish drilling all the way through the board.

TIP: Predrilling holes will keep the wood from splitting when you use screws!

I attached the legs to the frames using 3” screws through the “predrilled” holes and glue (GLUE IS IMPORTANT! USE IT!)

On the sides, I just used screws…no fancy holes or plugs!

I added the little plugs…just a dab of glue in the little holds, then popped them in…super simple but a nice detail!

After the frame is constructed it is just a matter of adding the tops…again, I used 1 x 6 pressure treated decking boards. I cut them to fit, glued and nailed. Simple….

I added a little handle made from galvanized pipe and fittings….

You don’t have to add a handle or you can keep it simple by using a cabinet pull…I just like the “industrial” look of the galvanized material….

I also attached a power strip to the back…again, not something you have to do!

Super simple build! Seriously, this is not hard!

That being said, you do want a little chop saw and cordless drill to construct this project (nailer and kreg jig are option!).

But if you took my advice, you have these tools…and now you have a nifty place to store them!


Comment
Share

Modifying a Dillingham MCM dresser....

So often I buy mid century pieces fully intending to clean them up and sell them. But then, well, I don’t. Inevitably I fall in love with them or one of my kids does (just search mid century on this site…you will see)

Such was the case with this mid century walnut Dillingham dresser….

It did have a few boo-boos…a broken corner piece I was able to fix with a little wood glue…

A tiny bit of chipped veneer I decided to ignore…

And of course the finish was a little worn and tired looking and needed some freshening. First I tried a little Restor-a-finish….

You can kind of see the difference…the right side has been wiped down with Restor-a-finish.

It helped a tad but in the end I scrubbed it down with mineral spirits and steel wool and applied 2 coats of tung oil finish…brightened it right up and blended all the scratches and wear…after all it is a 50+ year old piece…it’s gonna have a few nicks and dings. But again, nothing terribly glaring.

Even though the issues were relatively minor, I hesitated to sell it. I considered painting the sides to disguise the biggest issue…the broken corner.

Enter my kid! Matt absolutely LOVED it and wanted it for an entertainment cabinet!

The dark walnut matches his vintage Lane tables perfectly and like me he has a real affinity for MCM pieces.

So I went to work modifying it for his needs..specifically he needs a place for his turn table.

(Side note…I get tickled at the newest generation of vinyl lovers. People my age remember how thrilled we were to get away from bulky old record players and vinyl records that scratched and skipped. Cassette tapes and walkmans and boom boxes…life changing! Now the younger generation have circled back around to “vinyl” and think they have discovered the greatest thing since sliced bread…HA!!! See, if you live long enough, it all comes back in style!)

So…how to modify this dresser without changing it too much.

I decided to make the bottom two drawers one deep drawer. That entailed removing the face front of the middle drawer and attaching it to the black face frame and bottom drawer…creating what appeared to be two separate drawers…but is actually just one deep drawer.

Confusing I know…let me see if I can show you what I mean in pictures.

First I had to cut the face frame in half to detach it from the cabinet.

Since it is a laminate material, I knew I needed to tape it first to keep it from “splintering.” ALWAYS tape laminate before you cut it and draw your cut mark on the tape!

I could have used a skill saw with a trim blade to make the cut. But I knew a skill saw wouldn’t work to cut the little shelf inside that separated the two drawer spaces. So, darn, I had to buy a new tool…I hate that when that happens! (NOT!)

I have a small Dremel that has similar functions but this little guy is pretty heavy duty…and it worked like a charm!

Next I used my Kreg jig and glue to attach 1x2 pieces of oak to both edges of the face frame. The drawer fronts and face frame only over lapped by about 1/8”…attaching the oak allowed me to secure the face frame to the drawer fronts with glue and screws.

We used a hole saw to cut a hole in the back of the cabinet to feed electric wires through.

That was pretty much all the modification this dresser needed to turn it into the perfect entertainment cabinet!

In the photos you get a peak of a few of the changes Matt has made to his house since he bought it a year ago…the painted fireplace I shared here and the new tile I haven’t shared yet.

I have promised for A YEAR to share a few of the projects he has completed on his house…he opened up the entry, painted his kitchen cabinets and installed glass cabinet doors, built open shelving in his kitchen and laid new tile in the entry and around the fireplace. He has even built a little storage shed! I am so proud of his “projecting” so while I was there taking pictures of his new entertainment cabinet, I snapped a few of his entry and kitchen and I PROMISE to share those next week.


Comment
Share